Casting Continued: The End of the Beginning

Laocoön and I are becoming good friends--a strong foundation for the looooong relationship that lies ahead. It's hard to believe it's only been a week! 

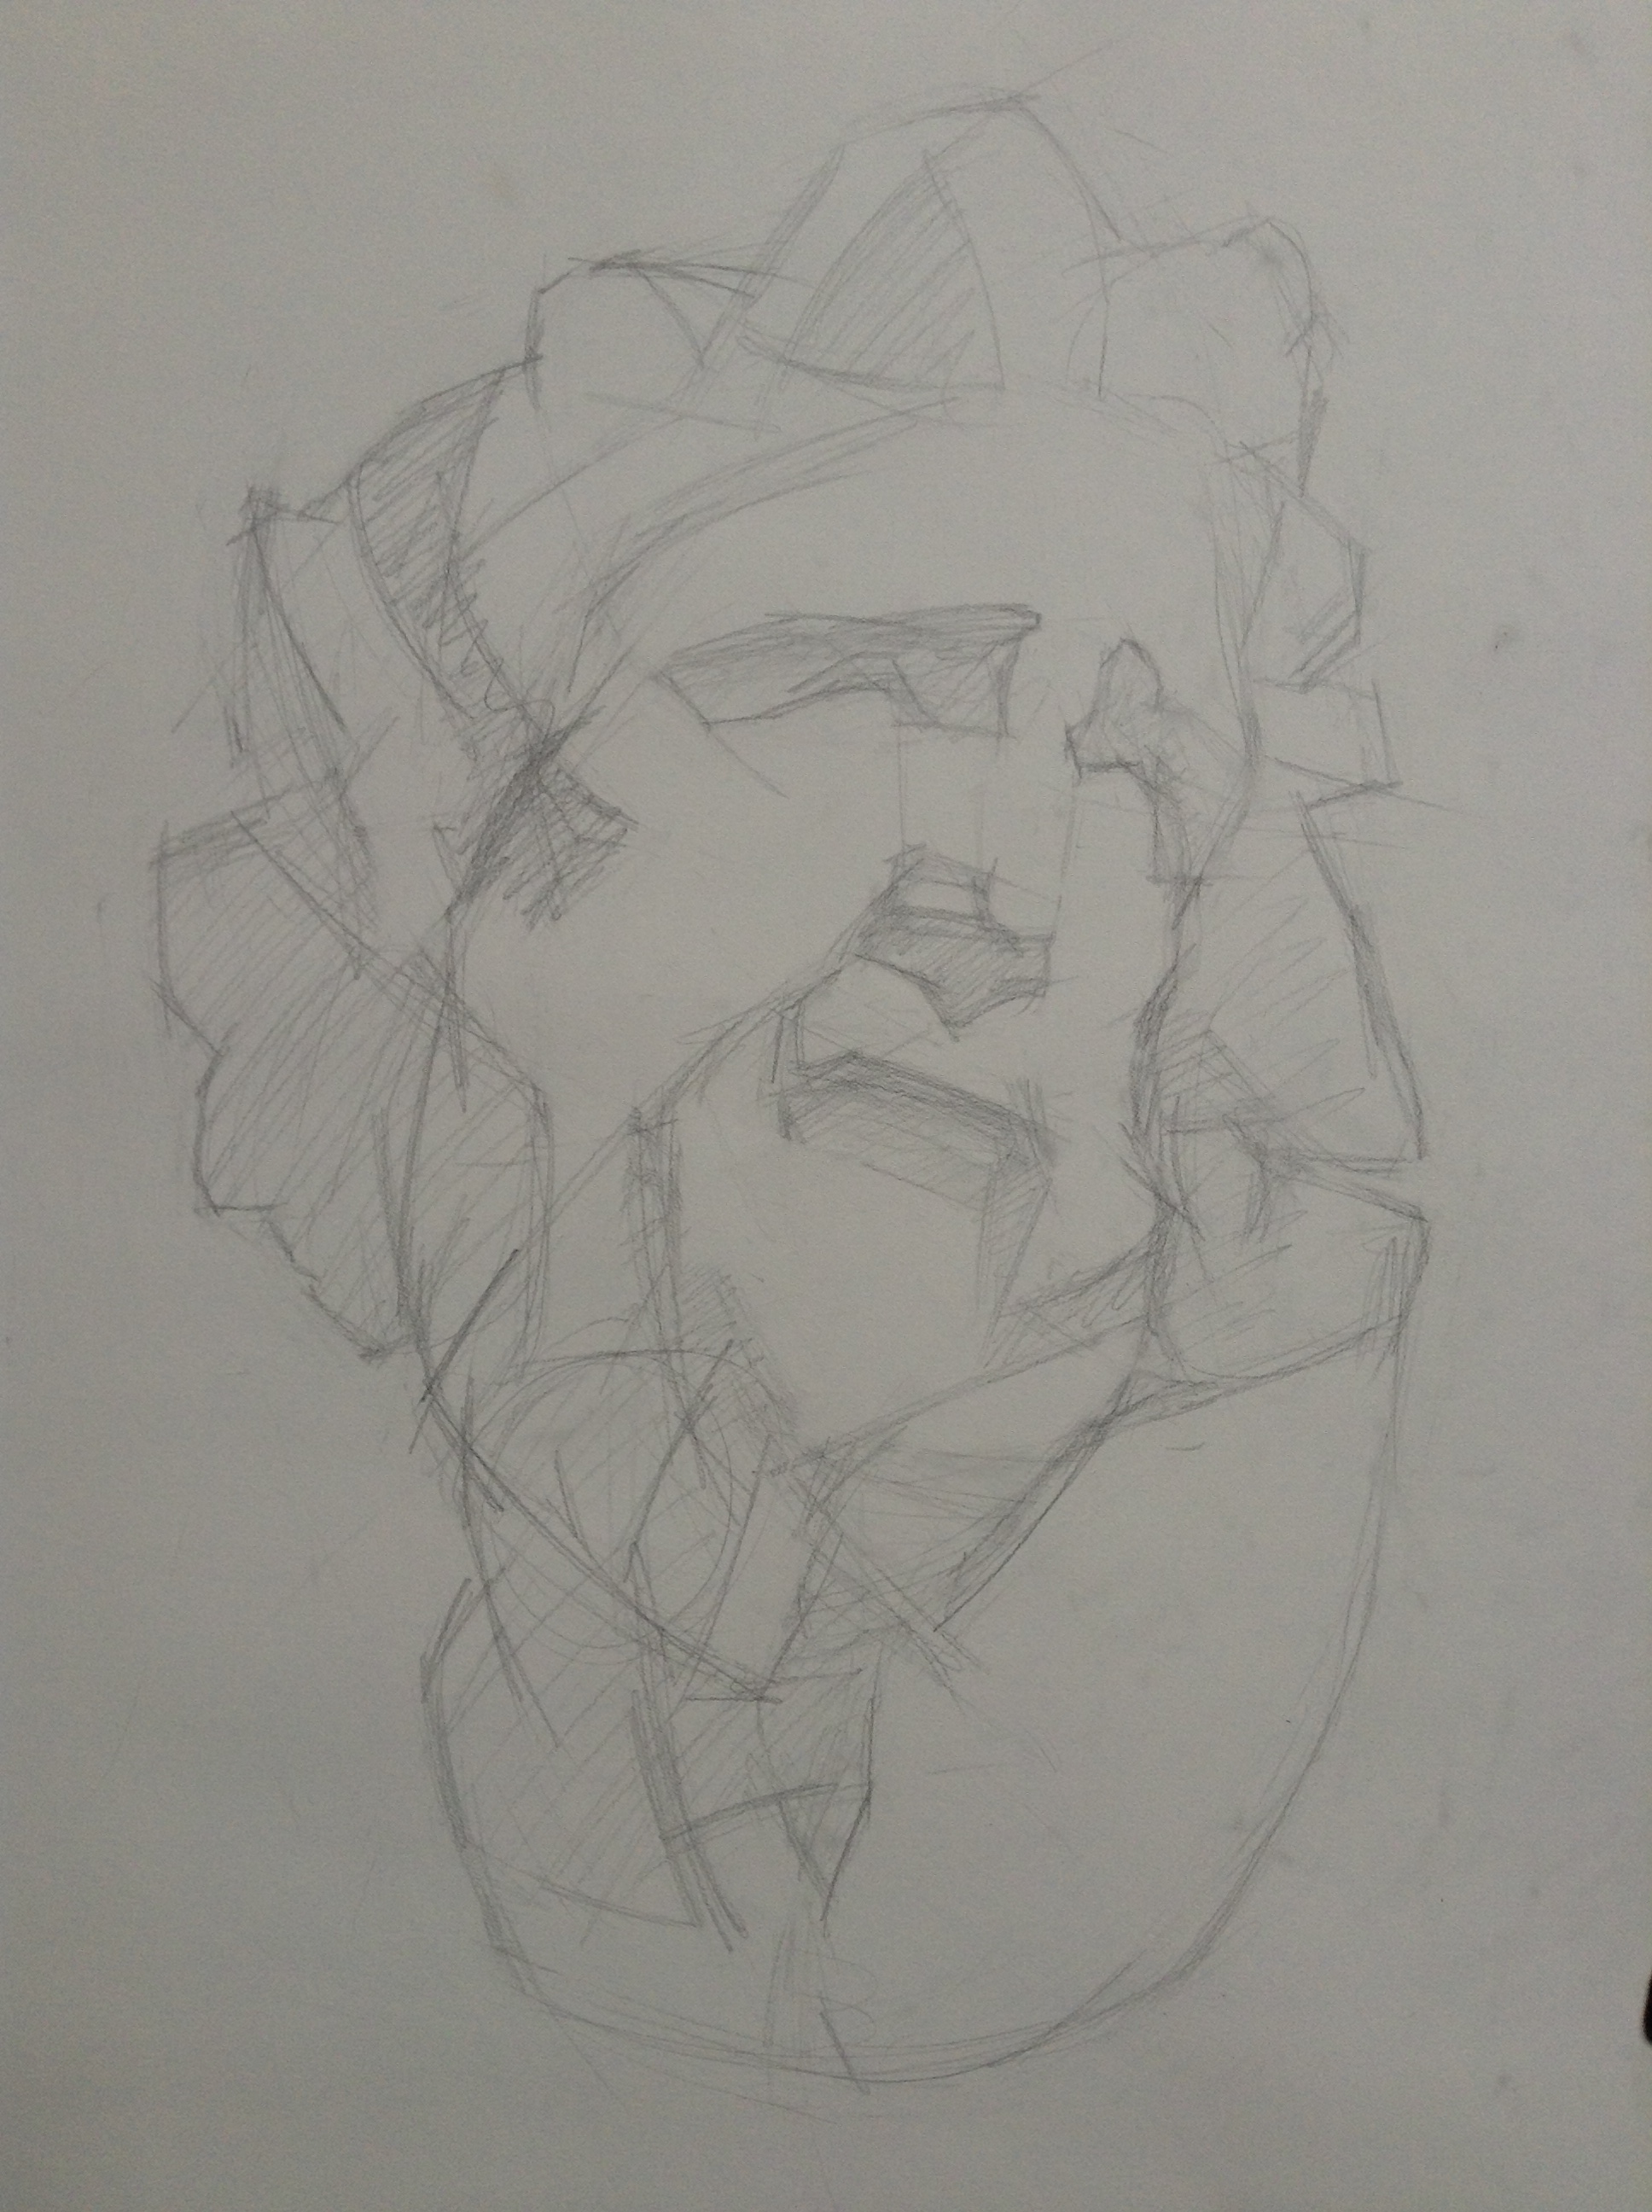
As we approach our 1-week anniversary, the first stage--the block-in--is complete. 

Well.. complete-ish. Ted (my crazy instructor who co-hosts the amazing podcast "Suggested Donations") told me to go through and redraw all of the lines as form. Which I thought I was doing but I guess I wasn't. *Sigh* 

I guess that means I have one more day, but I'm going to write this post like the block-in is over ;)

Block-In: *The drafting stage of the drawing. The contours of form are clearly and carefully drawn, and the boundaries of the shadows are drawn in as well. The block-in lines will change very little, if at all, throughout the rest of the drawing. *

Correct and Refine for Transfer

Below is a series of photos over the course of Thursday and Friday. There were a few major corrections--the eyes came down, the cheek pushed out on our right, LOTS of hair/beard changes--but the main thing I was trying to do was make the lines cleaner and more descriptive of the form. In my mind it's like this: the drawing is actually the sculpture and I imagine tracing my pencil over the form, and then landing on the edge of the shadow.

After an entire pass over the cast, if I think it needs to be more specific I'll roll over it with the eraser and do it again. Also, I'm not worried about ruining the paper because since I'm using basic drawing paper with the intent of transferring to better paper when the block-in is nailed down. 

Here's the progression up to the point of transferring, mostly in H and 2H pencils:

The Transfer

After getting the block-in pretty specific and (hopefully) correct, it's transfer time! I used:

  • Arches hot-pressed 140lb watercolor paper 
  • Graphite Powder
  • Paper Towel
  • Masking Tape 
  • Ball-Point Pen

The Final Block-In

Now it's time to take one last pass (or two. or three.) gently and lightly over the lines to make any final corrections. At this point it is very important to clarify the difference between "light" and "shadow." 

Light: *Any surface on the cast that is directly hit by the main light source. If the angle the light hits as is very extreme, the area may appear dark, but is still considered light. The "pencil test" may be used in questionable areas. See picture. *

Shadow: *The area on the cast that is not hit directly by the main light source. *

The Pencil Test: This is done by holding a pencil on the cast and seeing if a shadow from the main light source appears. If a shadow is cast, it is considered "light." The place where the shadow from the pencil disappears, is considered "shadow…

The Pencil Test: This is done by holding a pencil on the cast and seeing if a shadow from the main light source appears. If a shadow is cast, it is considered "light." The place where the shadow from the pencil disappears, is considered "shadow."

These distinctions are important for the block-in since they determine where the form begins to turn. Here are the last couple progress pics. At this point, the lines are extremely light, so I apologize for the poor image quality. 

And there is Mr. Laocoön! ("lay-AH-coo-ahn"... I only point it out because it's so fun to say.) He's not sure how he feels about this level of commitment. I mean... if we move on to the modeling, those block-in lines aren't moving! But it has to happen at some point, so tomorrow begins the grand adventure of finding form... modeling. 

I'll let you know how it goes, unless it's really crappy, and then we can all just pretend this never happened :)

The Magic of Casting

Disclaimer: this is not about making a plaster mould of a sculpture. 

This is about the strange process of creating a drawing that looks like it's coming out of the paper--not something that looks photographic, but something that looks real.

For anyone who doesn't know, a "cast drawing" is a drawing of a sculpture. The first few years of most traditional art programs involves intensive cast drawing.

Before attending Grand Central Atelier, I had done a number of cast drawings. However, I would see pictures of cast drawings done by GCA students and always wonder... "How did they do that?" Don't get me wrong... I learned a TON from every cast I've drawn, but I could never understand why the Grand Central casts looked like they were hovering off the page. 

Well, fast forward a few years and I just finished my second GCA cast, (an "intermediate" cast) and have decided that for my final cast, I want to show some of the process for anyone else who has wondered about what goes on behind the scenes.

My intermediate cast drawing--about 3 months of work. No joke. 

My intermediate cast drawing--about 3 months of work. No joke. 

Unfortunately, I haven't discovered any gimmicks, contraptions, or magical potions so far (unless spending hundreds of hours stabbing paper with a tiny graphite spear counts.) But I have learned a few things that make these cast drawings different from most other places I've seen. 

GCA Cast Drawing:

**This is by no means an authoritative guide to cast drawing, just my own observations and interpretations of what I've picked up so far!
 

  • Graphite instead of charcoal.

No particular brand of pencils (I'm currently using blue ones... but sometimes they're teal or green!) My friend Katie used a 4H (THE SAME PENCIL) for her entire final cast (!!!) Some people use HB/2H. I use 4B through 6H because I am a nerd and I like to hold 12 pencils at once. 

  • No background. 

It's not that no one cares about backgrounds... it's just irrelevant for the purpose of these drawings: to create a sculpture on paper.  Other cast work I've done has been about the way lights falls on an object in an environment. It almost seems like the same thing, but GCA cast drawings are about exploring the object in its purest form, rather than the way light is bouncing in the space and on the object in front of you and hitting your eye, which brings me to--

  • Conceptual vs. Optical.

When light hits the cast and bounces into your eye, it's taking quite a trip. It has to deal with things like smudgy windows, stains and dirt spots on the cast, and trying to get to your eye without being messed up the the light that's trying to get in your eyes from all the other lamps/lights/windows around the room. Then there's "simultaneous contrast" which means a little shadow in the light area looks extra dark because it's surrounded by light, while the white cast against a super dark background will look extra white. If you put a white piece of paper behind it, you'll usually see that it actually gets a bit darker at the edge, but compared to the inky background, it's hard to see the subtleties.   ALL THAT to say... just "drawing what you see" can be tricky business. The approach GCA takes, is to picture how "light-facing" any given surface on the cast is, imagine the same "light-facingness" on a sphere, and make it the corresponding value.

  • "Flat" Shadows

I like to think of this as the "moon" concept. The shadow areas that are defined during the block-in are filled in with an extremely smooth and even darkish tone (chosen by the artist.) No smudging devices are used!! Straight-up pencil work. I call it the "moon" concept because it's like how you don't see any light in the shadow on the moon. With one primary light source used to conceptualize the form, the shadow areas that are not receiving direct light can be extremely simple without sacrificing the 3D quality of the drawing. 

  • ABT: Always Be Turning

While the shadows are flat, the light areas (anything being hit by the primary light source) have no outlines and no areas of "flat" tone. It's as though you're a tiny spiderman crawling across the cast--you're always moving towards the light or away from the light. "Edges" are just points where we can no longer see the form. Occasionally you go slightly insane and think think you're actually creating something that is hovering off the page. 

SO! All of that will be better explained as I progress in my new cast, but it's a decent Cliff's Note's version of the main differences I've noticed between my previous cast experience, and the process at GCA. 
 

Laocoon... My New Best Friend

The "Laocoön and His Sons" original sculpture located in the Vatican.

The "Laocoön and His Sons" original sculpture located in the Vatican.

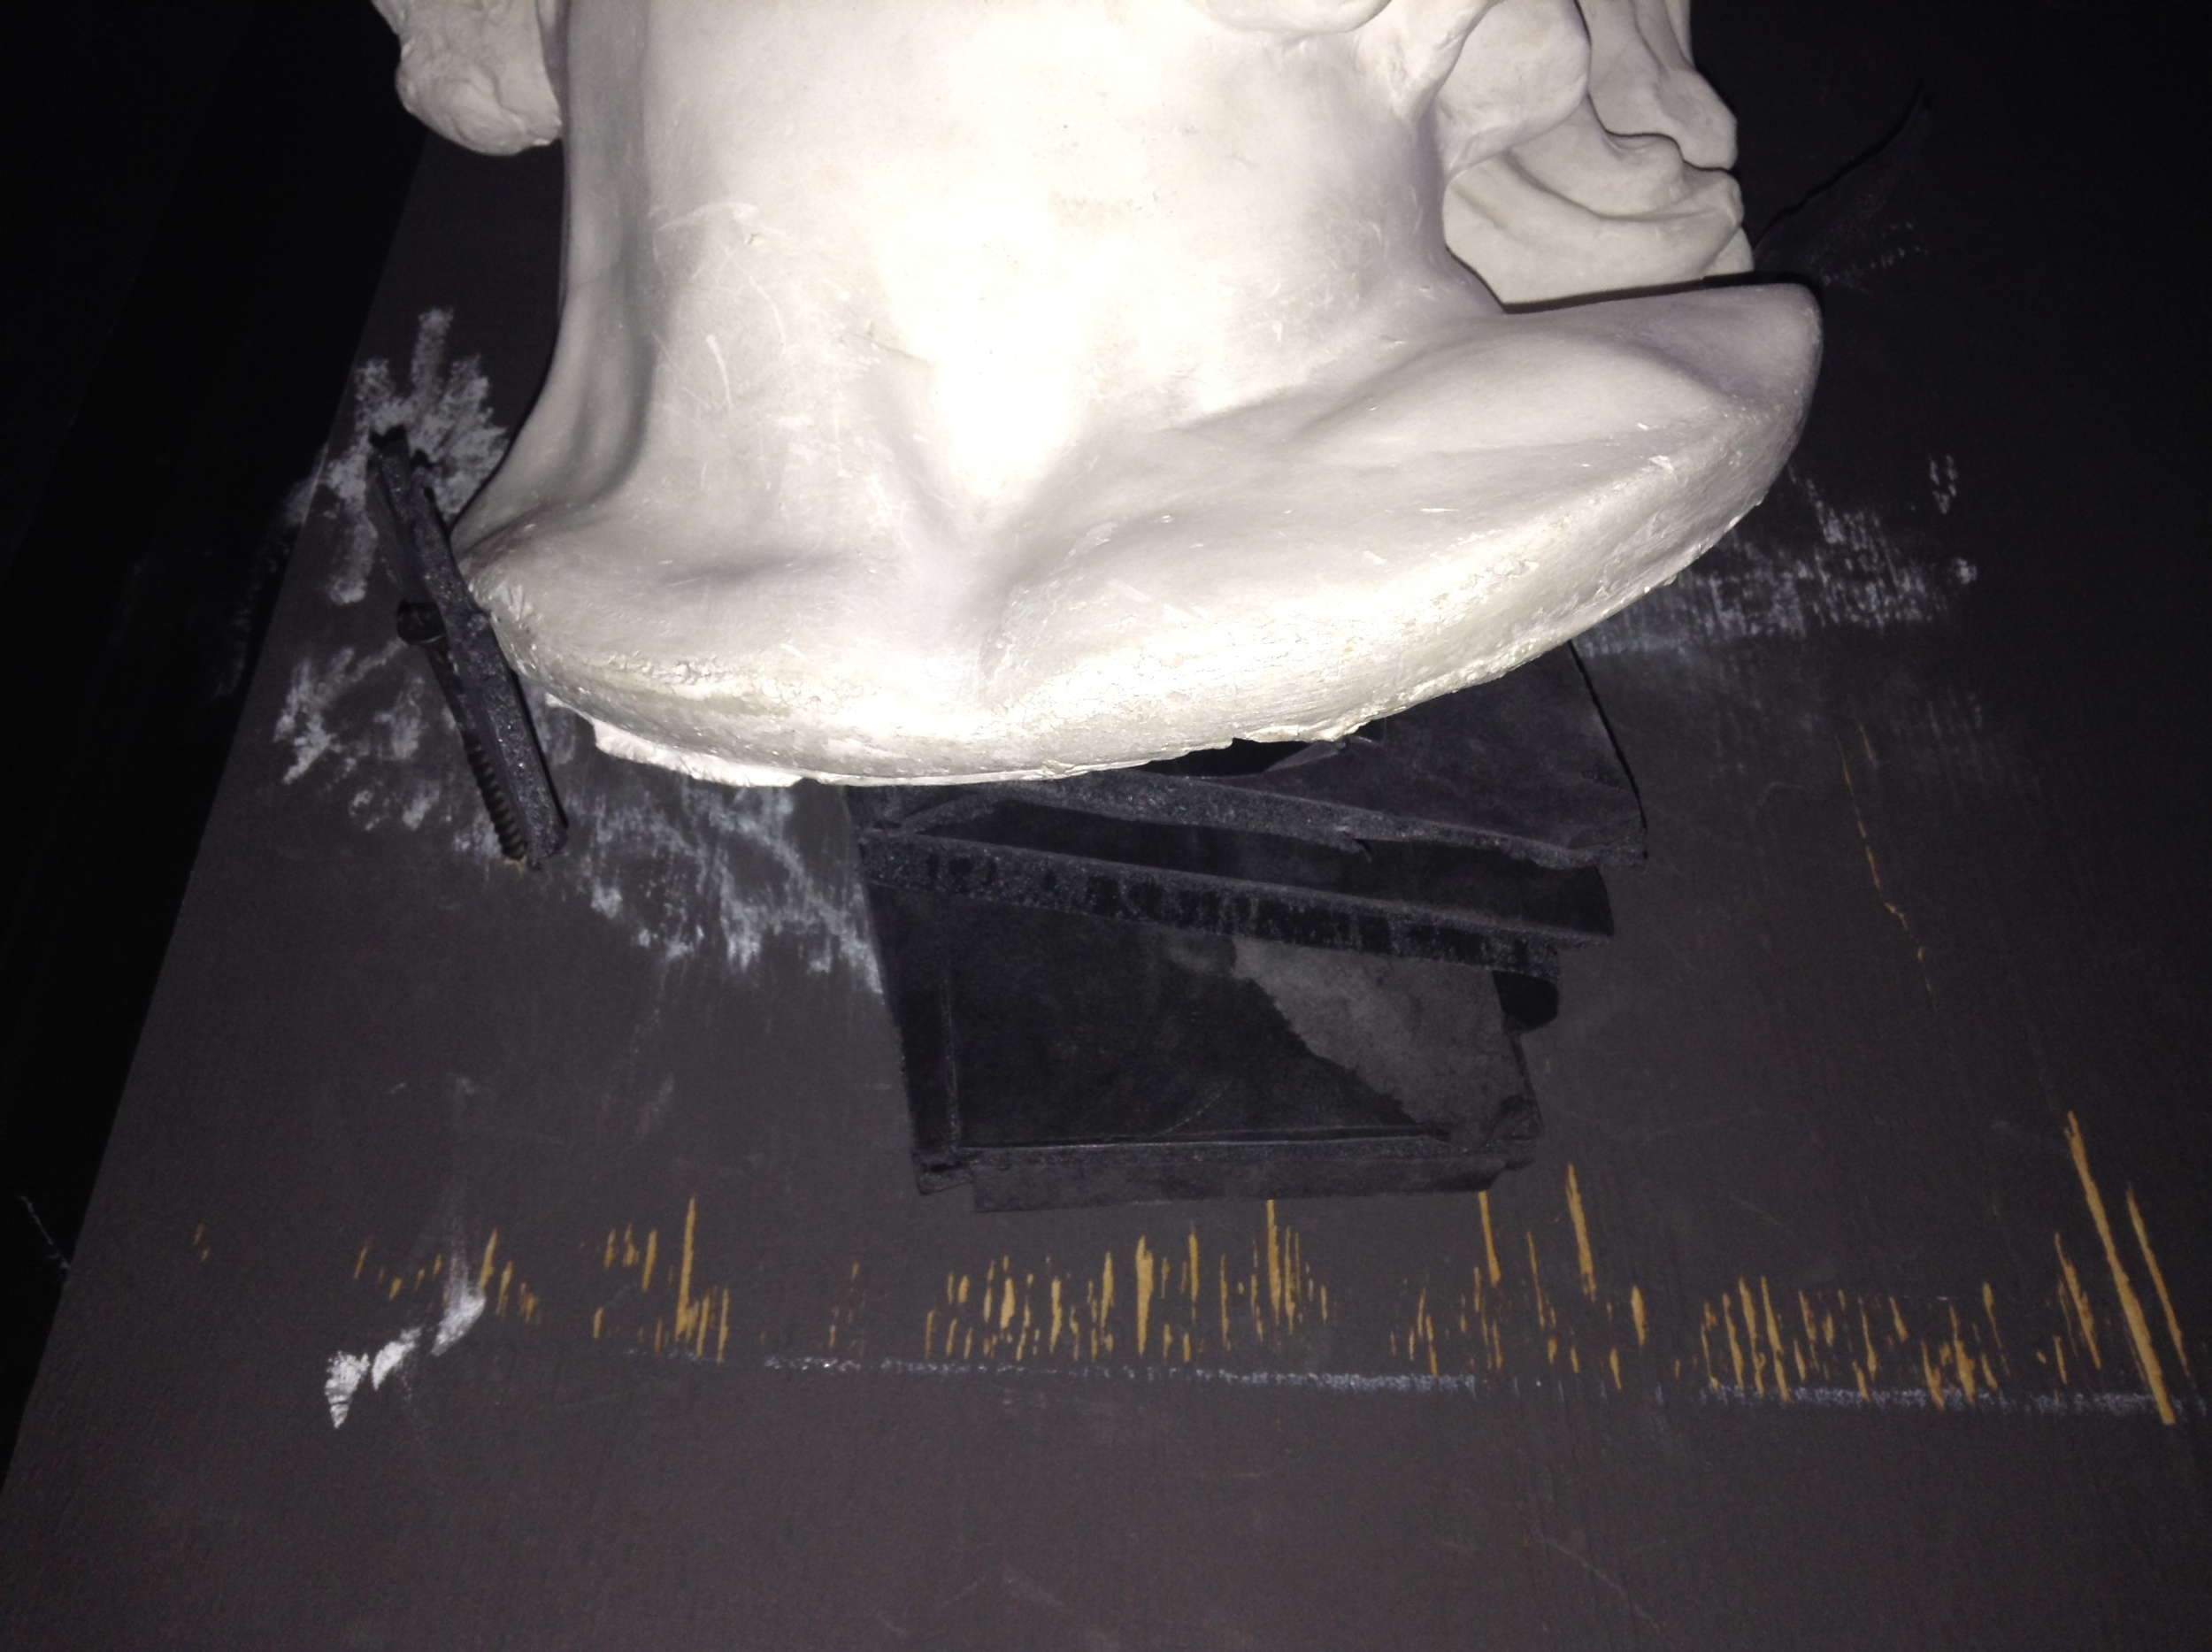
Laocoön in his shadow box home.

Laocoön in his shadow box home.

The cast I chose as my final cast drawing is from the sculpture, "Laocoon and His Sons" (lay-AH-coo-on). According to the ever-reliable wiki, "The figures are near life-size and the group is a little over 6 ft 7 in tall... showing the Trojan priest Laocoön and his sons Antiphantes and Thymbraeus being attacked by sea serpents." From a drawing point of view, it combines larger forms (neck, forehead, cheeks) with LOTS of little hair forms and features. The light is coming from a high window to the right, and I created a black foam core shadow box to get rid of light from elsewhere in the studio. 

So after all the technical stuff was out of the way, the drawing was ALMOST ready to begin! The final step before putting pencil to paper, is finding your spot. I decided to sit so I would be looking up at the cast, and the little pieces of masking tape ("Alignment Tape") are in exactly the right spot so they line up with particular places on the cast when I'm sitting in the right spot.

Now to begin.

Materials:

  • Drawing Board
  • Strathmore Paper ("24" x 32" I think? For the block-in only. I'll transfer it to better paper later.)
  • Pencils--4B to 6H, but I worked in HB all day today
  • Kneaded eraser 

More to come--hope this is helpful for anyone who's been curious about the process!

Fresh Air

New York City is beautiful... but even with Central Park, green space isn't exactly its strong suit. Especially for a girl from small town Wisconsin (the lakes... I miss the lakes <3.) 

Fortunately, Connecticut isn't too far away, and the last two Fridays I've been able to head up north, breath deeply in the midst of trees and rivers, and do some painting! 

Passing the time on the MetroNorth up to Connecticut

Passing the time on the MetroNorth up to Connecticut

Straight Lake Park--my favorite Wisconsin Trail!

Straight Lake Park--my favorite Wisconsin Trail!

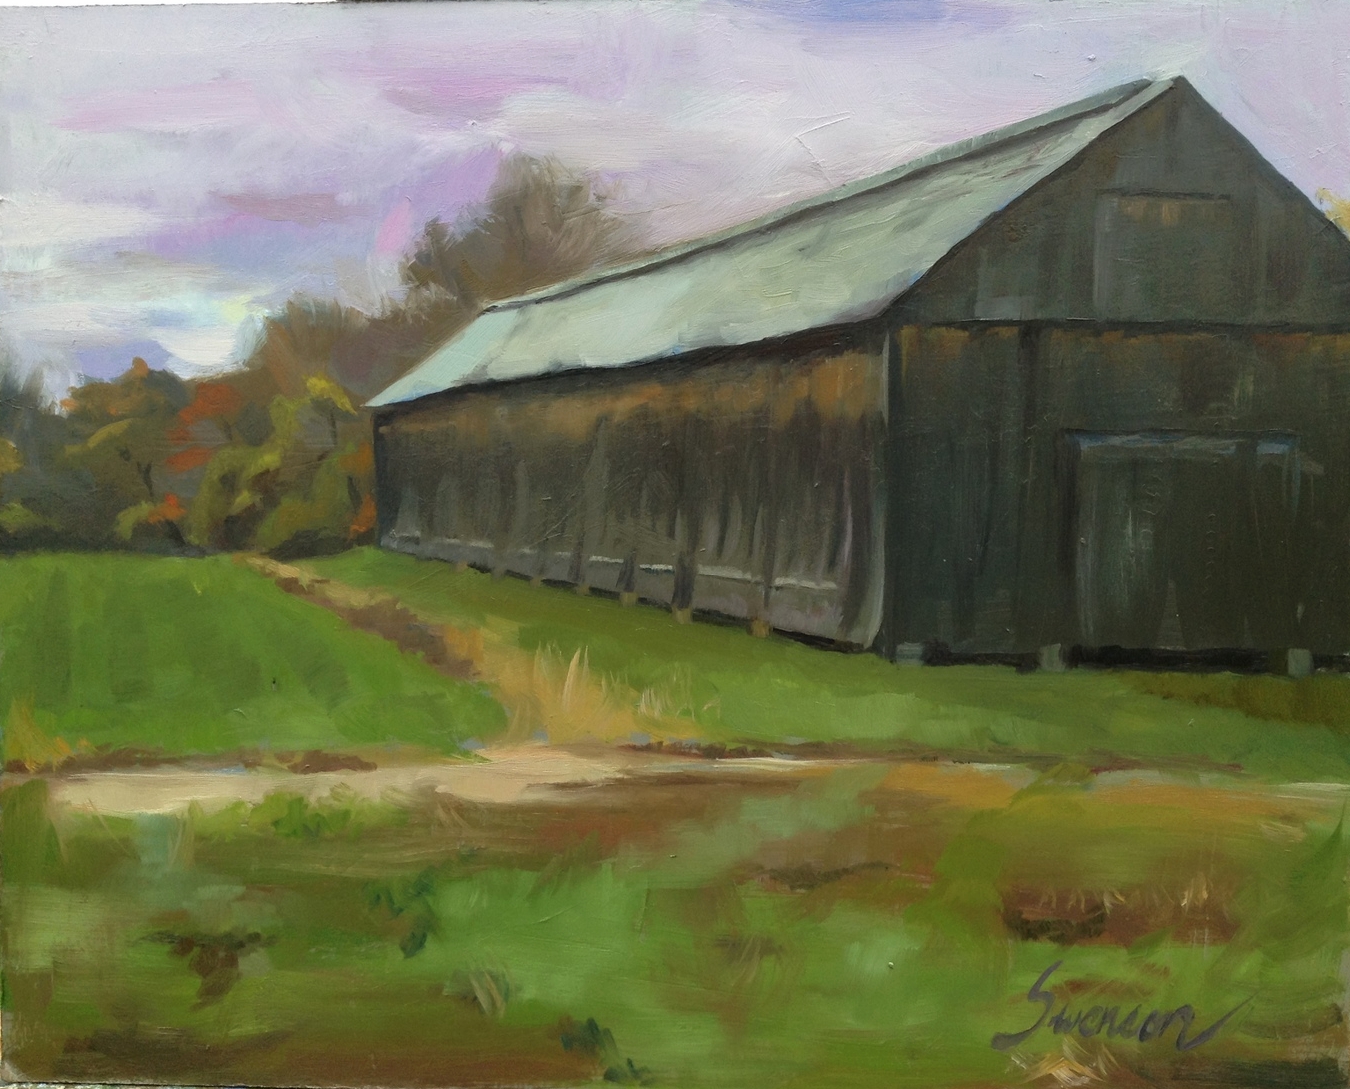
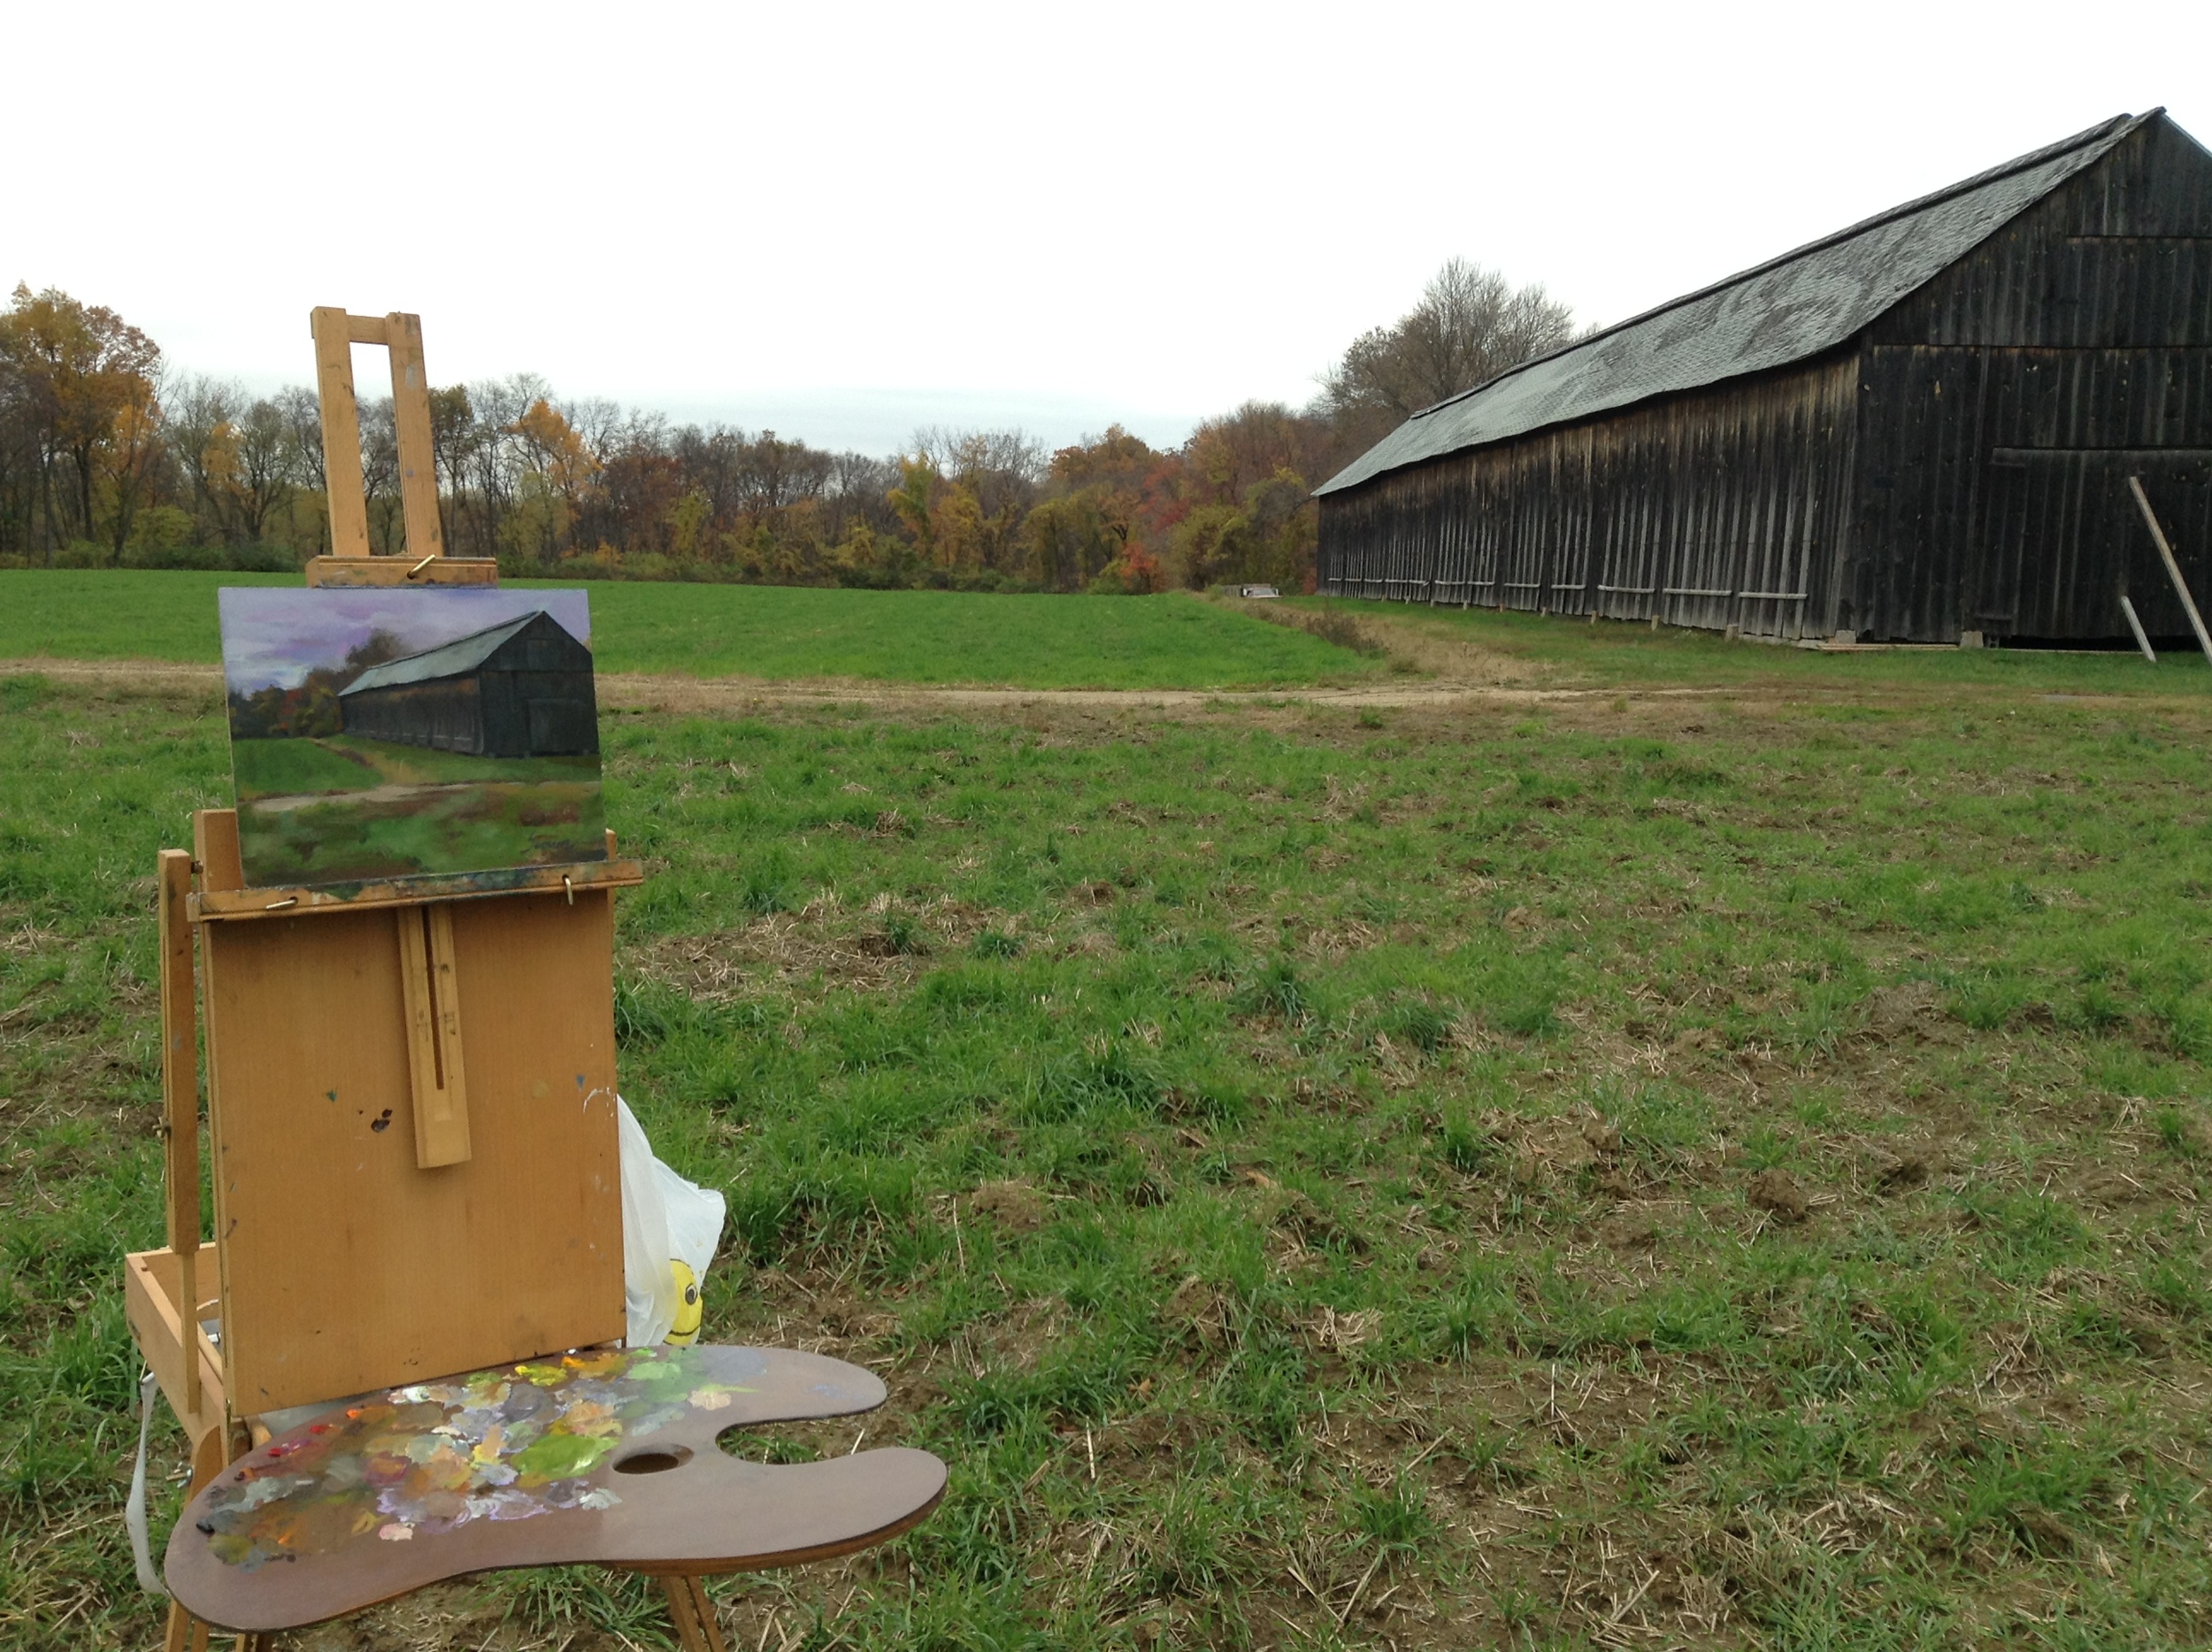
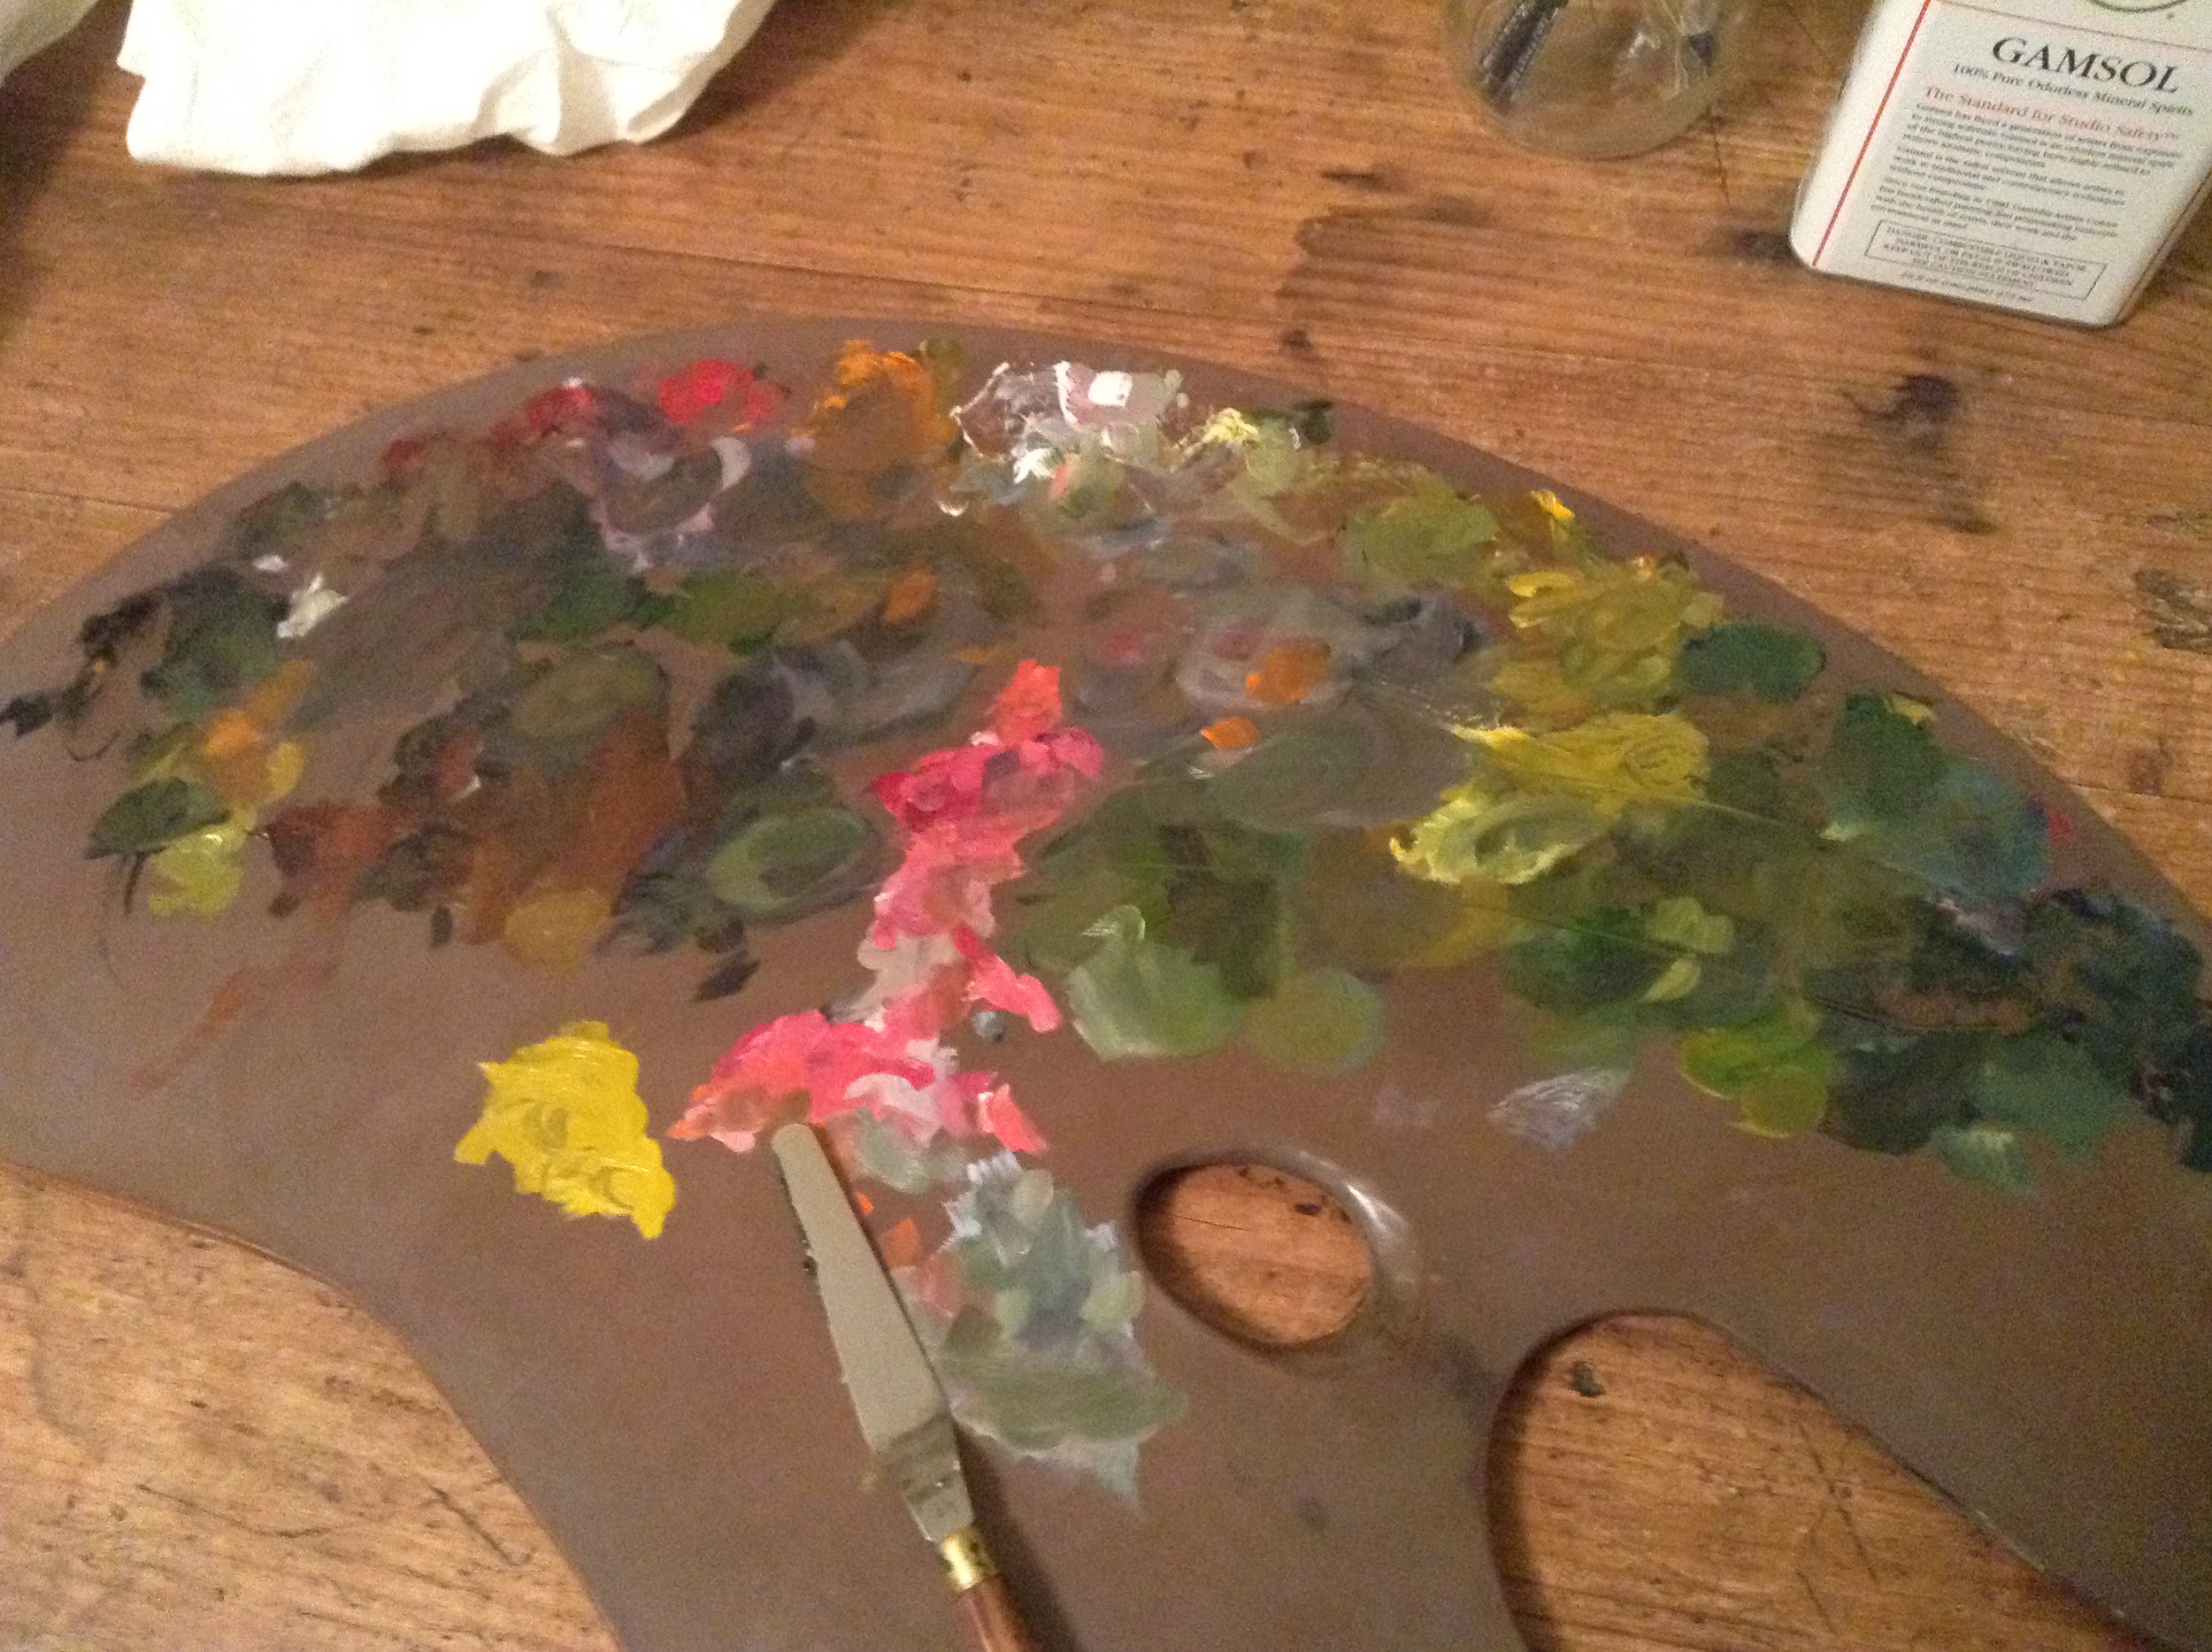
My lovely Aunt Mary and Uncle John let me stay the first weekend of November with them.  I had been up a few weekends before and fell in love with the tobacco barns. I know... sounds strange, but the shape, color of the wood, and strange slated sideboards were SO unique and picturesque! I braved the cold, and did my first painting since making the trek to NYC (all my school work has been in graphite.) They thought I was crazy out there, painting in gloves and layers of sweaters, but the opportunity to swash paint strokes onto canvas was beyond worth it. 

The garden patio behind the house--again, COLD, but well worth it :) The walls are the remains of the original foundation.

The garden patio behind the house--again, COLD, but well worth it :) The walls are the remains of the original foundation.

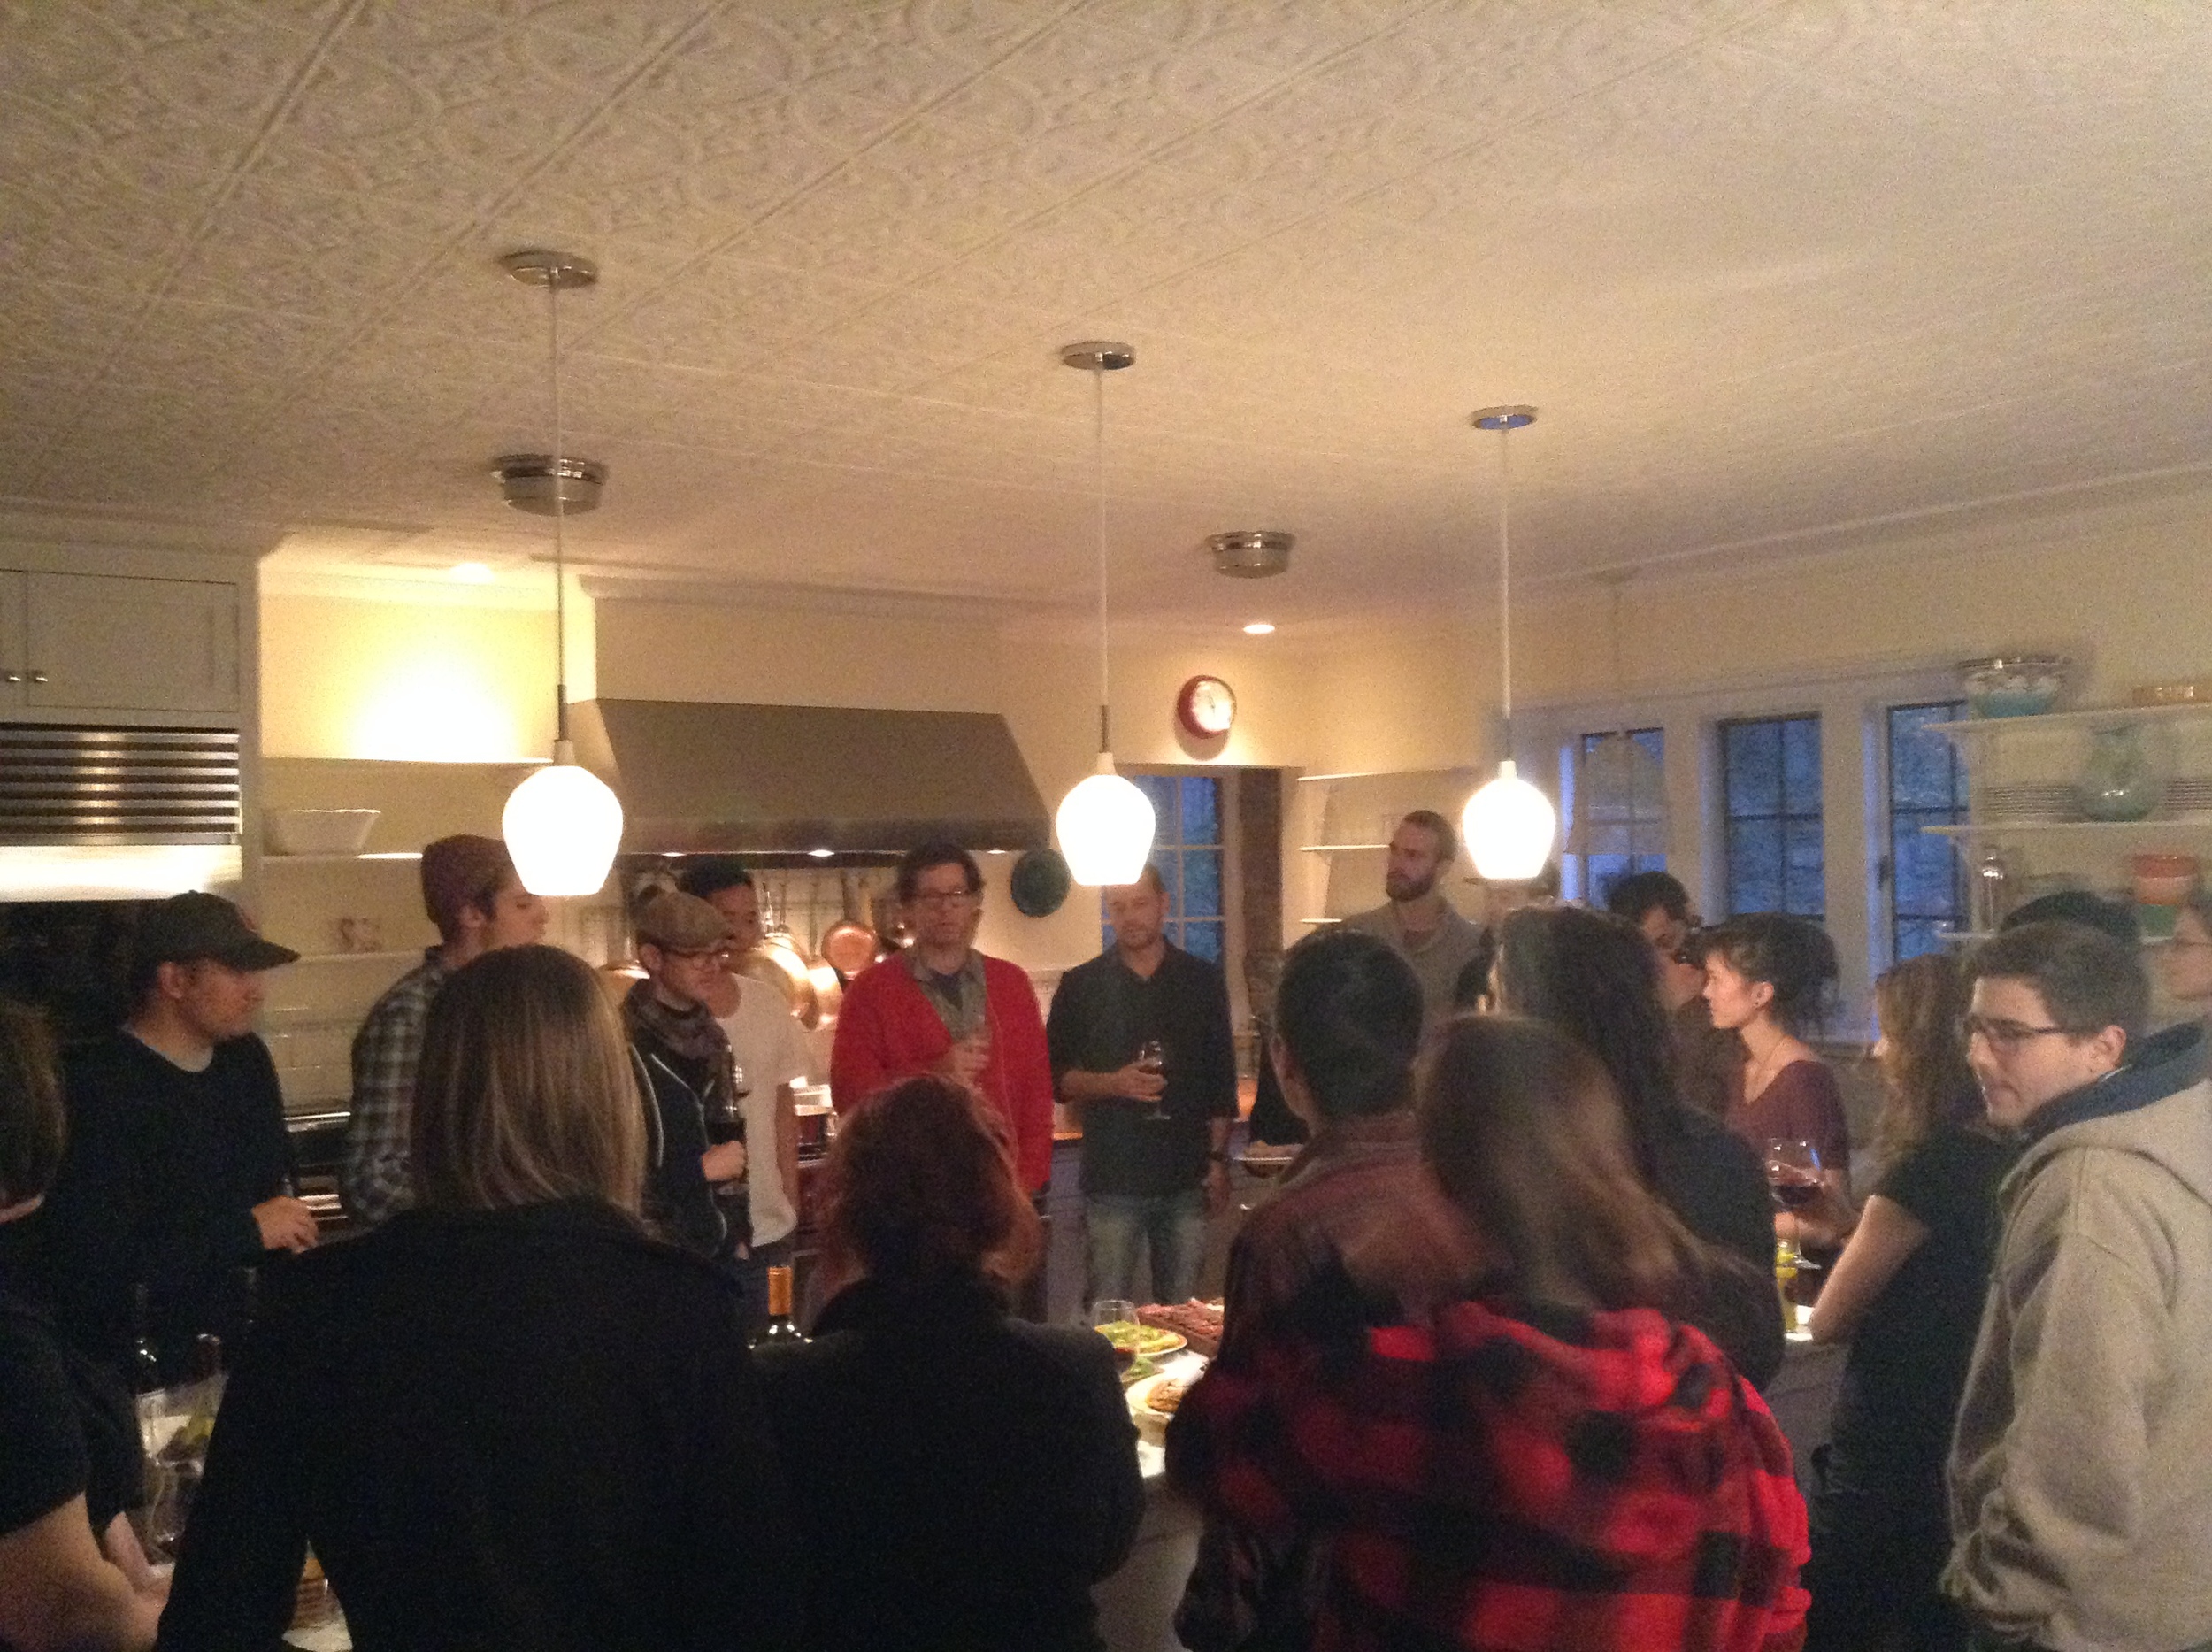
Then, last Friday, most of the school took a day-trip up to instructor Jacob Collin's house in Connecticut. I didn't take as manny pictures as I should've--it was BEAUTIFUL! It looked like a north woods lodge mixed with a secret garden, secluded by trees on all sides, and near a river. Food, wine, friends, and good conversation made for a glorious day, and I even managed to get a painting done! 

Hopefully I can get out to do some cityscapes now that I know I still remember how to hold a brush! ;)

An Unexpected Journey

Walking around a corner doesn’t typically bring huge surprises. Streets look like streets and buildings like buildings. I'm caught off-guard when I walk by someone out with the BIGGEST DOG EVER (we're in New York...where do you keep it??) or I see someone I know out of context,  but a little bit of strange is normal, right?

And don't get me started on the things you see on the subway....

"So THIS is a wardrobe..." Thanks, Lucy, for demonstrating an expression of magical wonder.

"So THIS is a wardrobe..." Thanks, Lucy, for demonstrating an expression of magical wonder.

Gotta love the strangeness of public transportation. I didn't take this particular picture, but click on the pic for some Buzzfeed entertainment!&nbsp;

Gotta love the strangeness of public transportation. I didn't take this particular picture, but click on the pic for some Buzzfeed entertainment! 


However, sometimes there’s another kind of surprise. It’s more of a “I just walked into the wardrobe and found a magical land…” moment.  These aren't as common.

Recent life has had a strange assortment of those moments.

Less than two months ago, I went to New York City by myself for (basically) the first time. I took a summer portrait painting workshop at Grand Central Atelier. I assumed that after the workshop, I would return to Minnesota, finish my final year of art school at The Atelier, and continue life as usual.

My entourage of belongings--4 a.m. on Aug. 31st, the day of departure to NYC! For better or worse, pre-travel all nighters have become a habit. BUT I was ready to go!&nbsp;

My entourage of belongings--4 a.m. on Aug. 31st, the day of departure to NYC! For better or worse, pre-travel all nighters have become a habit. BUT I was ready to go! 

That is not exactly what happened. Fast-forward to present: a series of events (much like the tornado in Wizard of Oz) finds me on the Upper West Side of Manhattan, NY for a few more days–HUGE thanks to the Kurtz family!—and I’m about to lease an apartment. I’m now attending Grand Central Atelier’s full-time art program and living out of a suitcase (…kind of. ;)

After I got back from the NYC workshop, there were all sorts of fun things that happened in a three week span—applying to Grand Central, finishing out my waitressing jobs, packing up and moving out of my apartment and studio, finishing a half-done painting, turning 22, getting together with as many people as possible, trying to plan living arrangements for NYC, and... putting together two art shows that I hoped would generate revenue to help with tuition (which they did!)

Thank you so. so. so. much to everyone who helped make this happen, and all the amazing people I've met since moving to NYC!

Thank you so. so. so. much to everyone who helped make this happen, and all the amazing people I've met since moving to NYC!

All of this was done with the unbelievable support of family and friends who, rather than telling me I was crazy, rallied around ready to do whatever was needed.

August of 2014 will forever send my mind reeling. (And all summer I thought it would be a quiet month--ha!) The future has become both less certain, and strangely less scary--something like learning to enjoy the adventure in the midst of it. I'm becoming less certain about the world around me, and yet more certain of the peace I can have, no matter the circumstances.

More to come on that... :)

I’ve included a few links to articles that were written by my hometown newspapers:

I’m greatly honored that they considered my story worth sharing--if you get the chance, I hope you enjoy reading them! 

Also, check back soon--I’ll be posting:

·      Pictures from the July/August week of the workshop

·      A recap and pictures from “Along the Way”

·      Pictures of what I’ve been up to--at school and elsewhere!!

·      The concept behind the name “Adrift by Design”

After that, the rhythm will be posts every-other week. I would LOVE to hear from you, so don’t hesitate to comment below or send me a message!