Laocoön and I are becoming good friends--a strong foundation for the looooong relationship that lies ahead. It's hard to believe it's only been a week!
As we approach our 1-week anniversary, the first stage--the block-in--is complete.
Well.. complete-ish. Ted (my crazy instructor who co-hosts the amazing podcast "Suggested Donations") told me to go through and redraw all of the lines as form. Which I thought I was doing but I guess I wasn't. *Sigh*
I guess that means I have one more day, but I'm going to write this post like the block-in is over ;)
Block-In: *The drafting stage of the drawing. The contours of form are clearly and carefully drawn, and the boundaries of the shadows are drawn in as well. The block-in lines will change very little, if at all, throughout the rest of the drawing. *
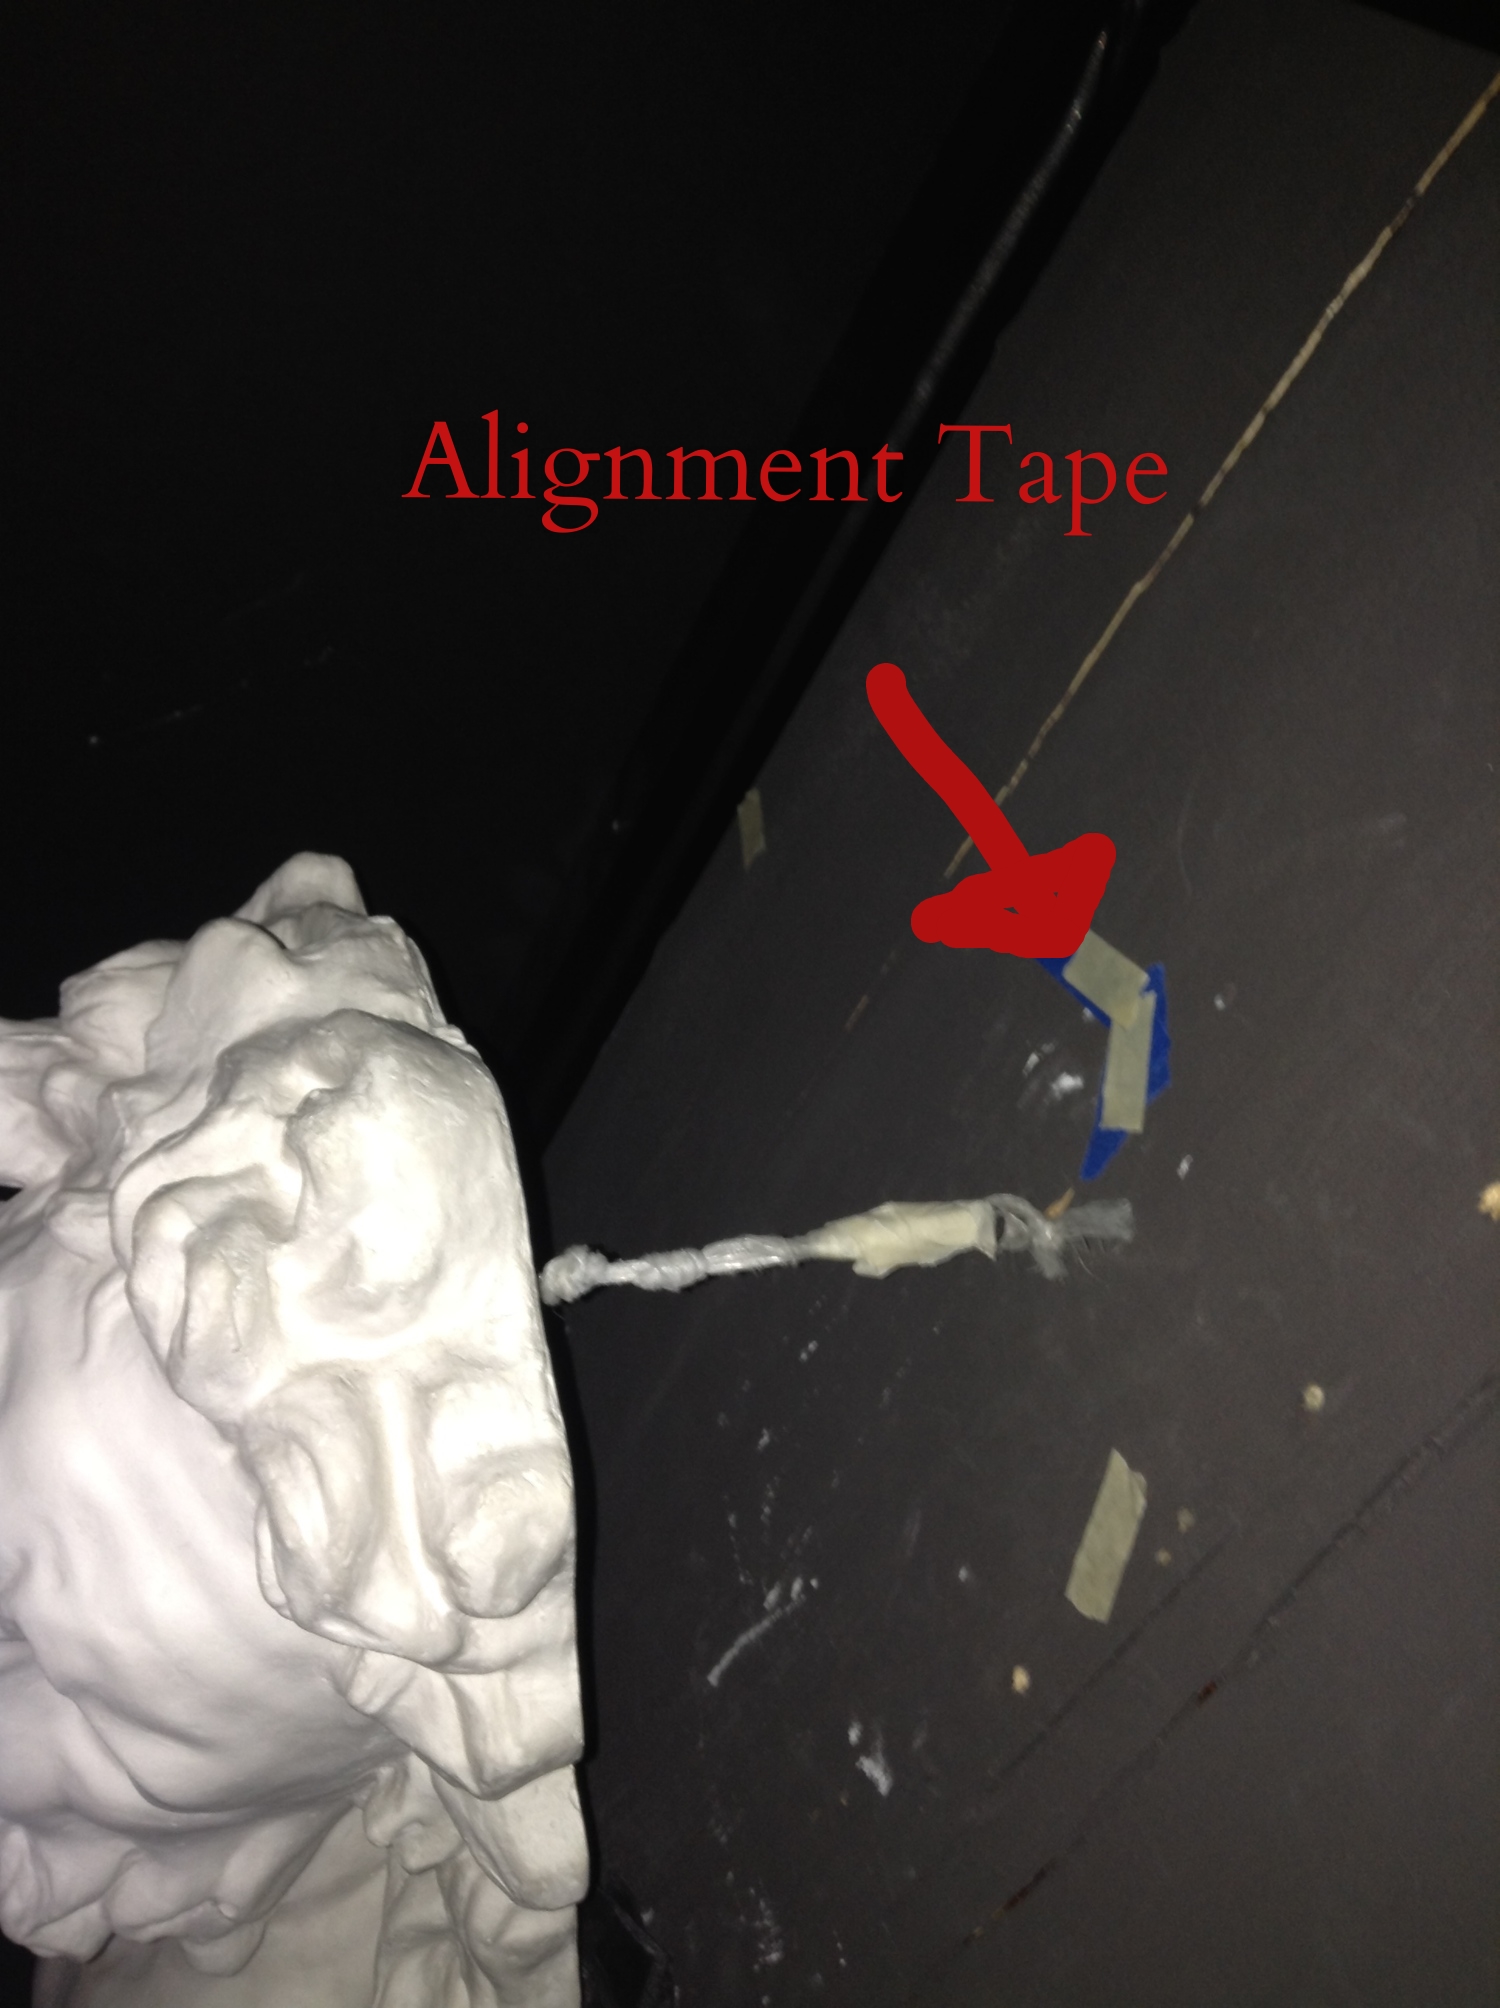
Correct and Refine for Transfer
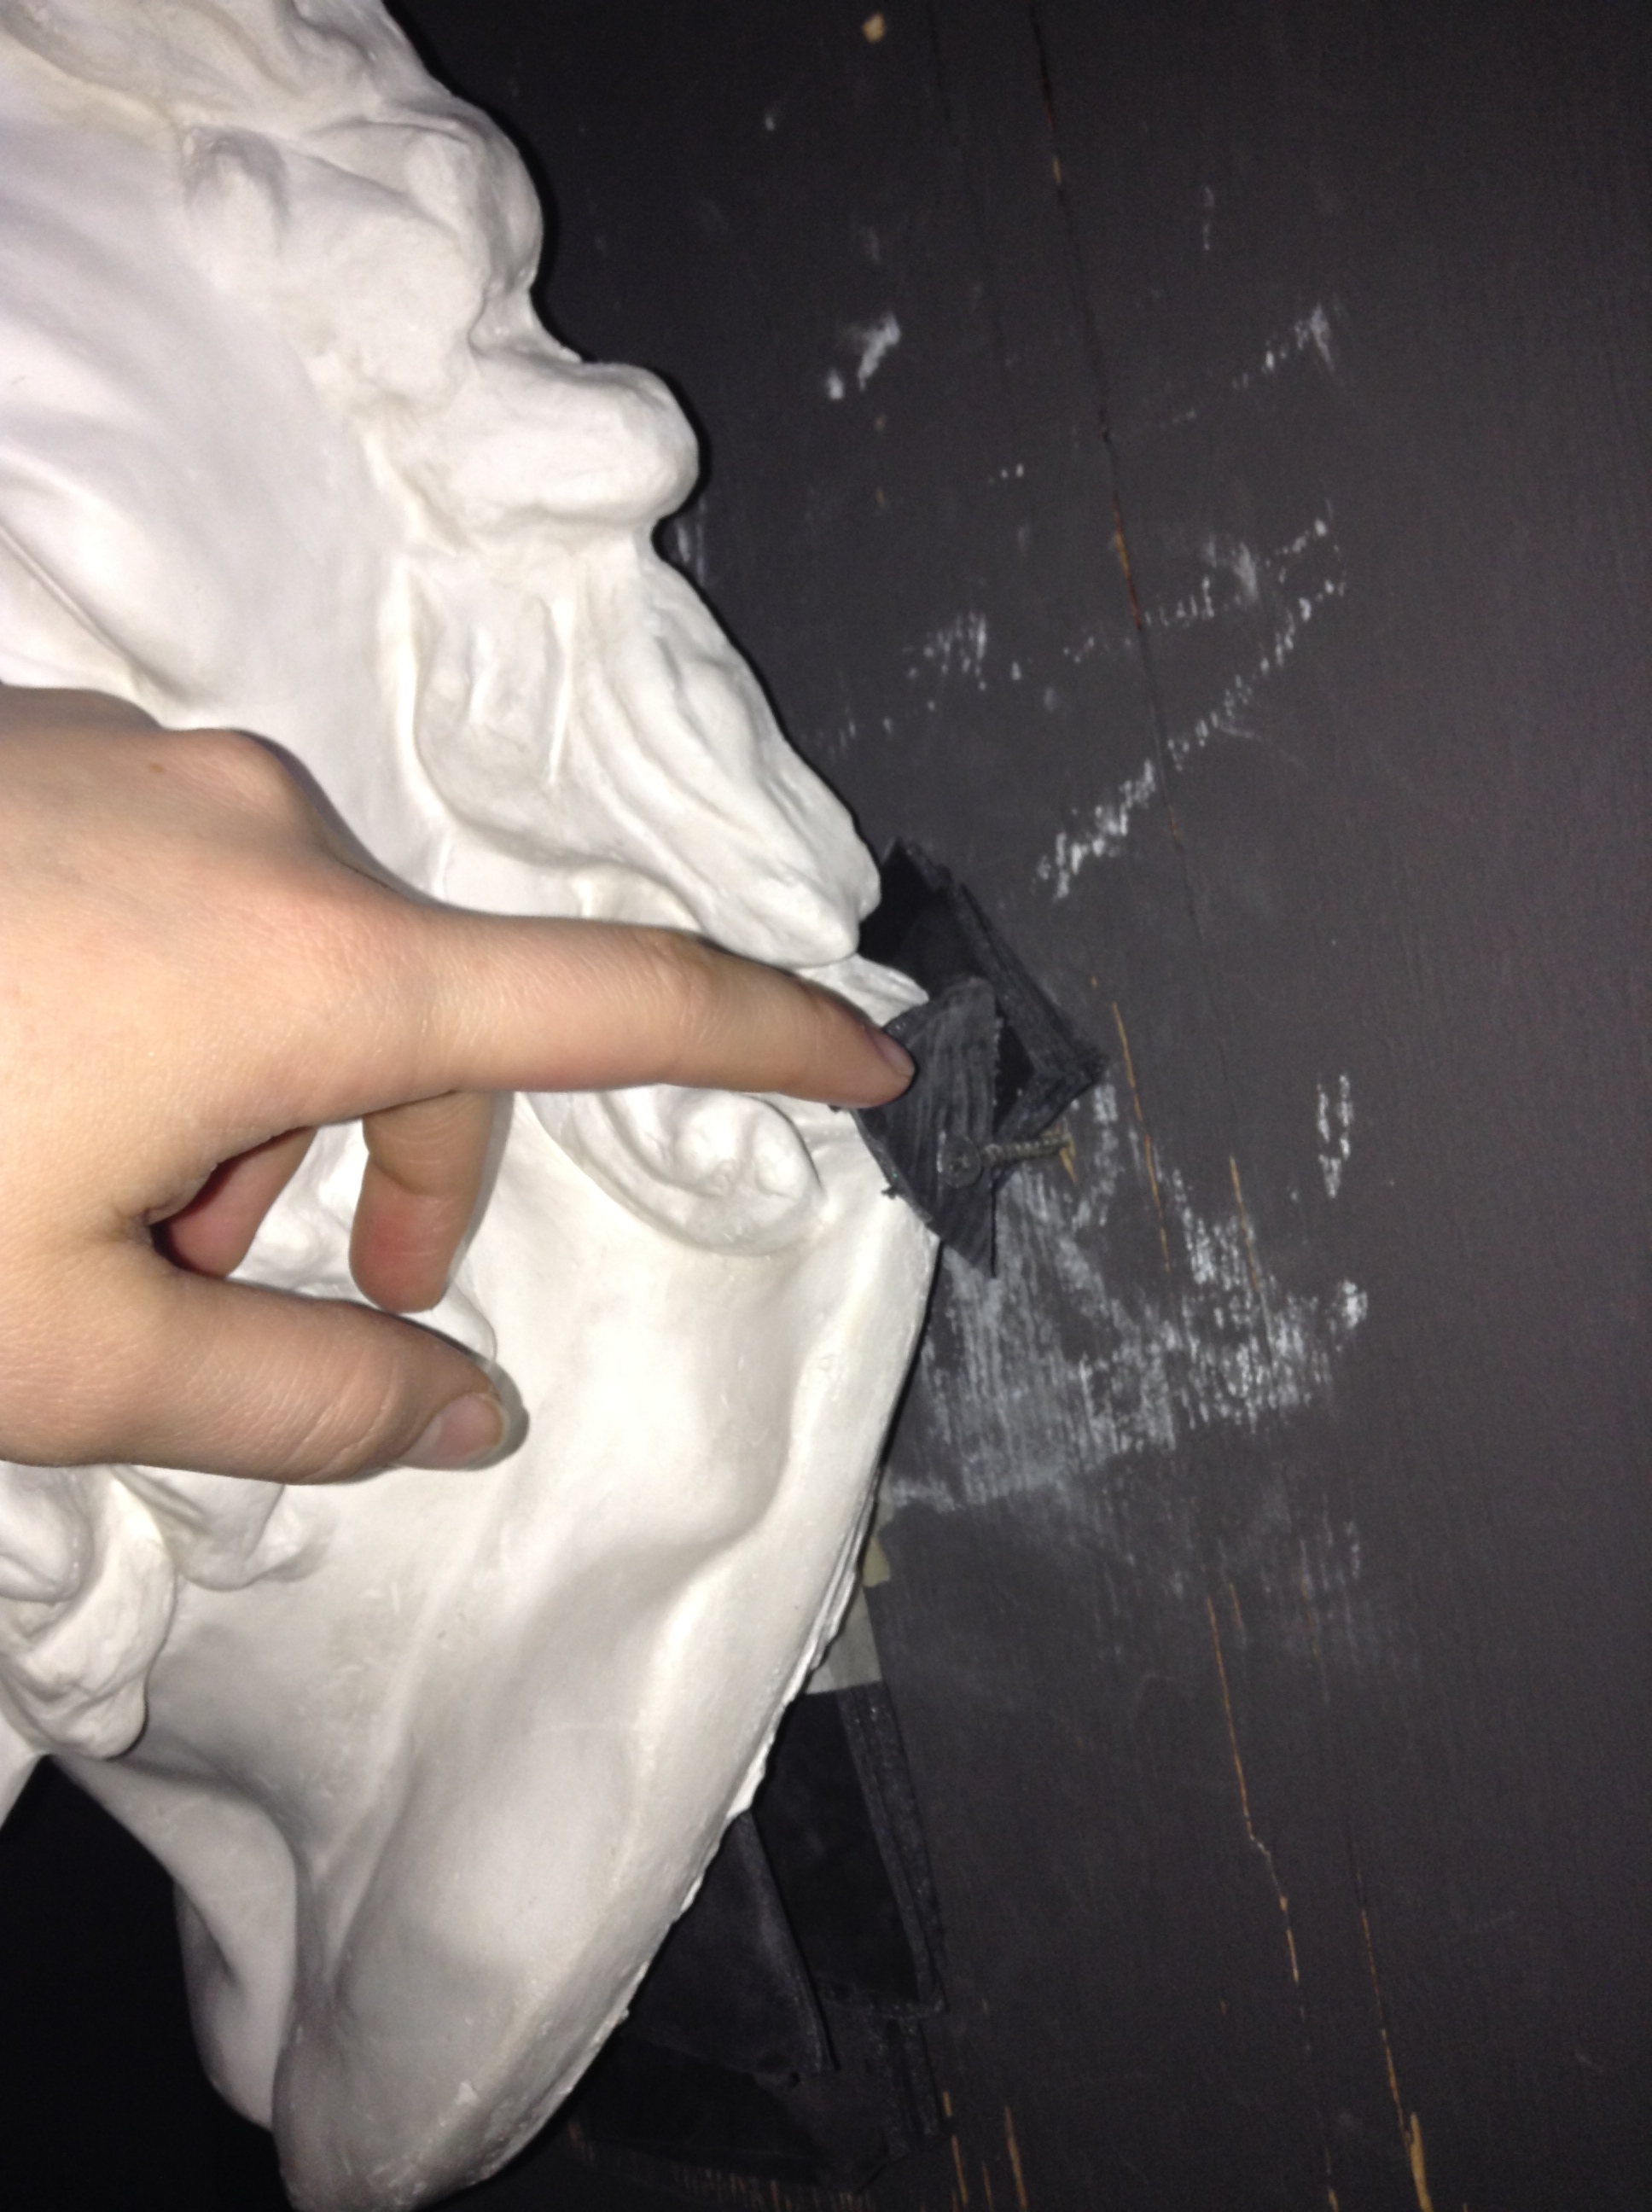
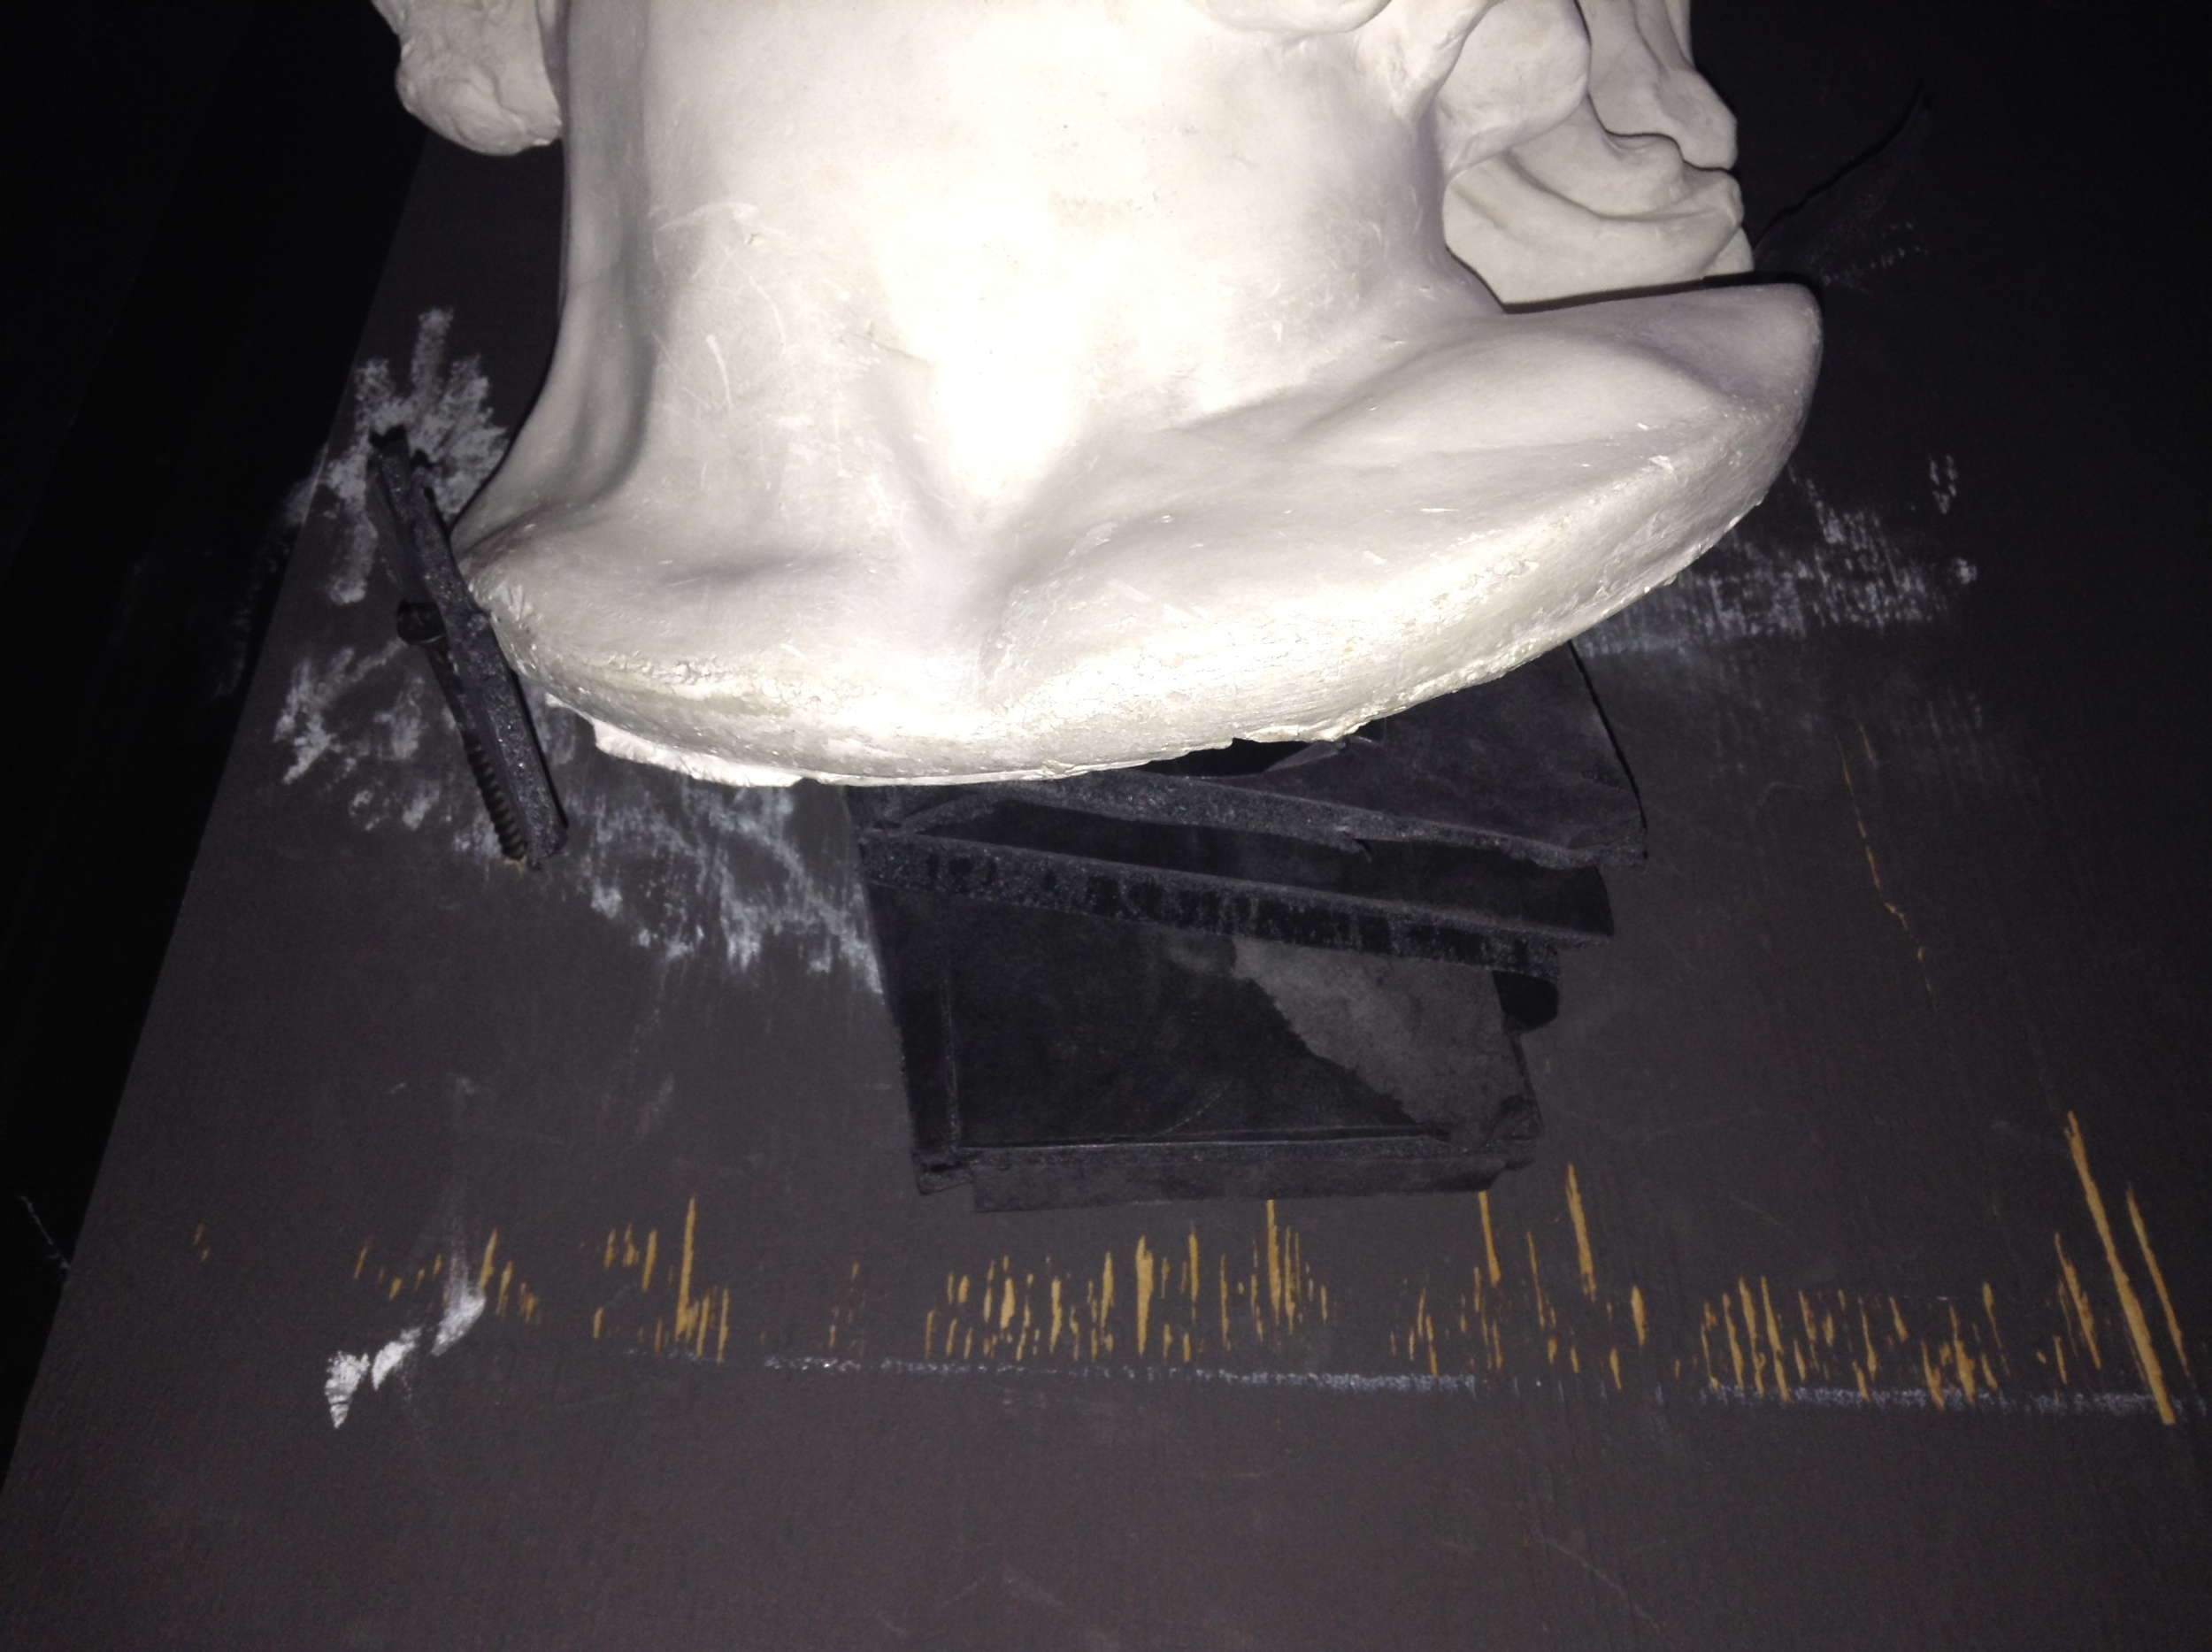
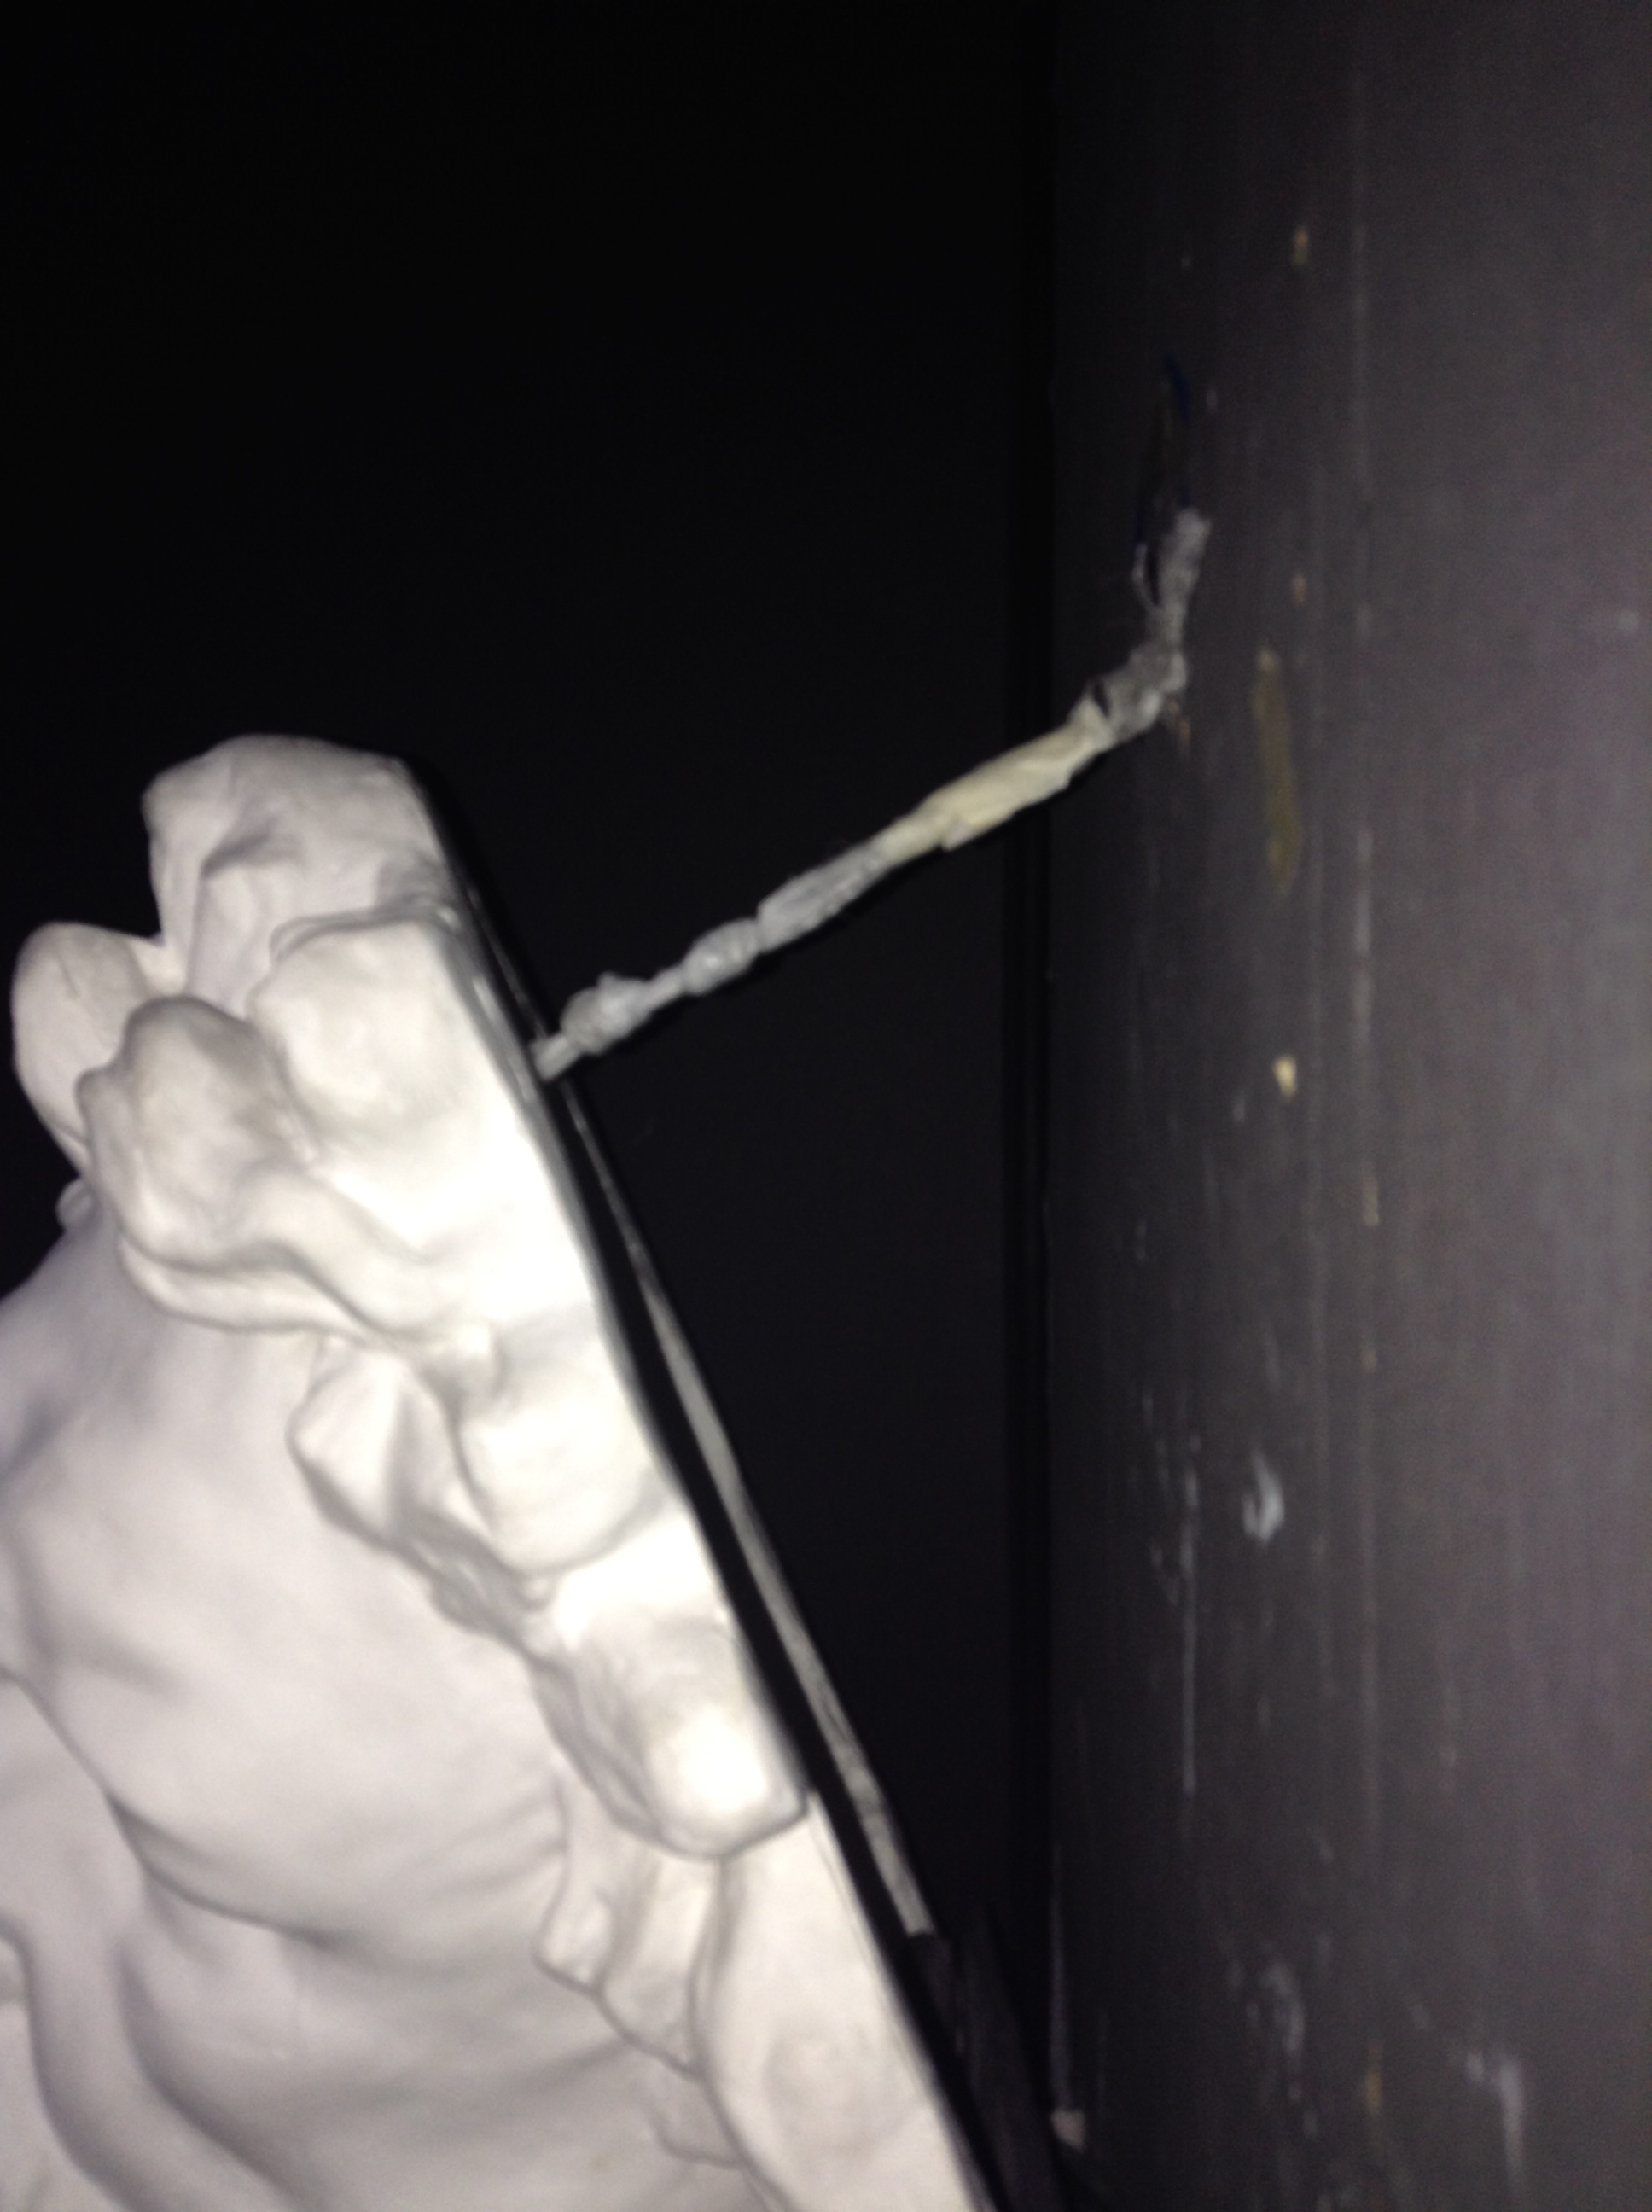
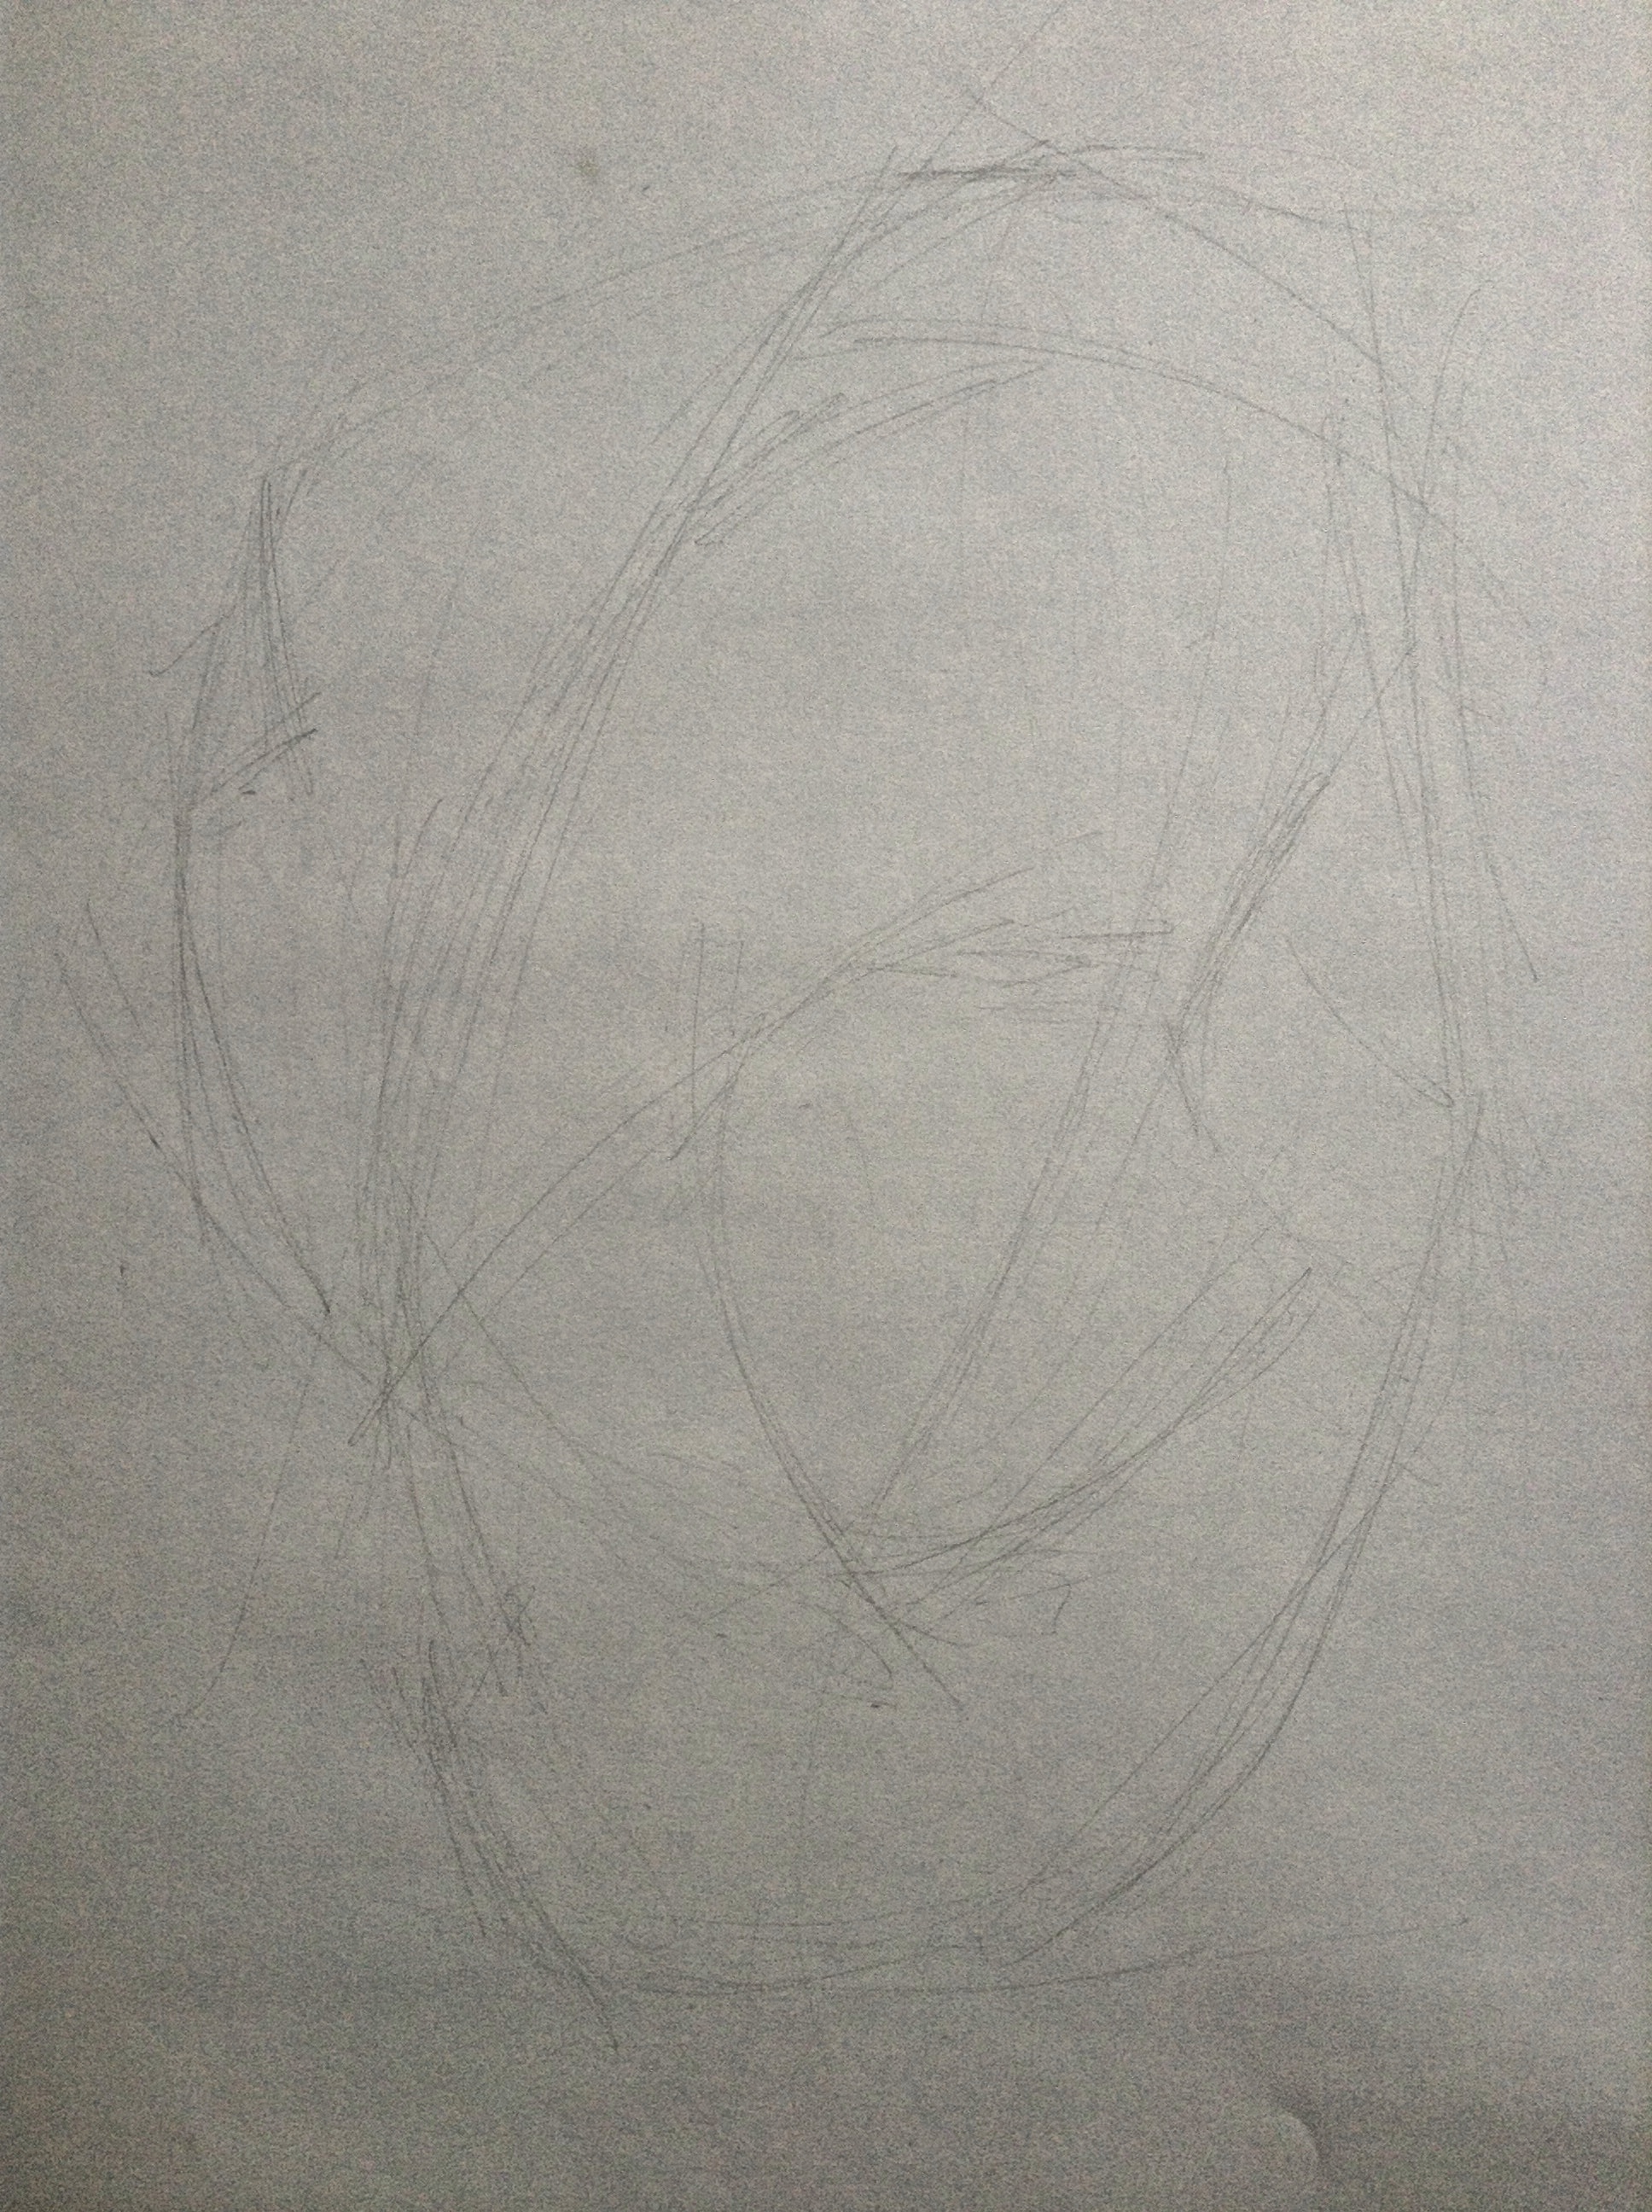
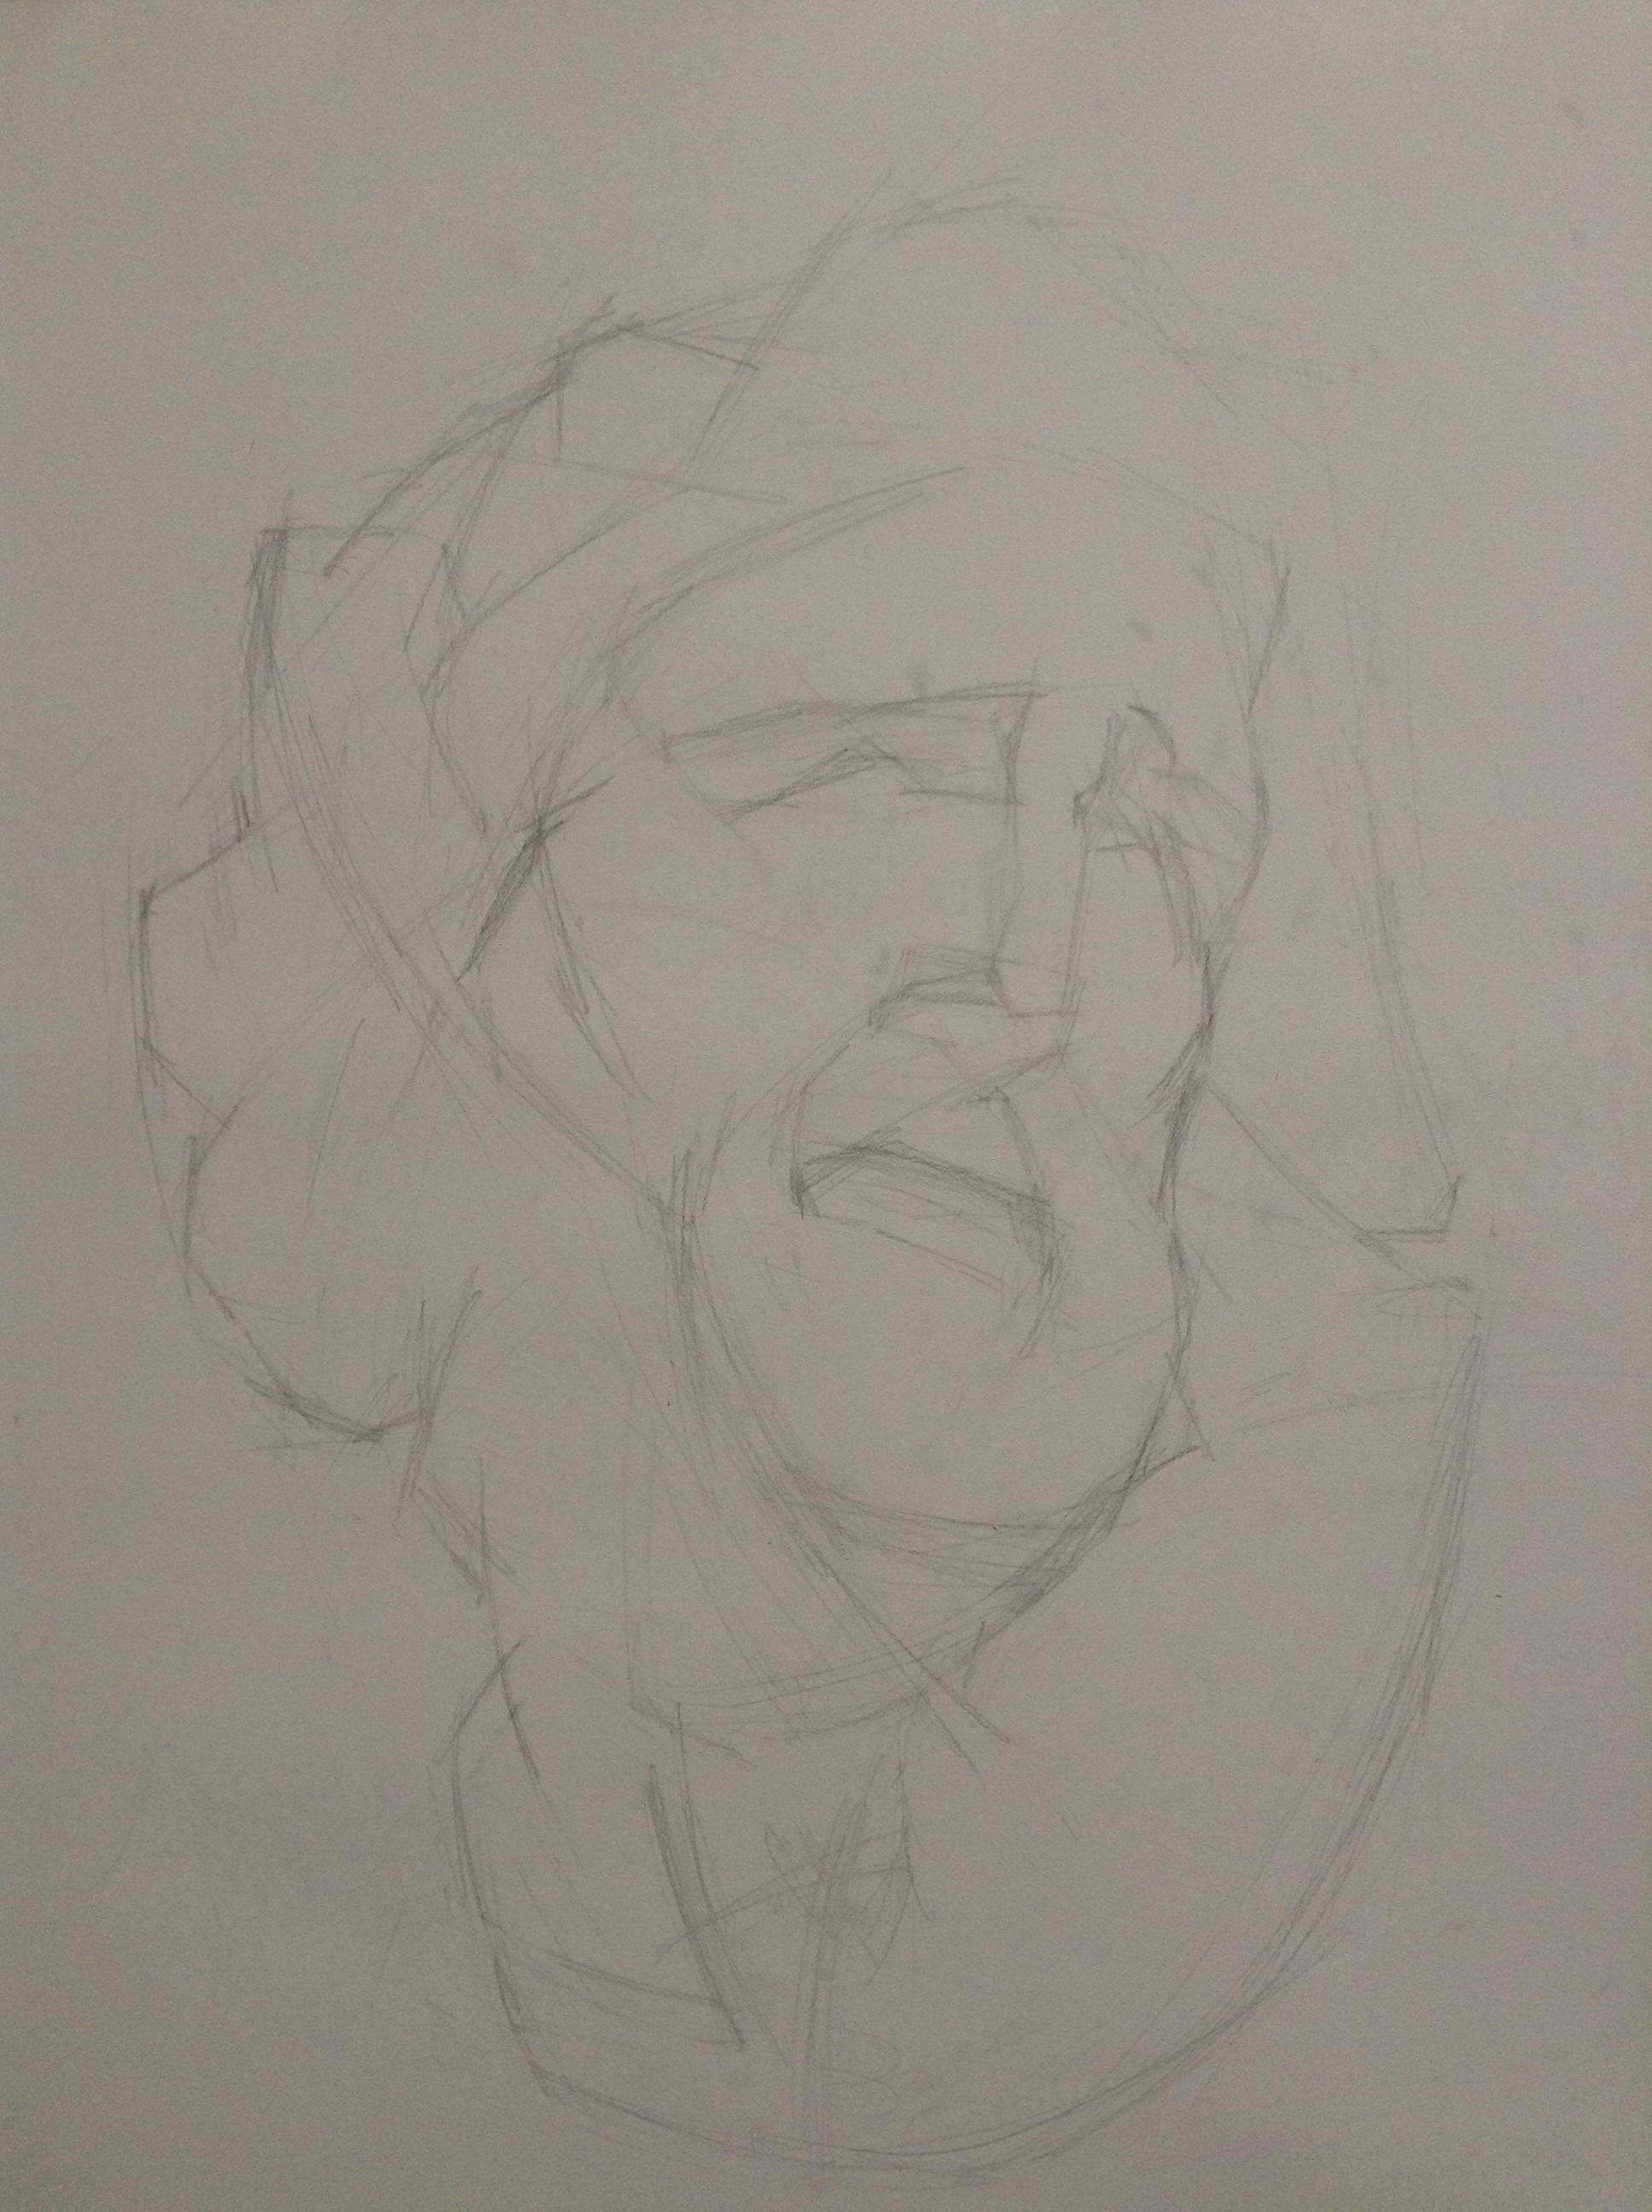
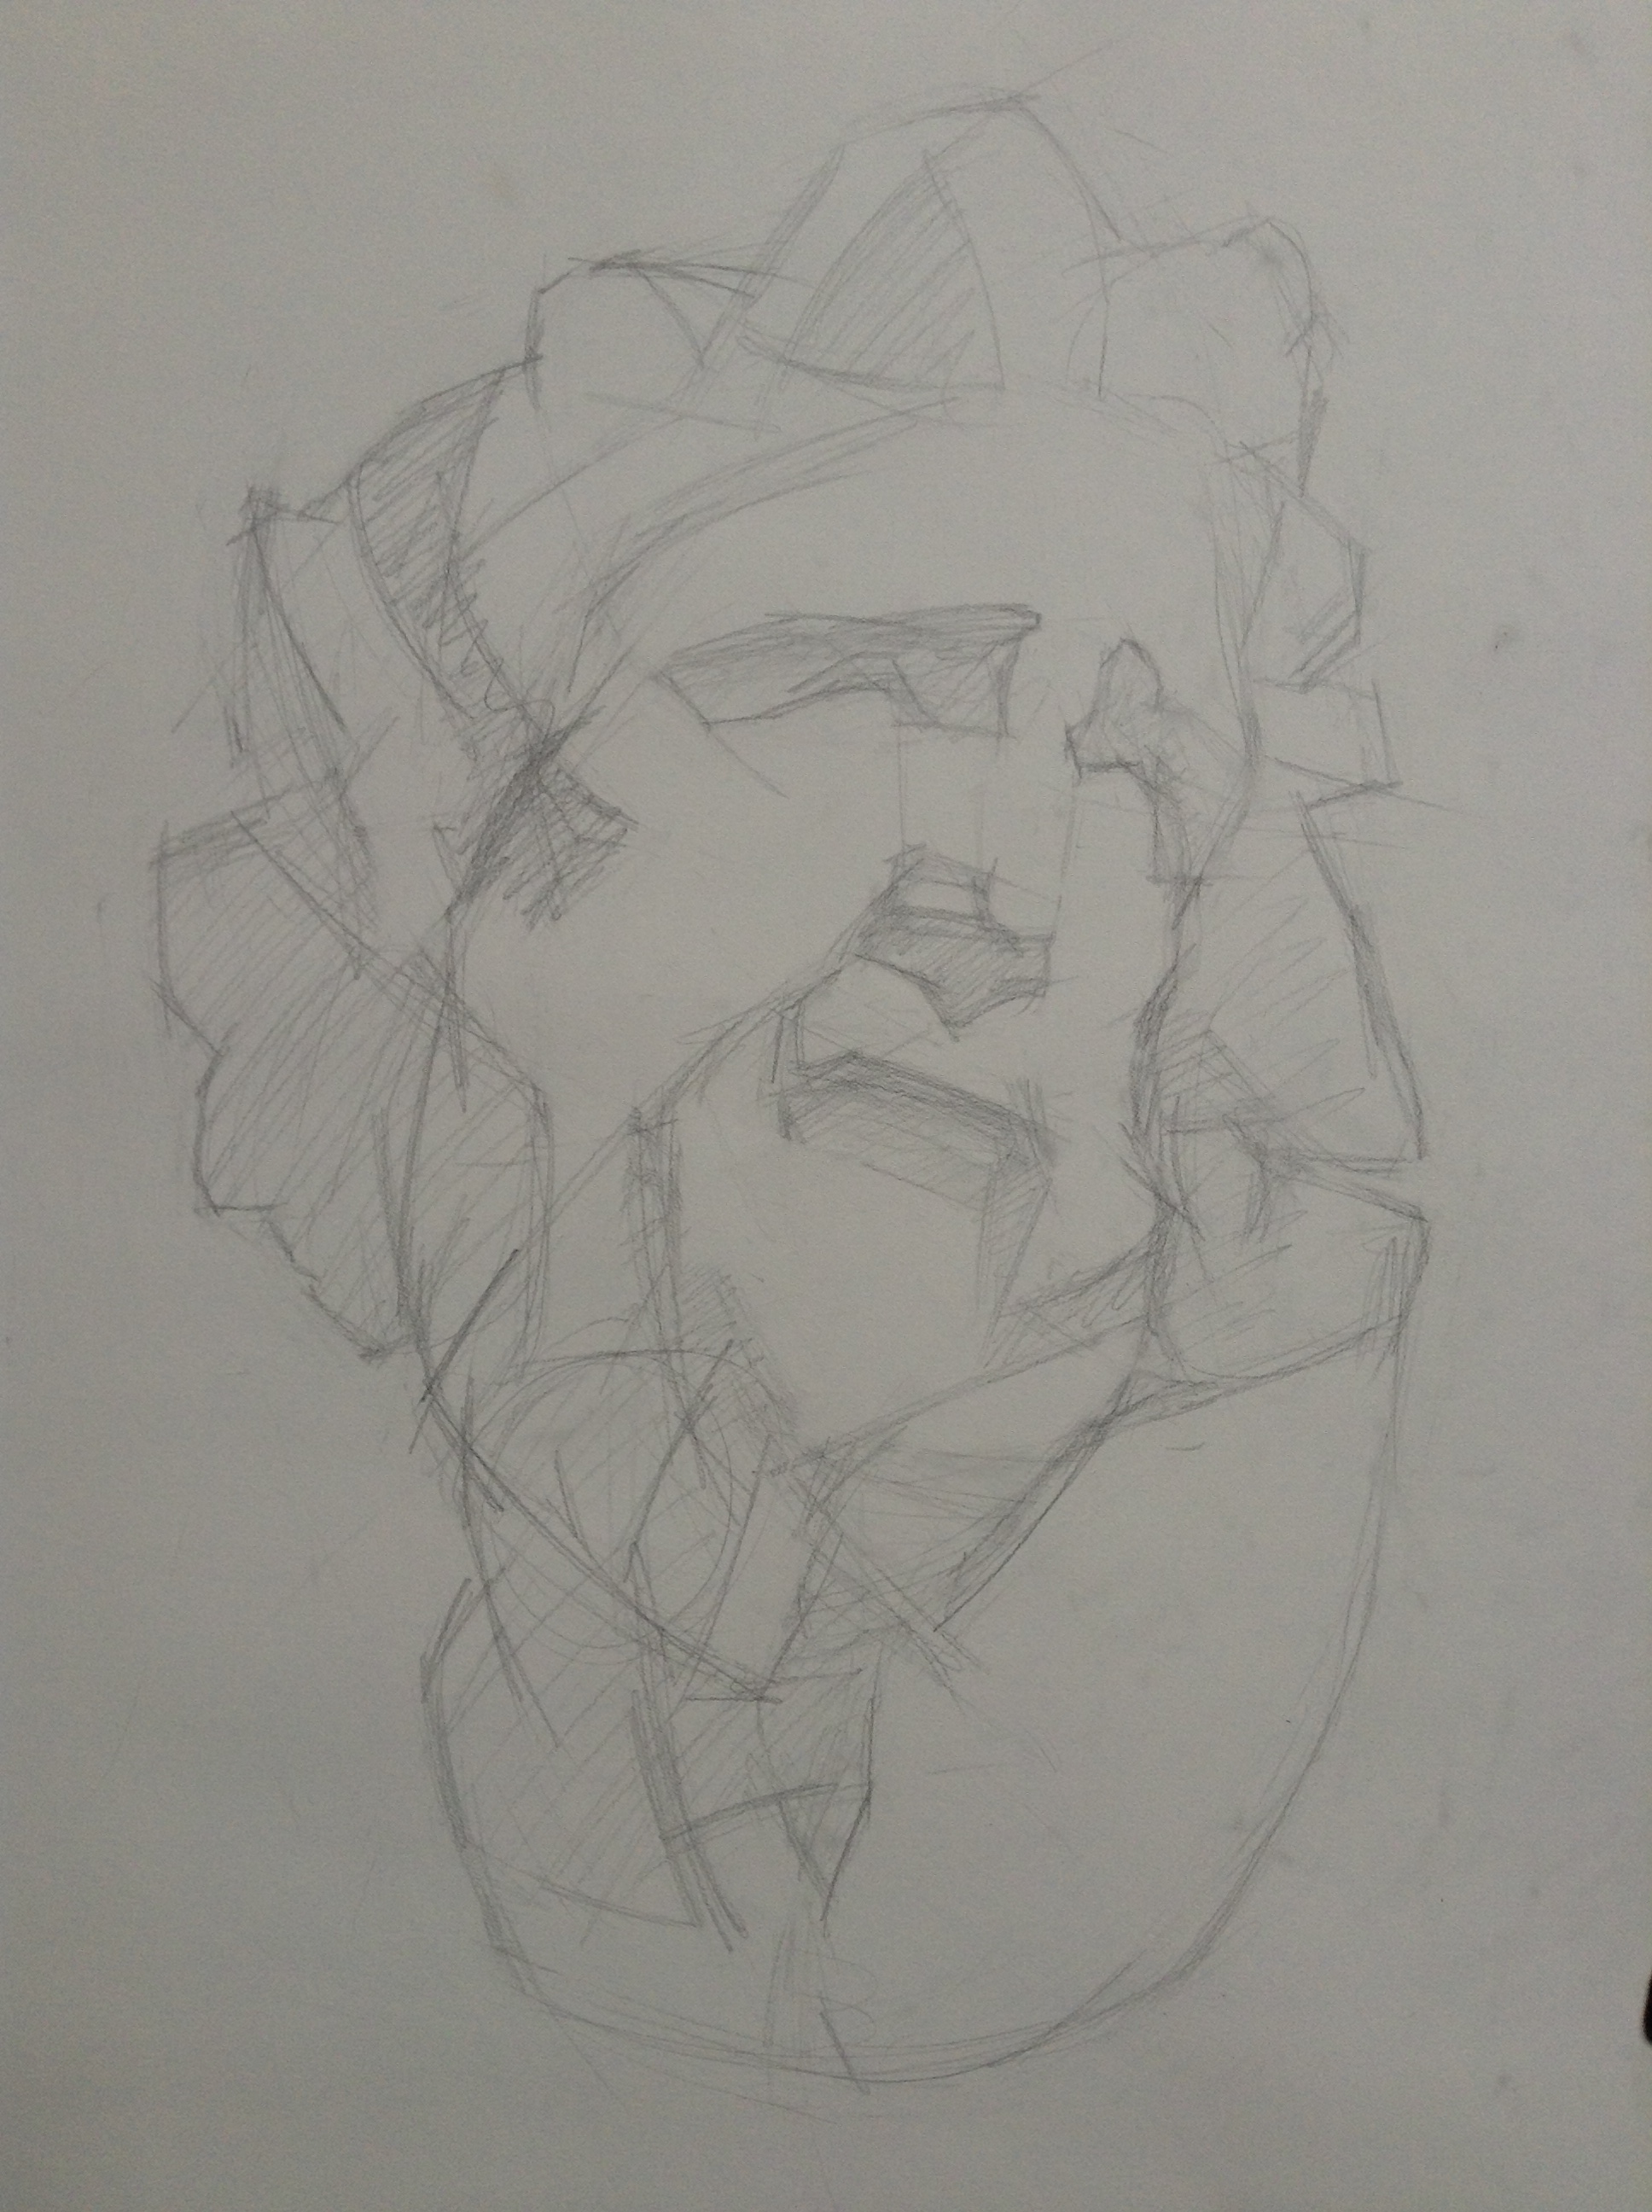
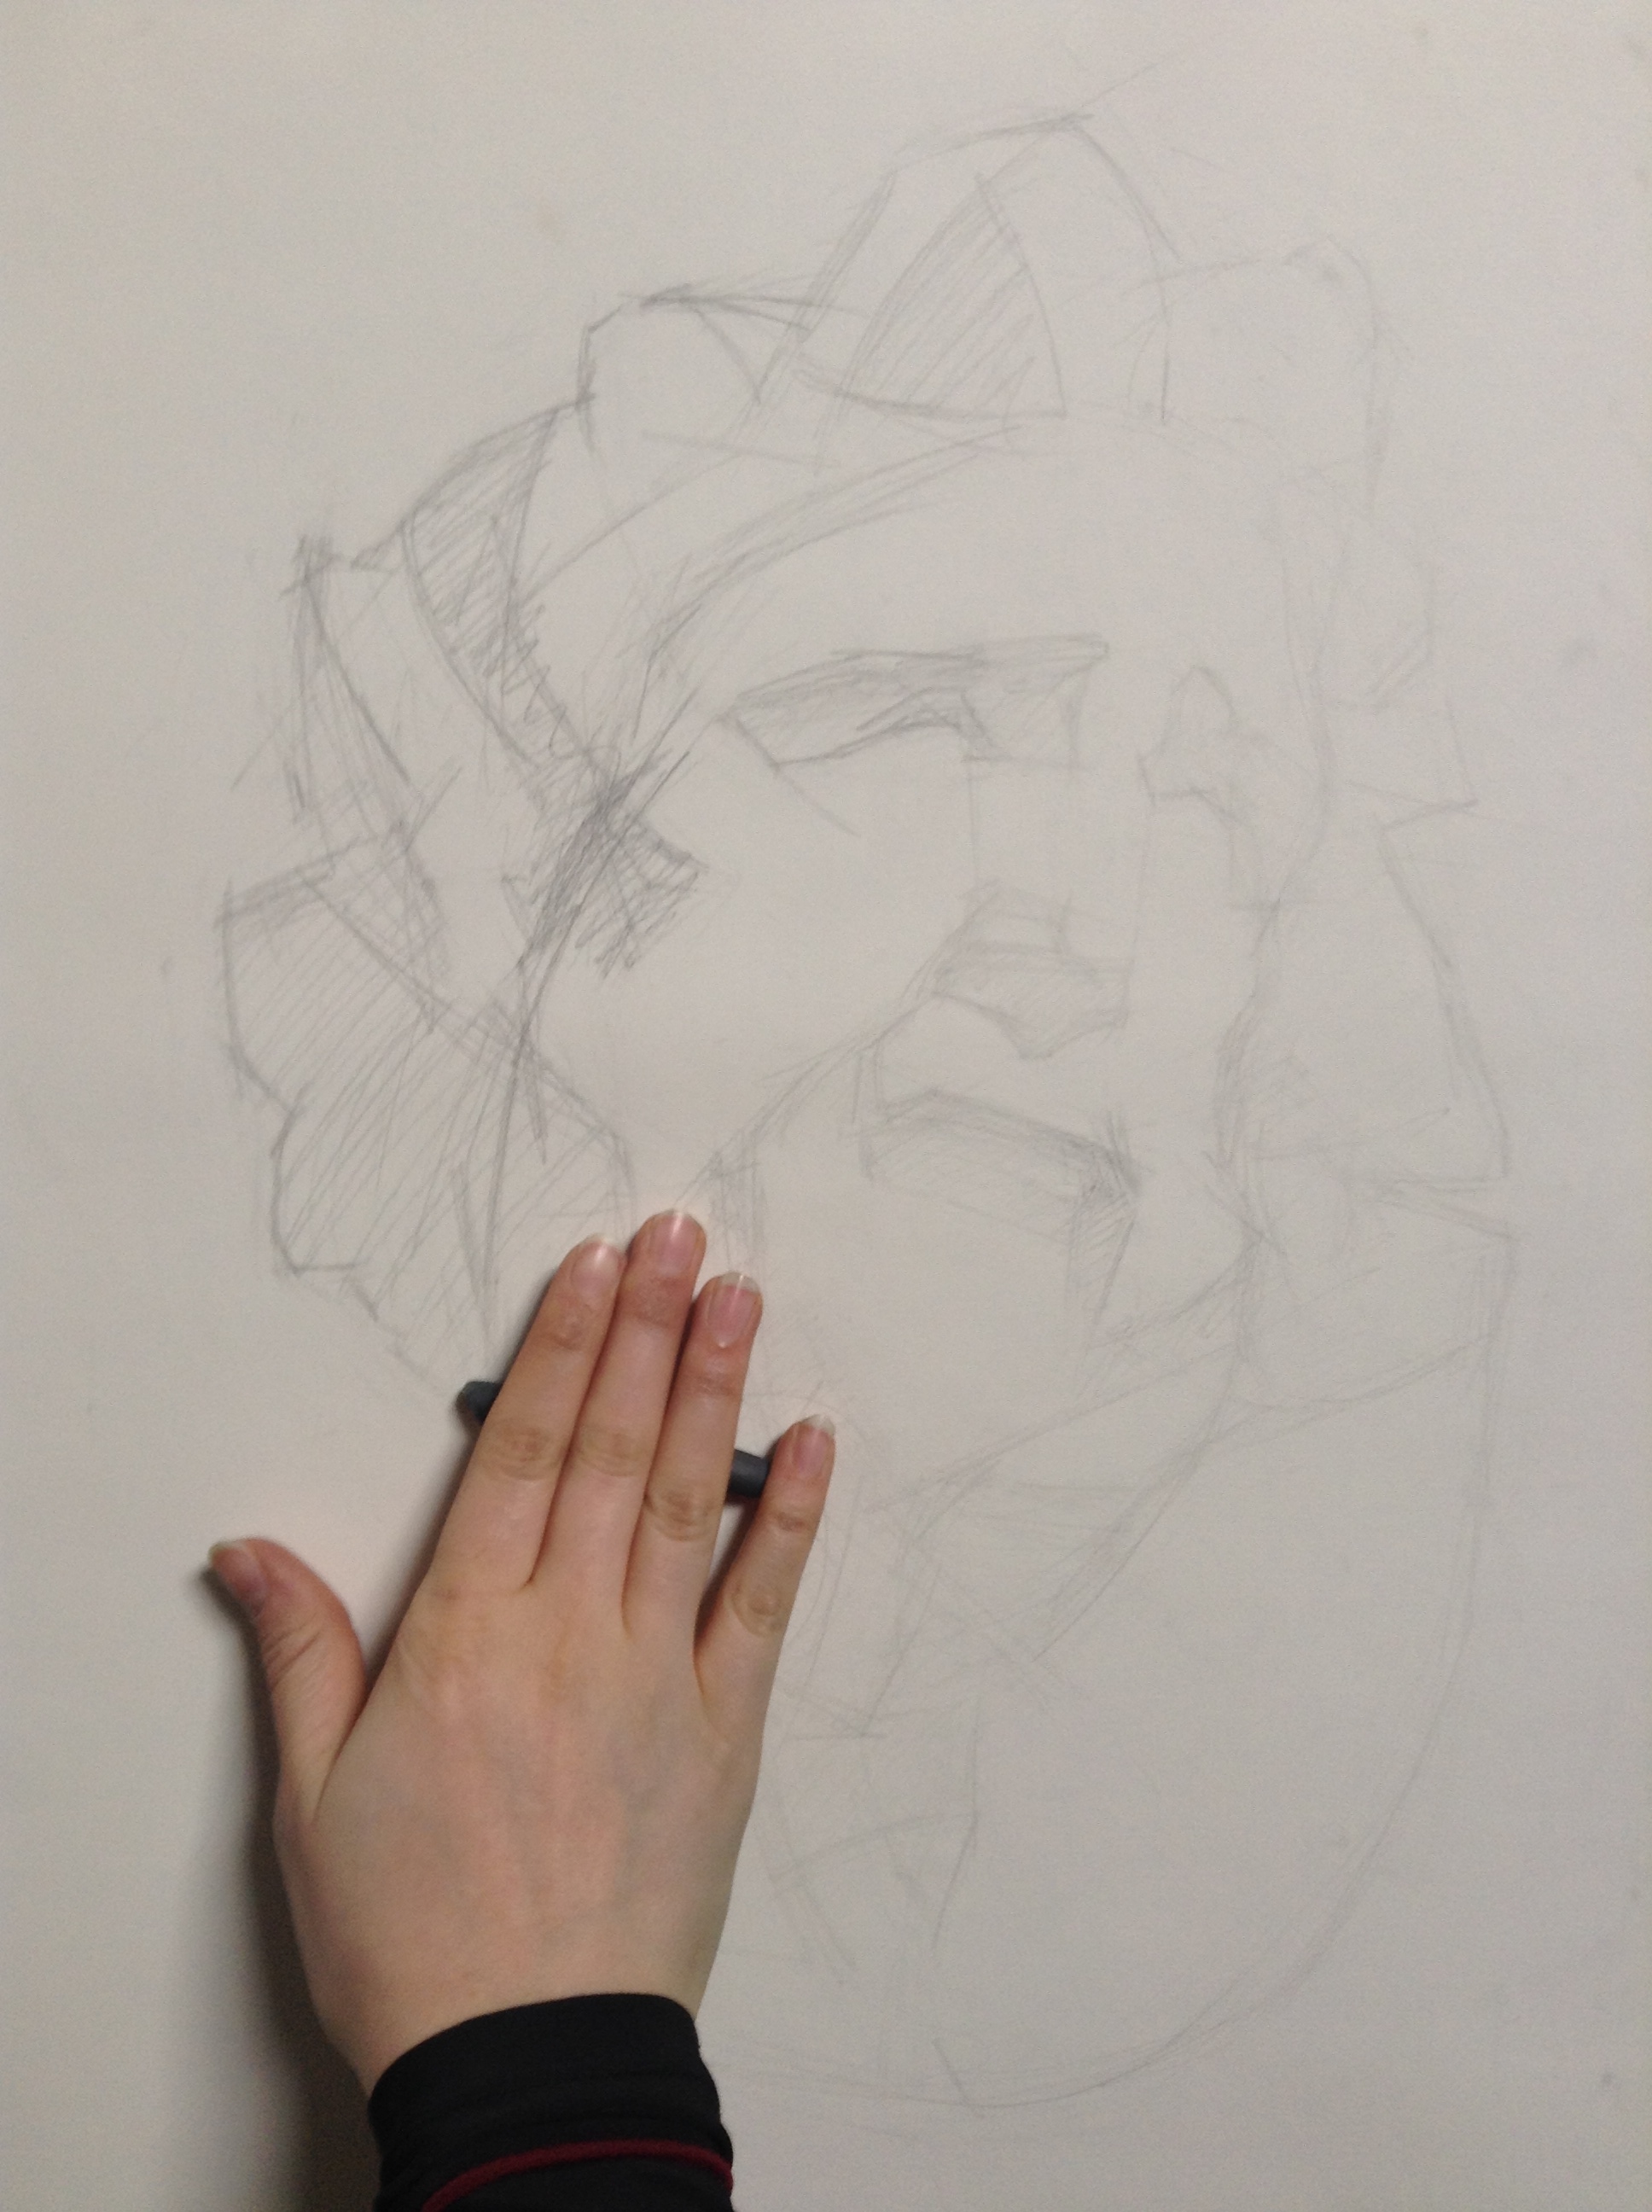
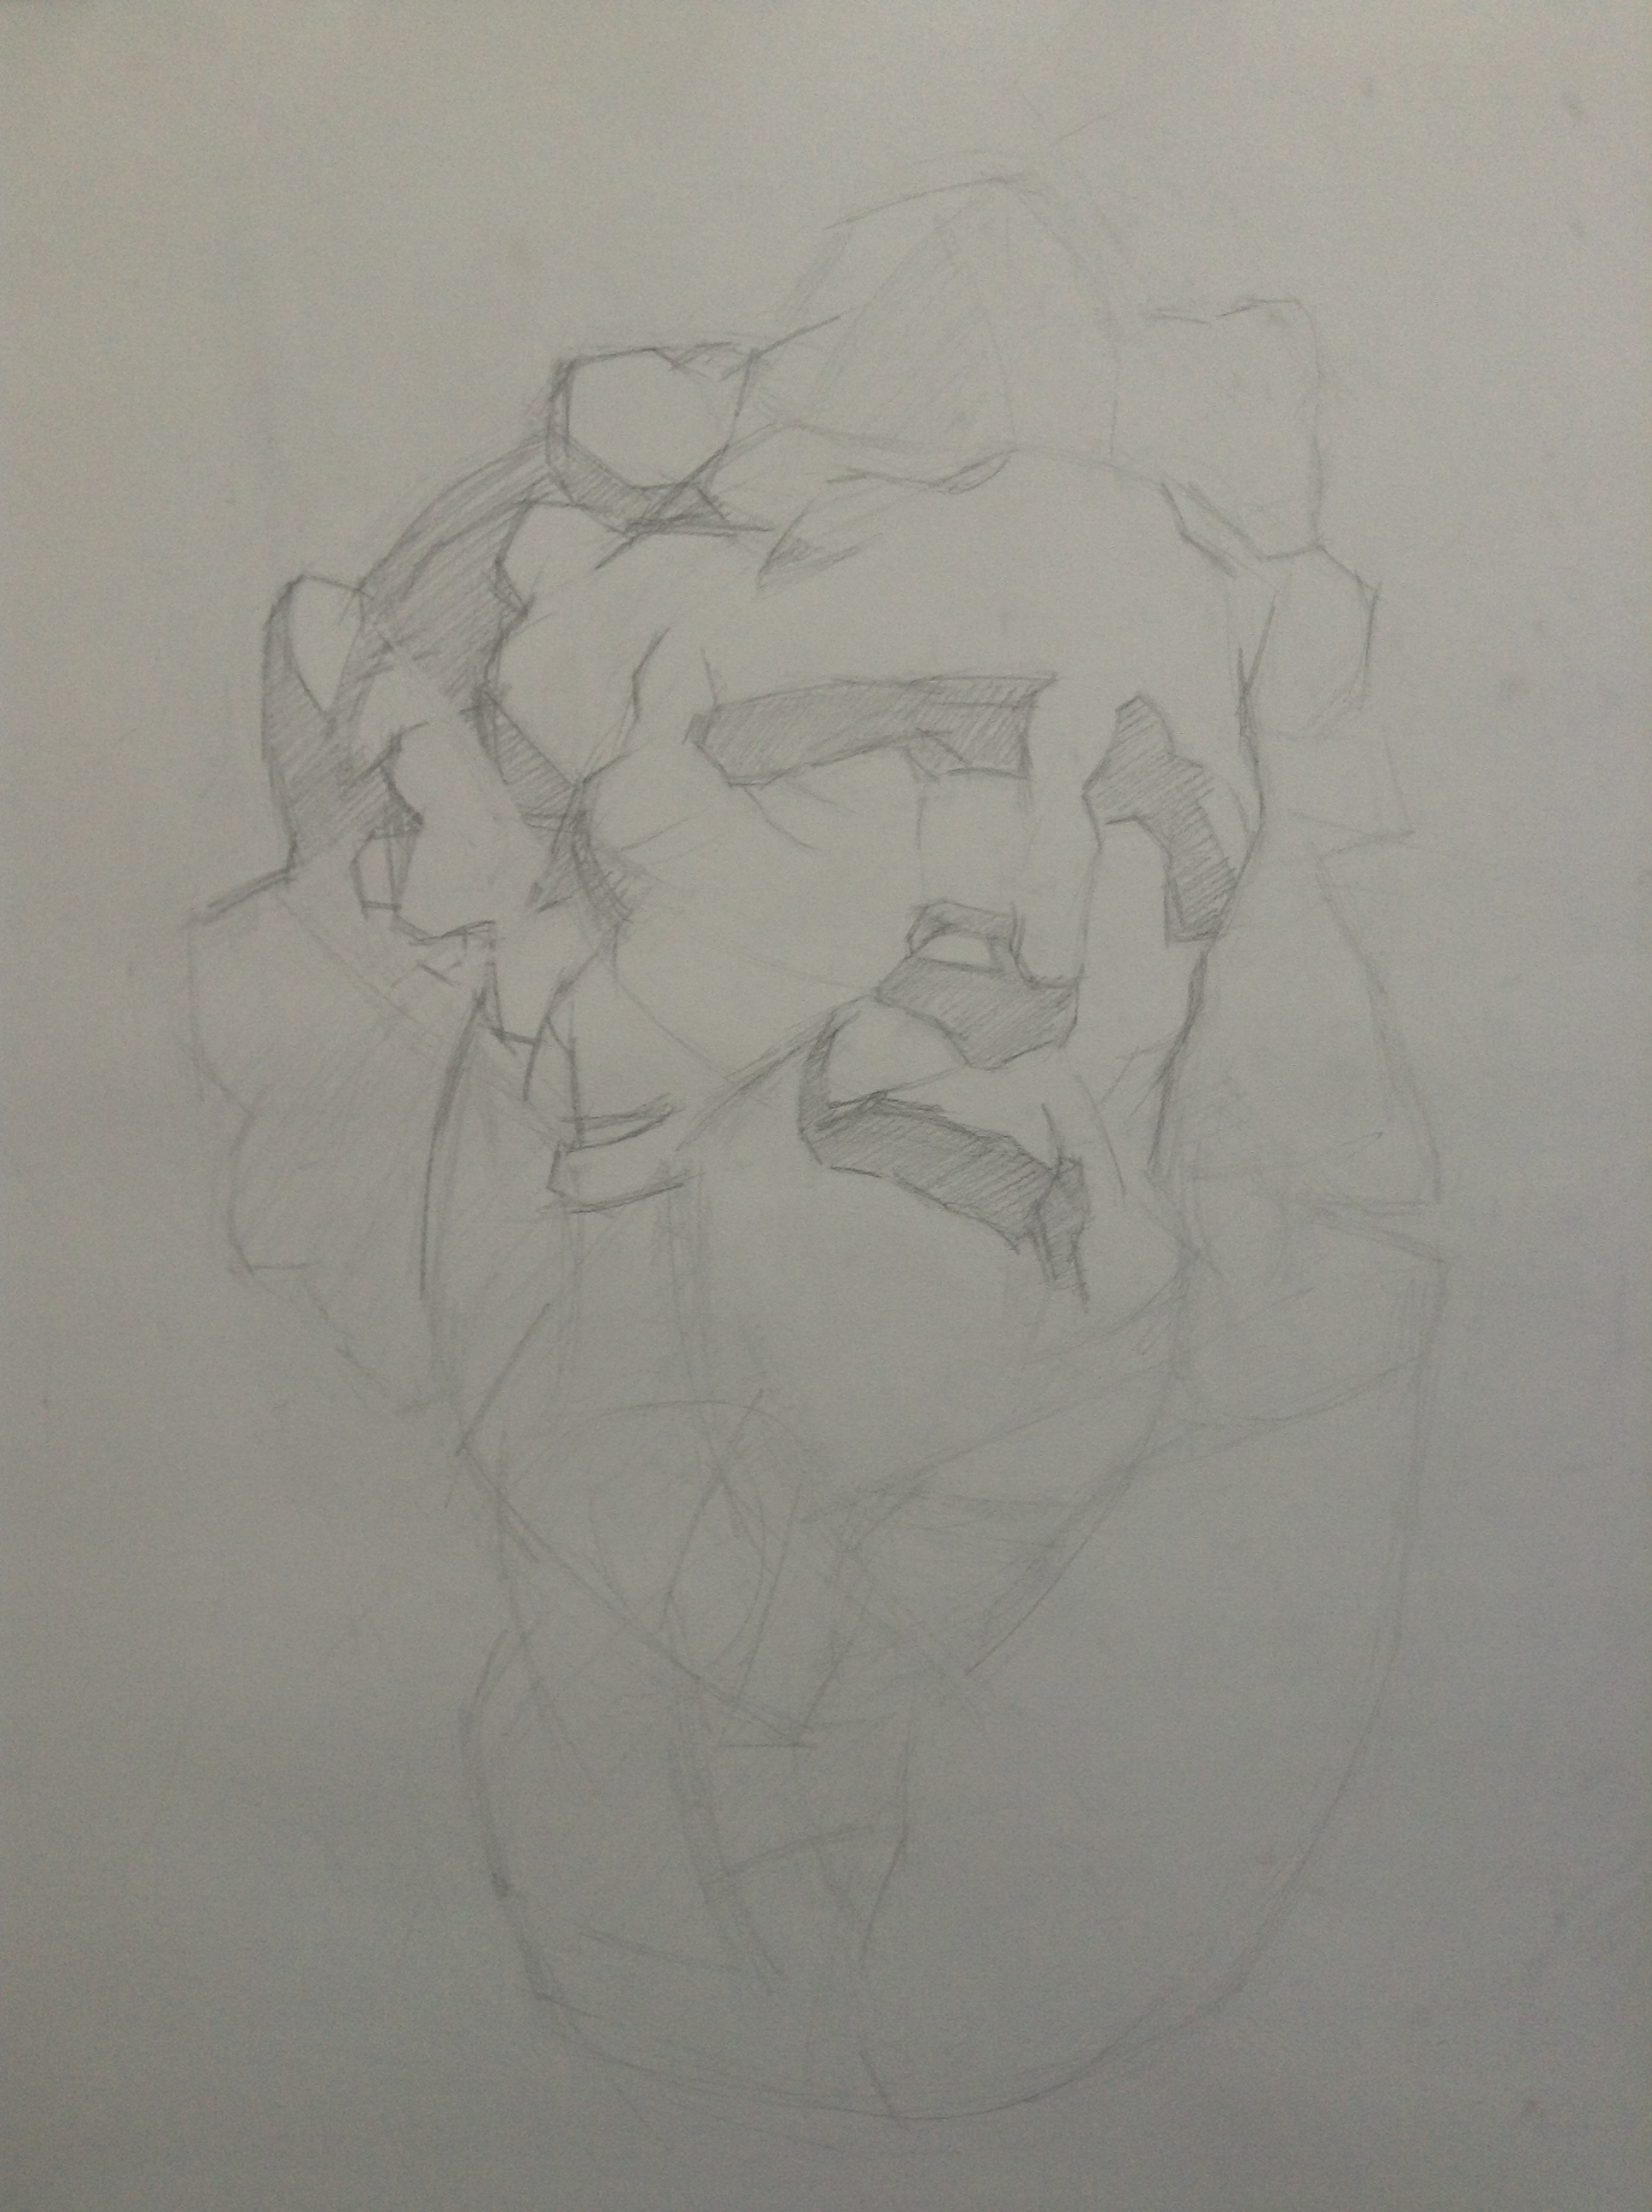
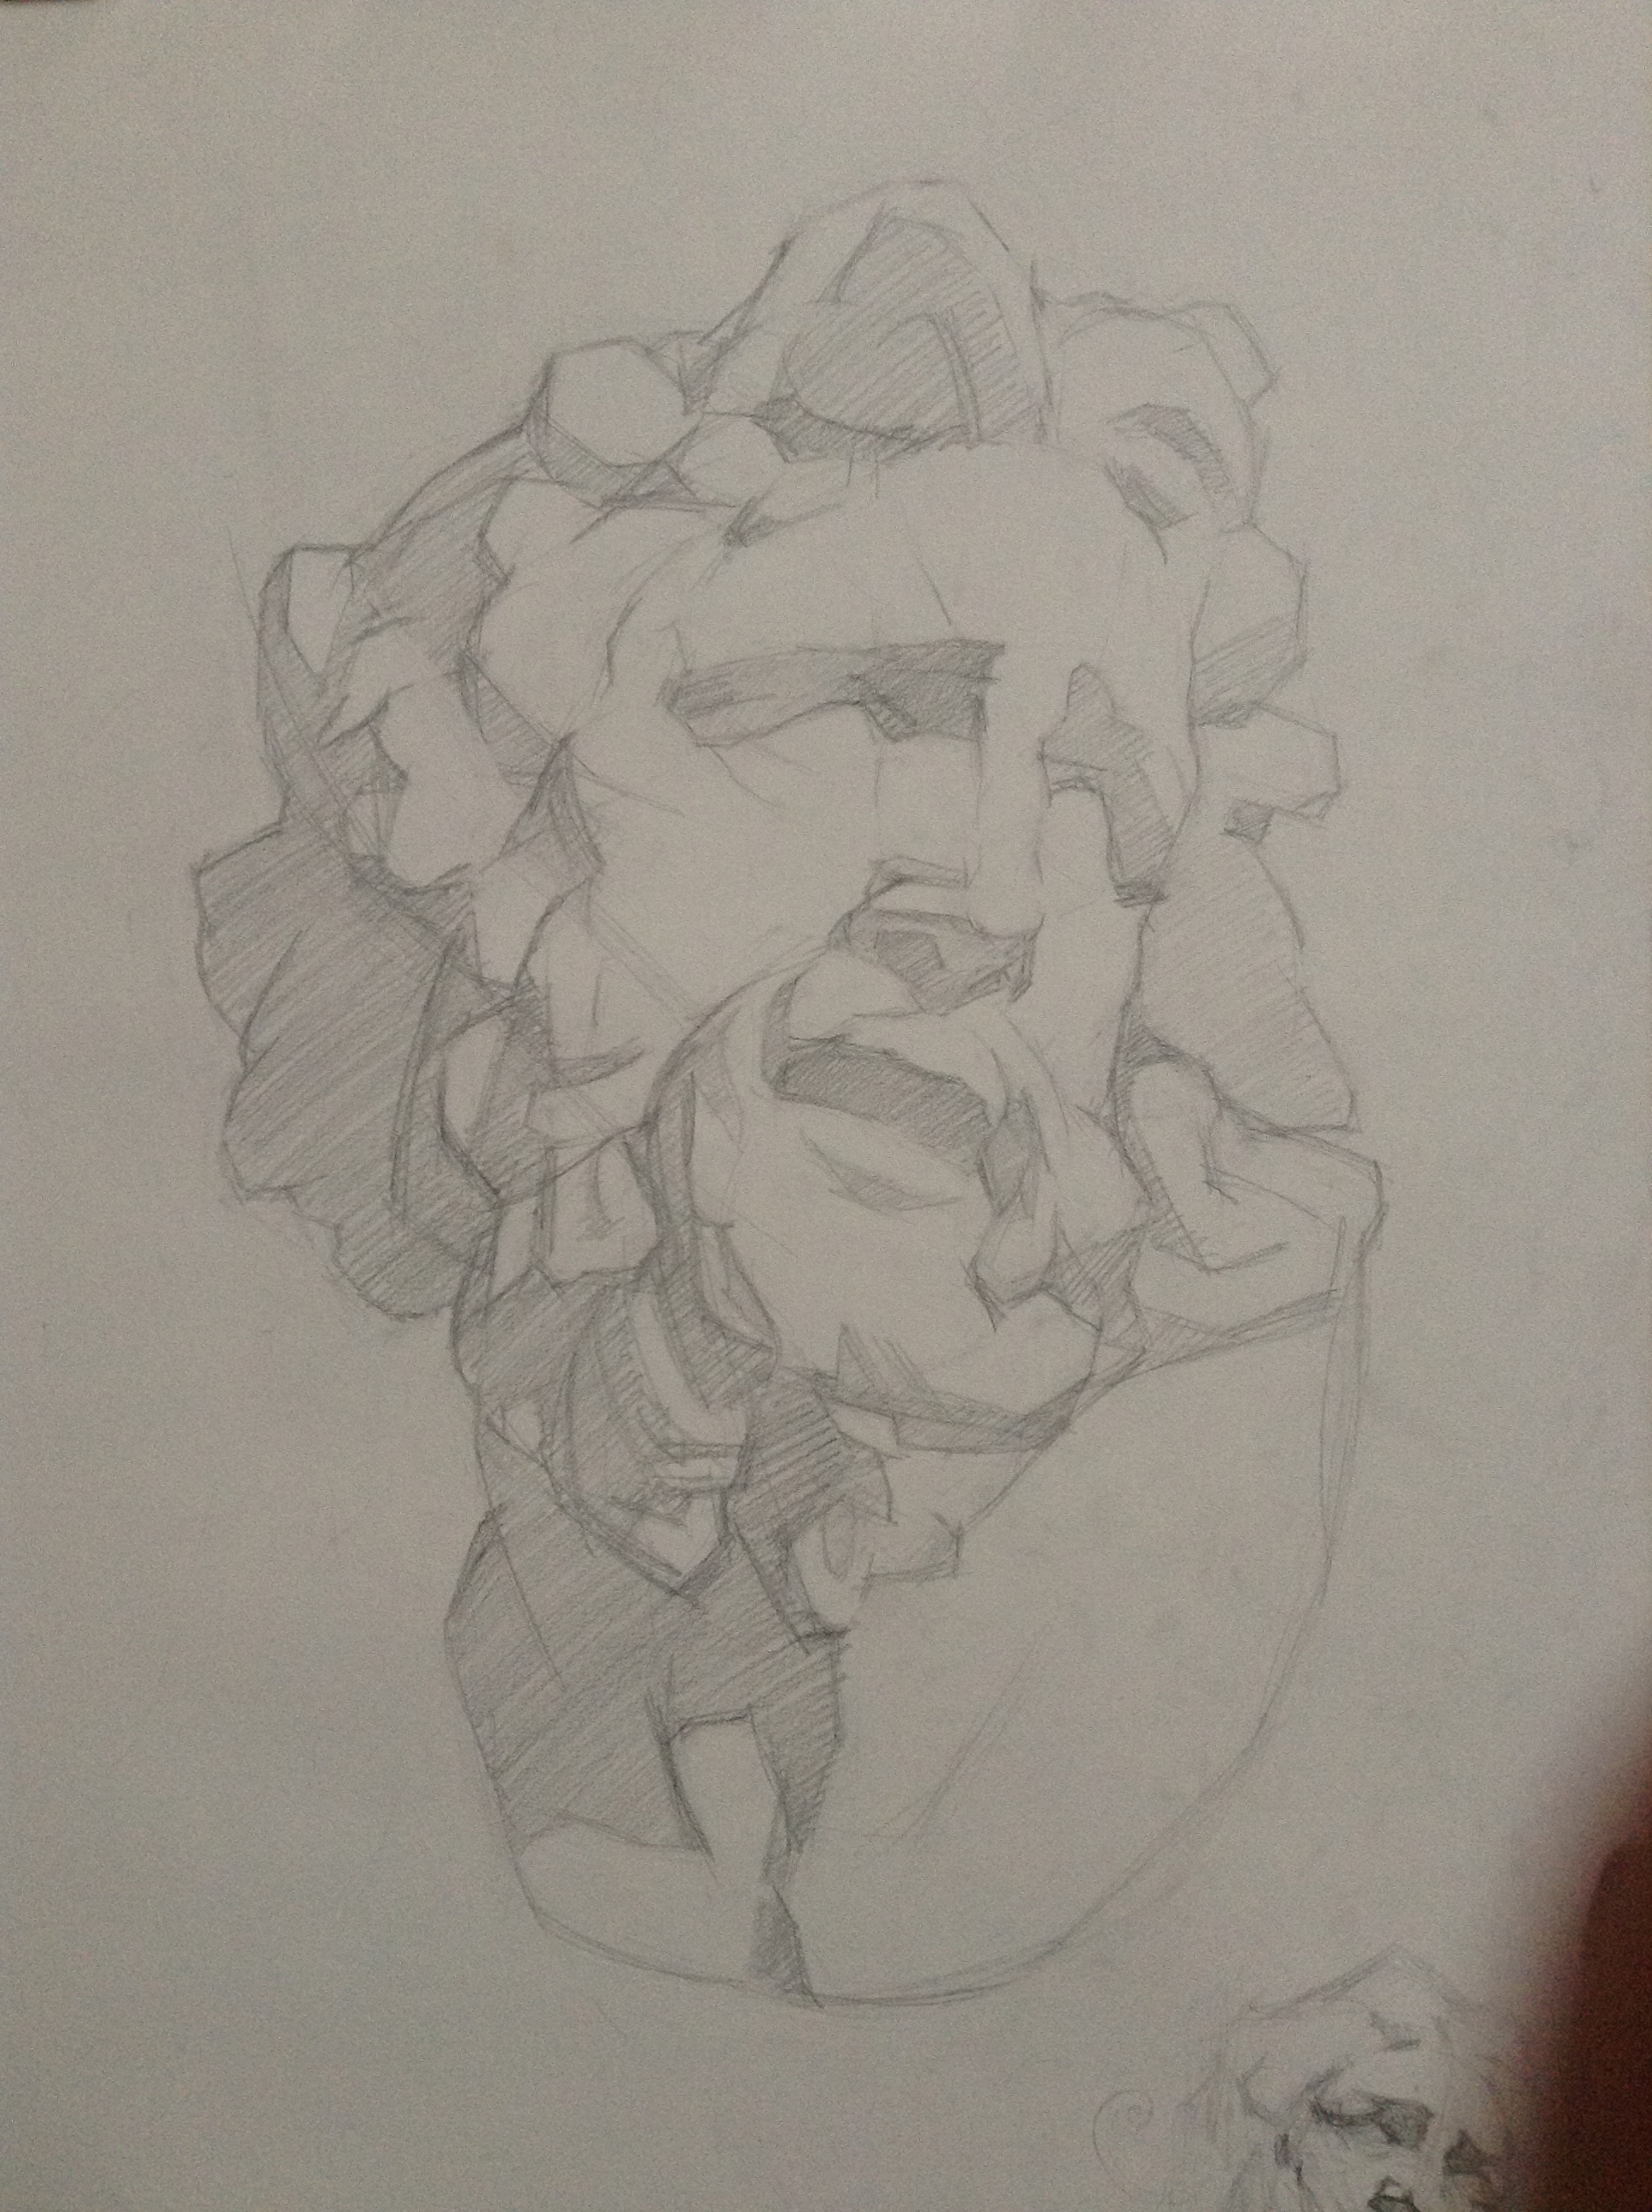
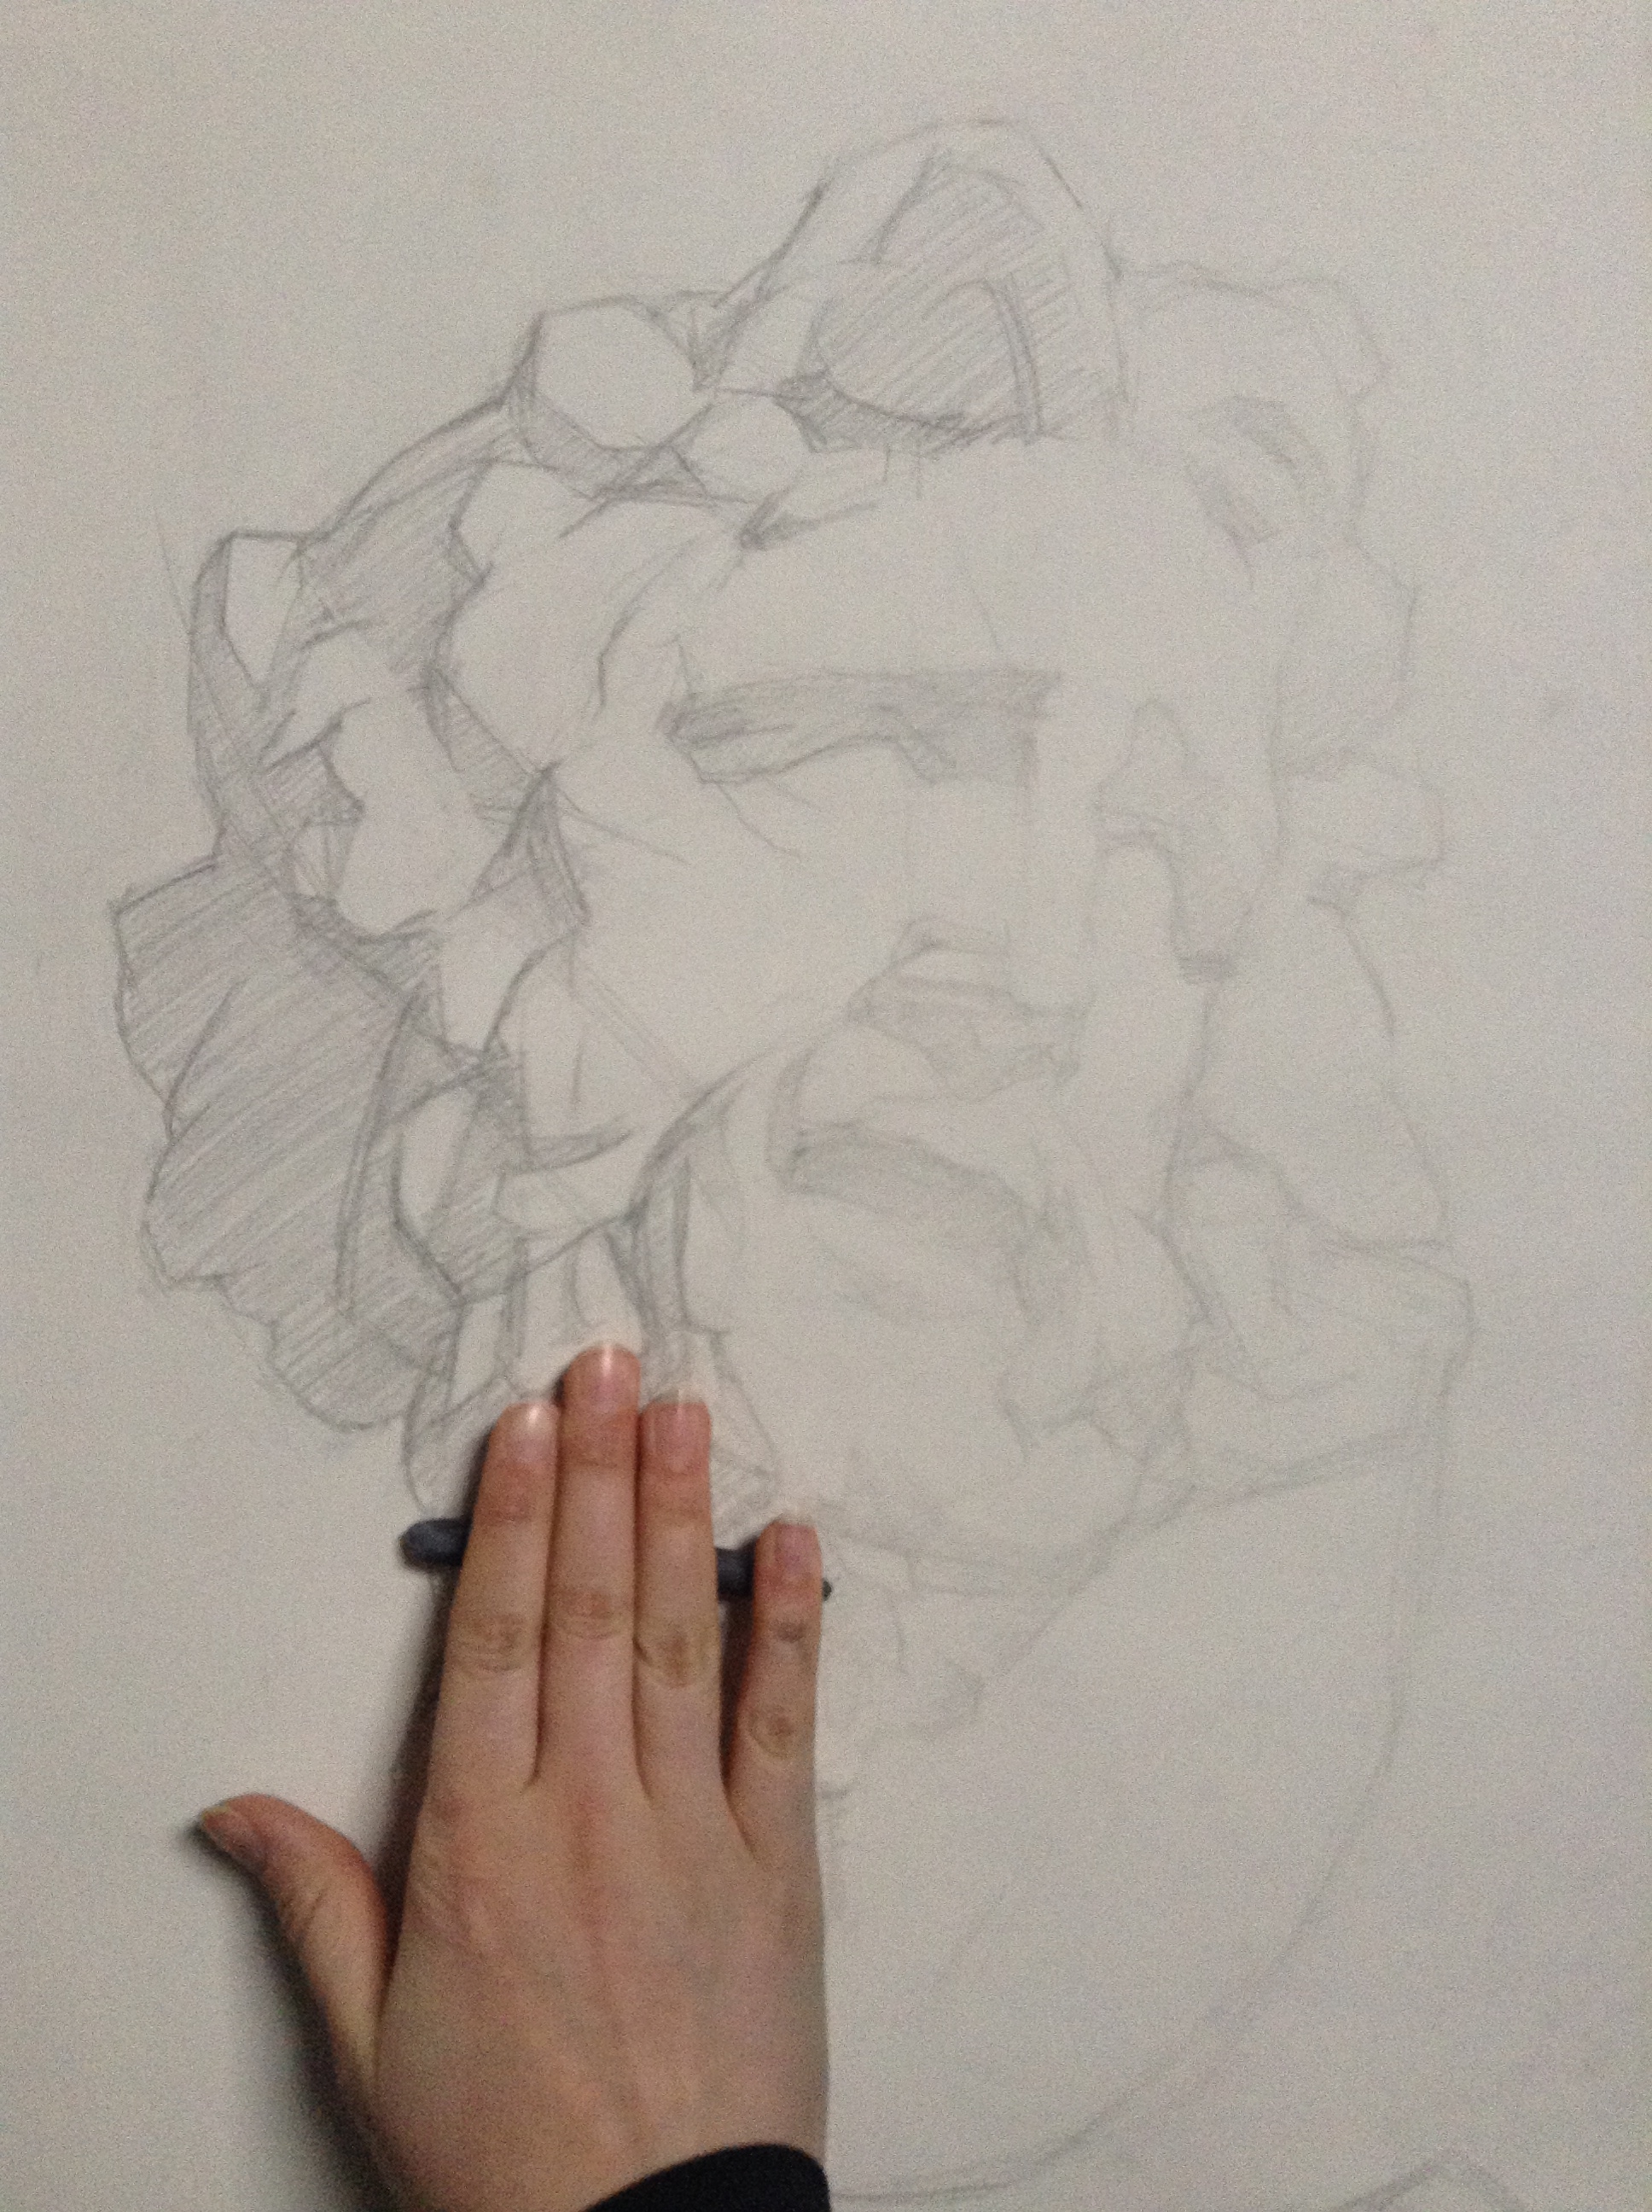
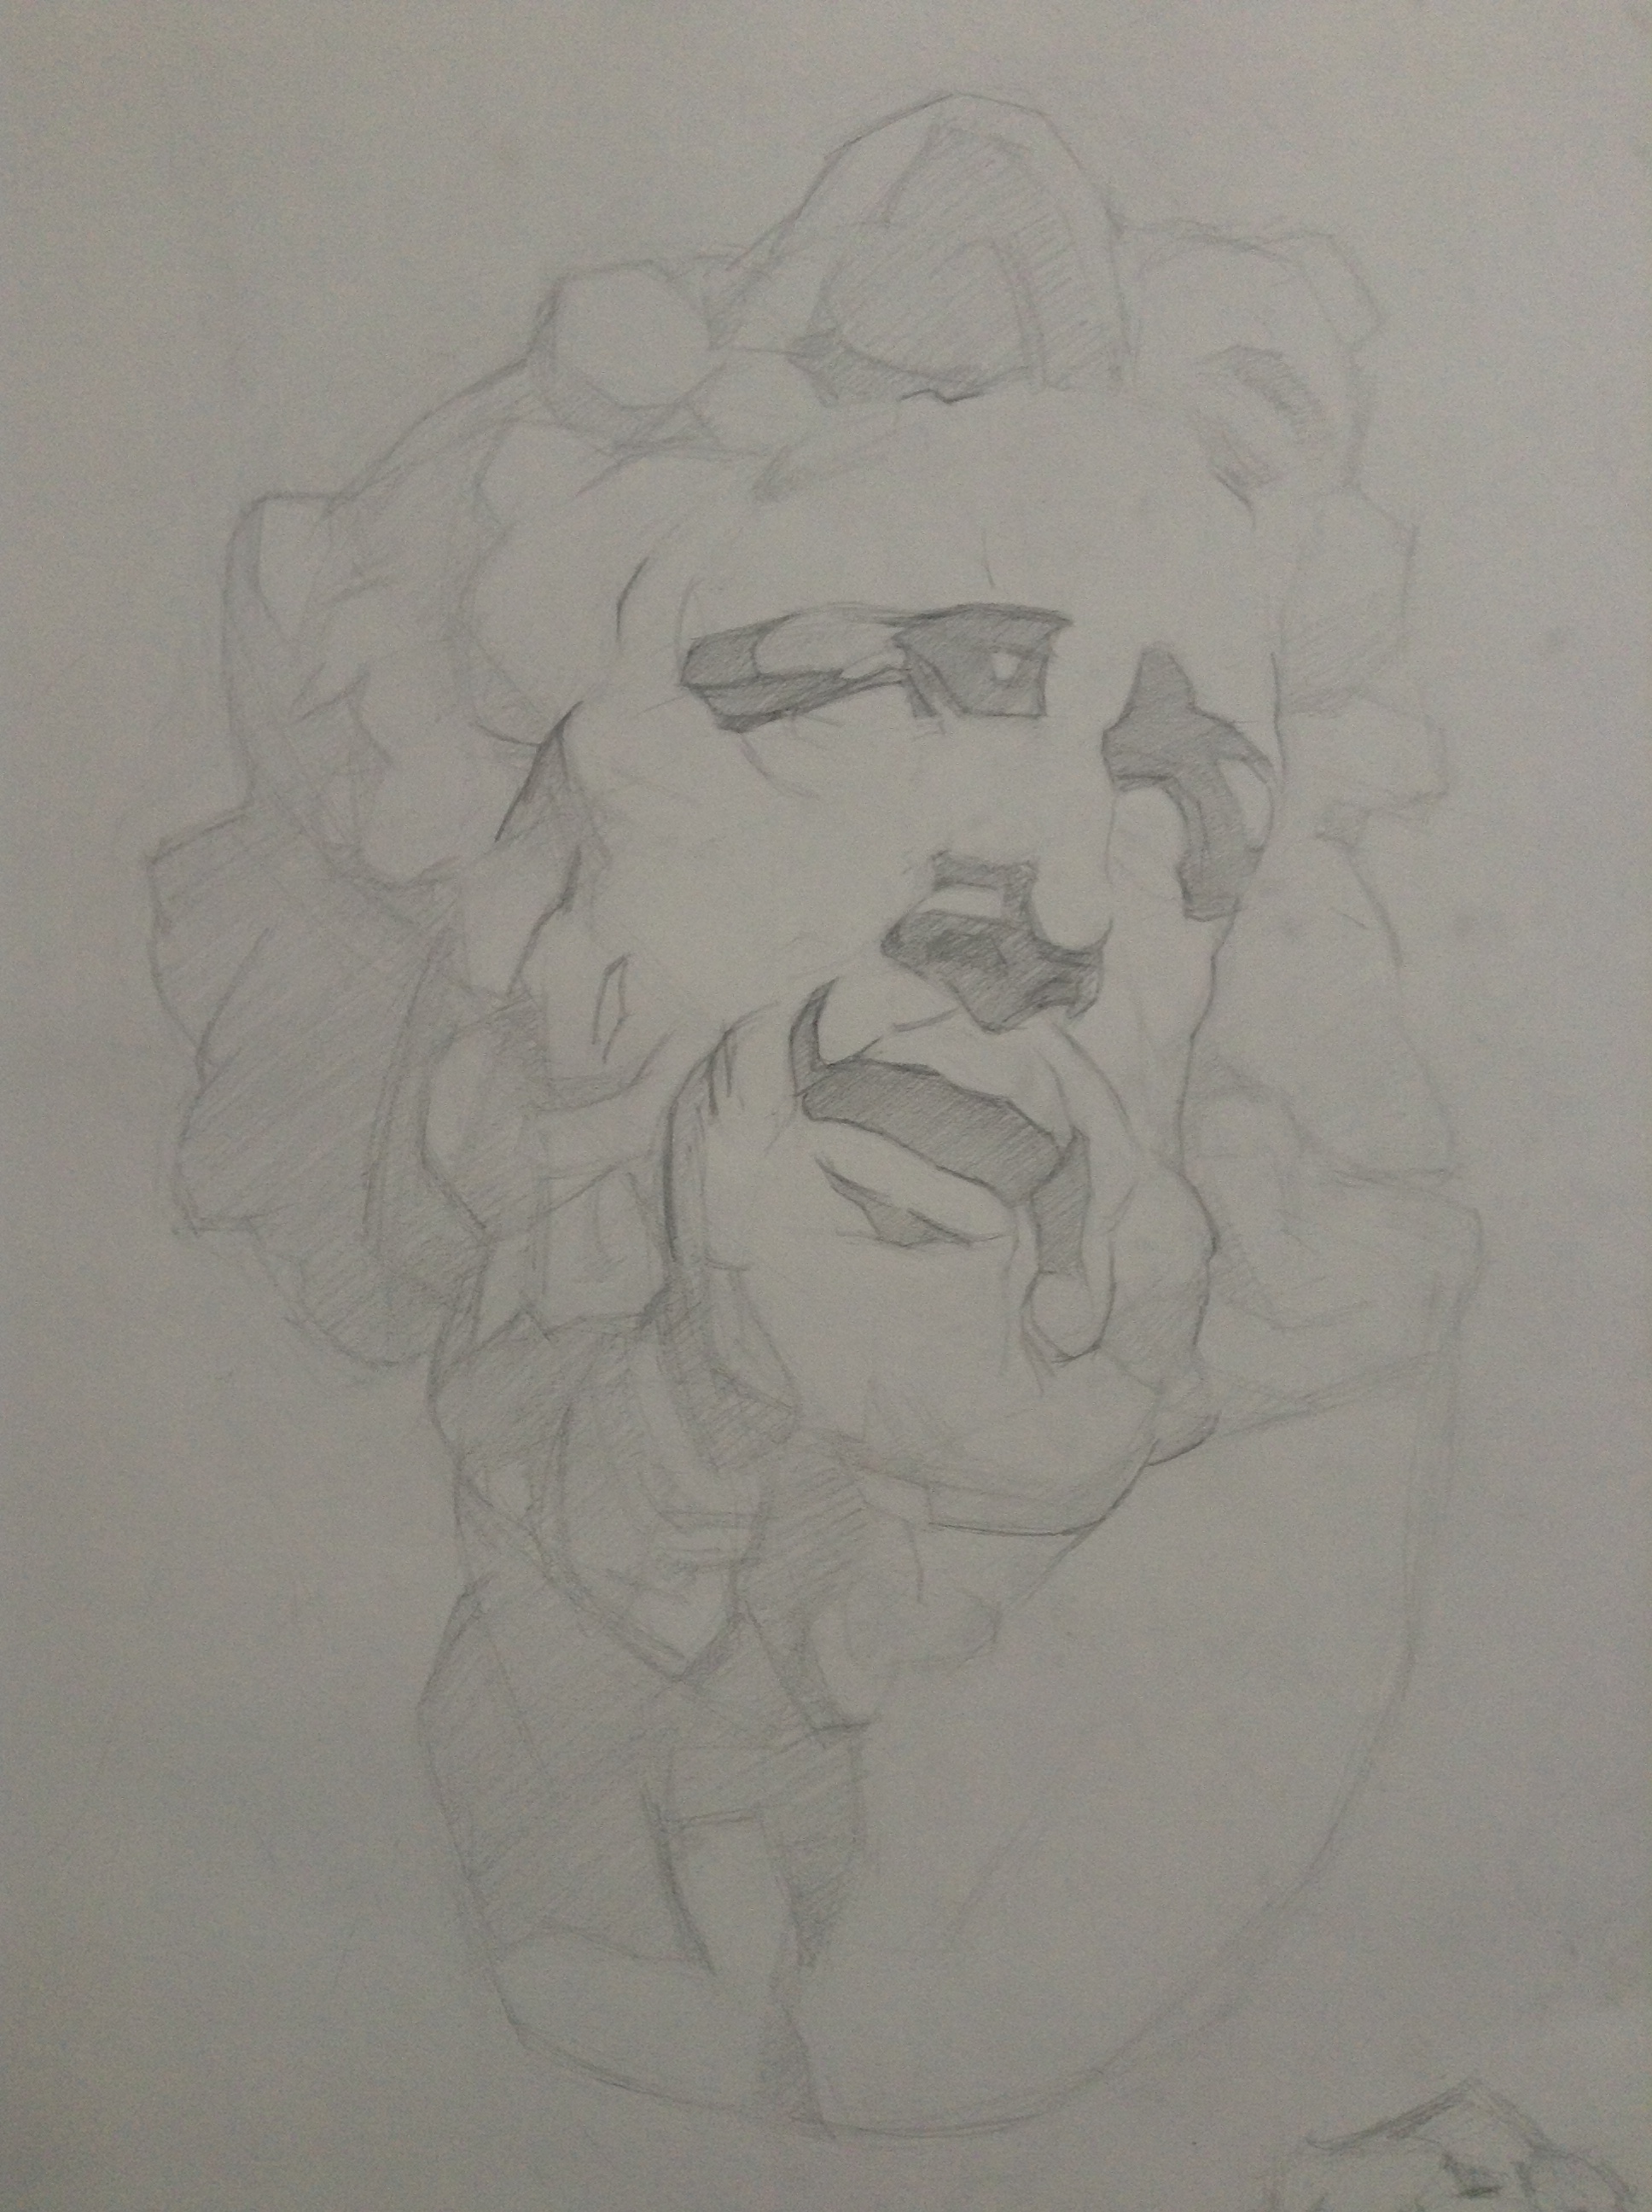
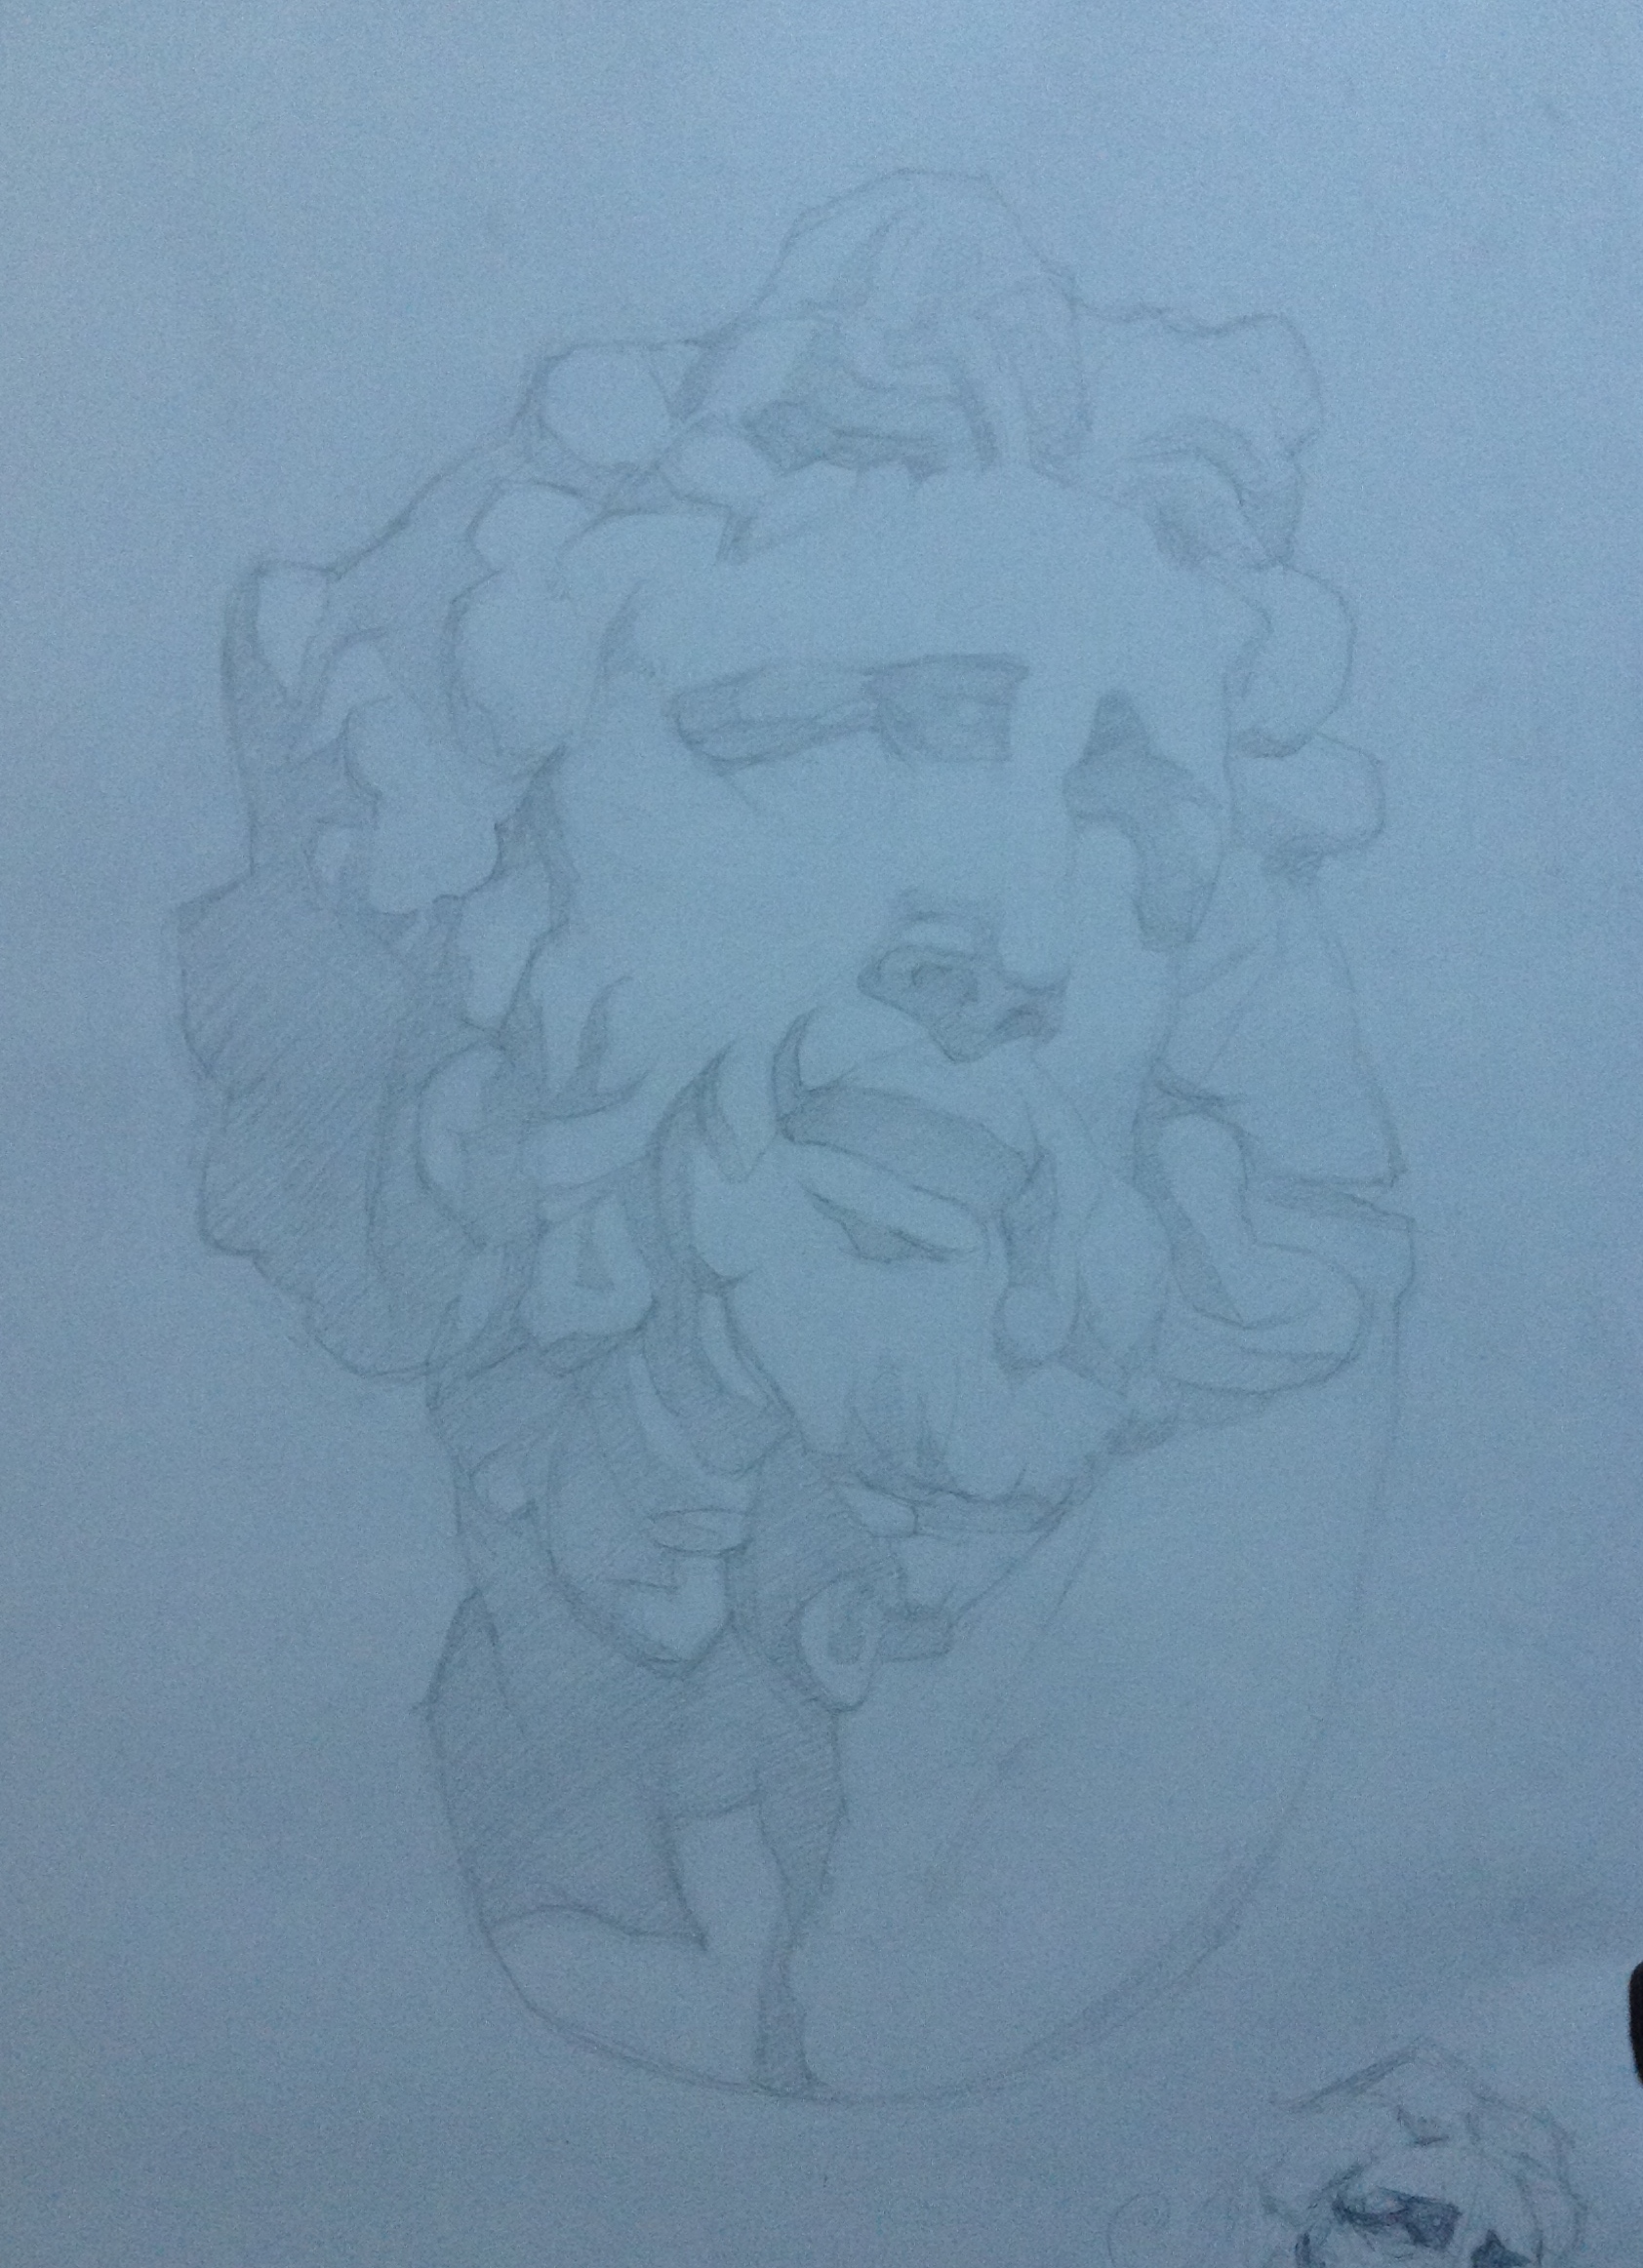
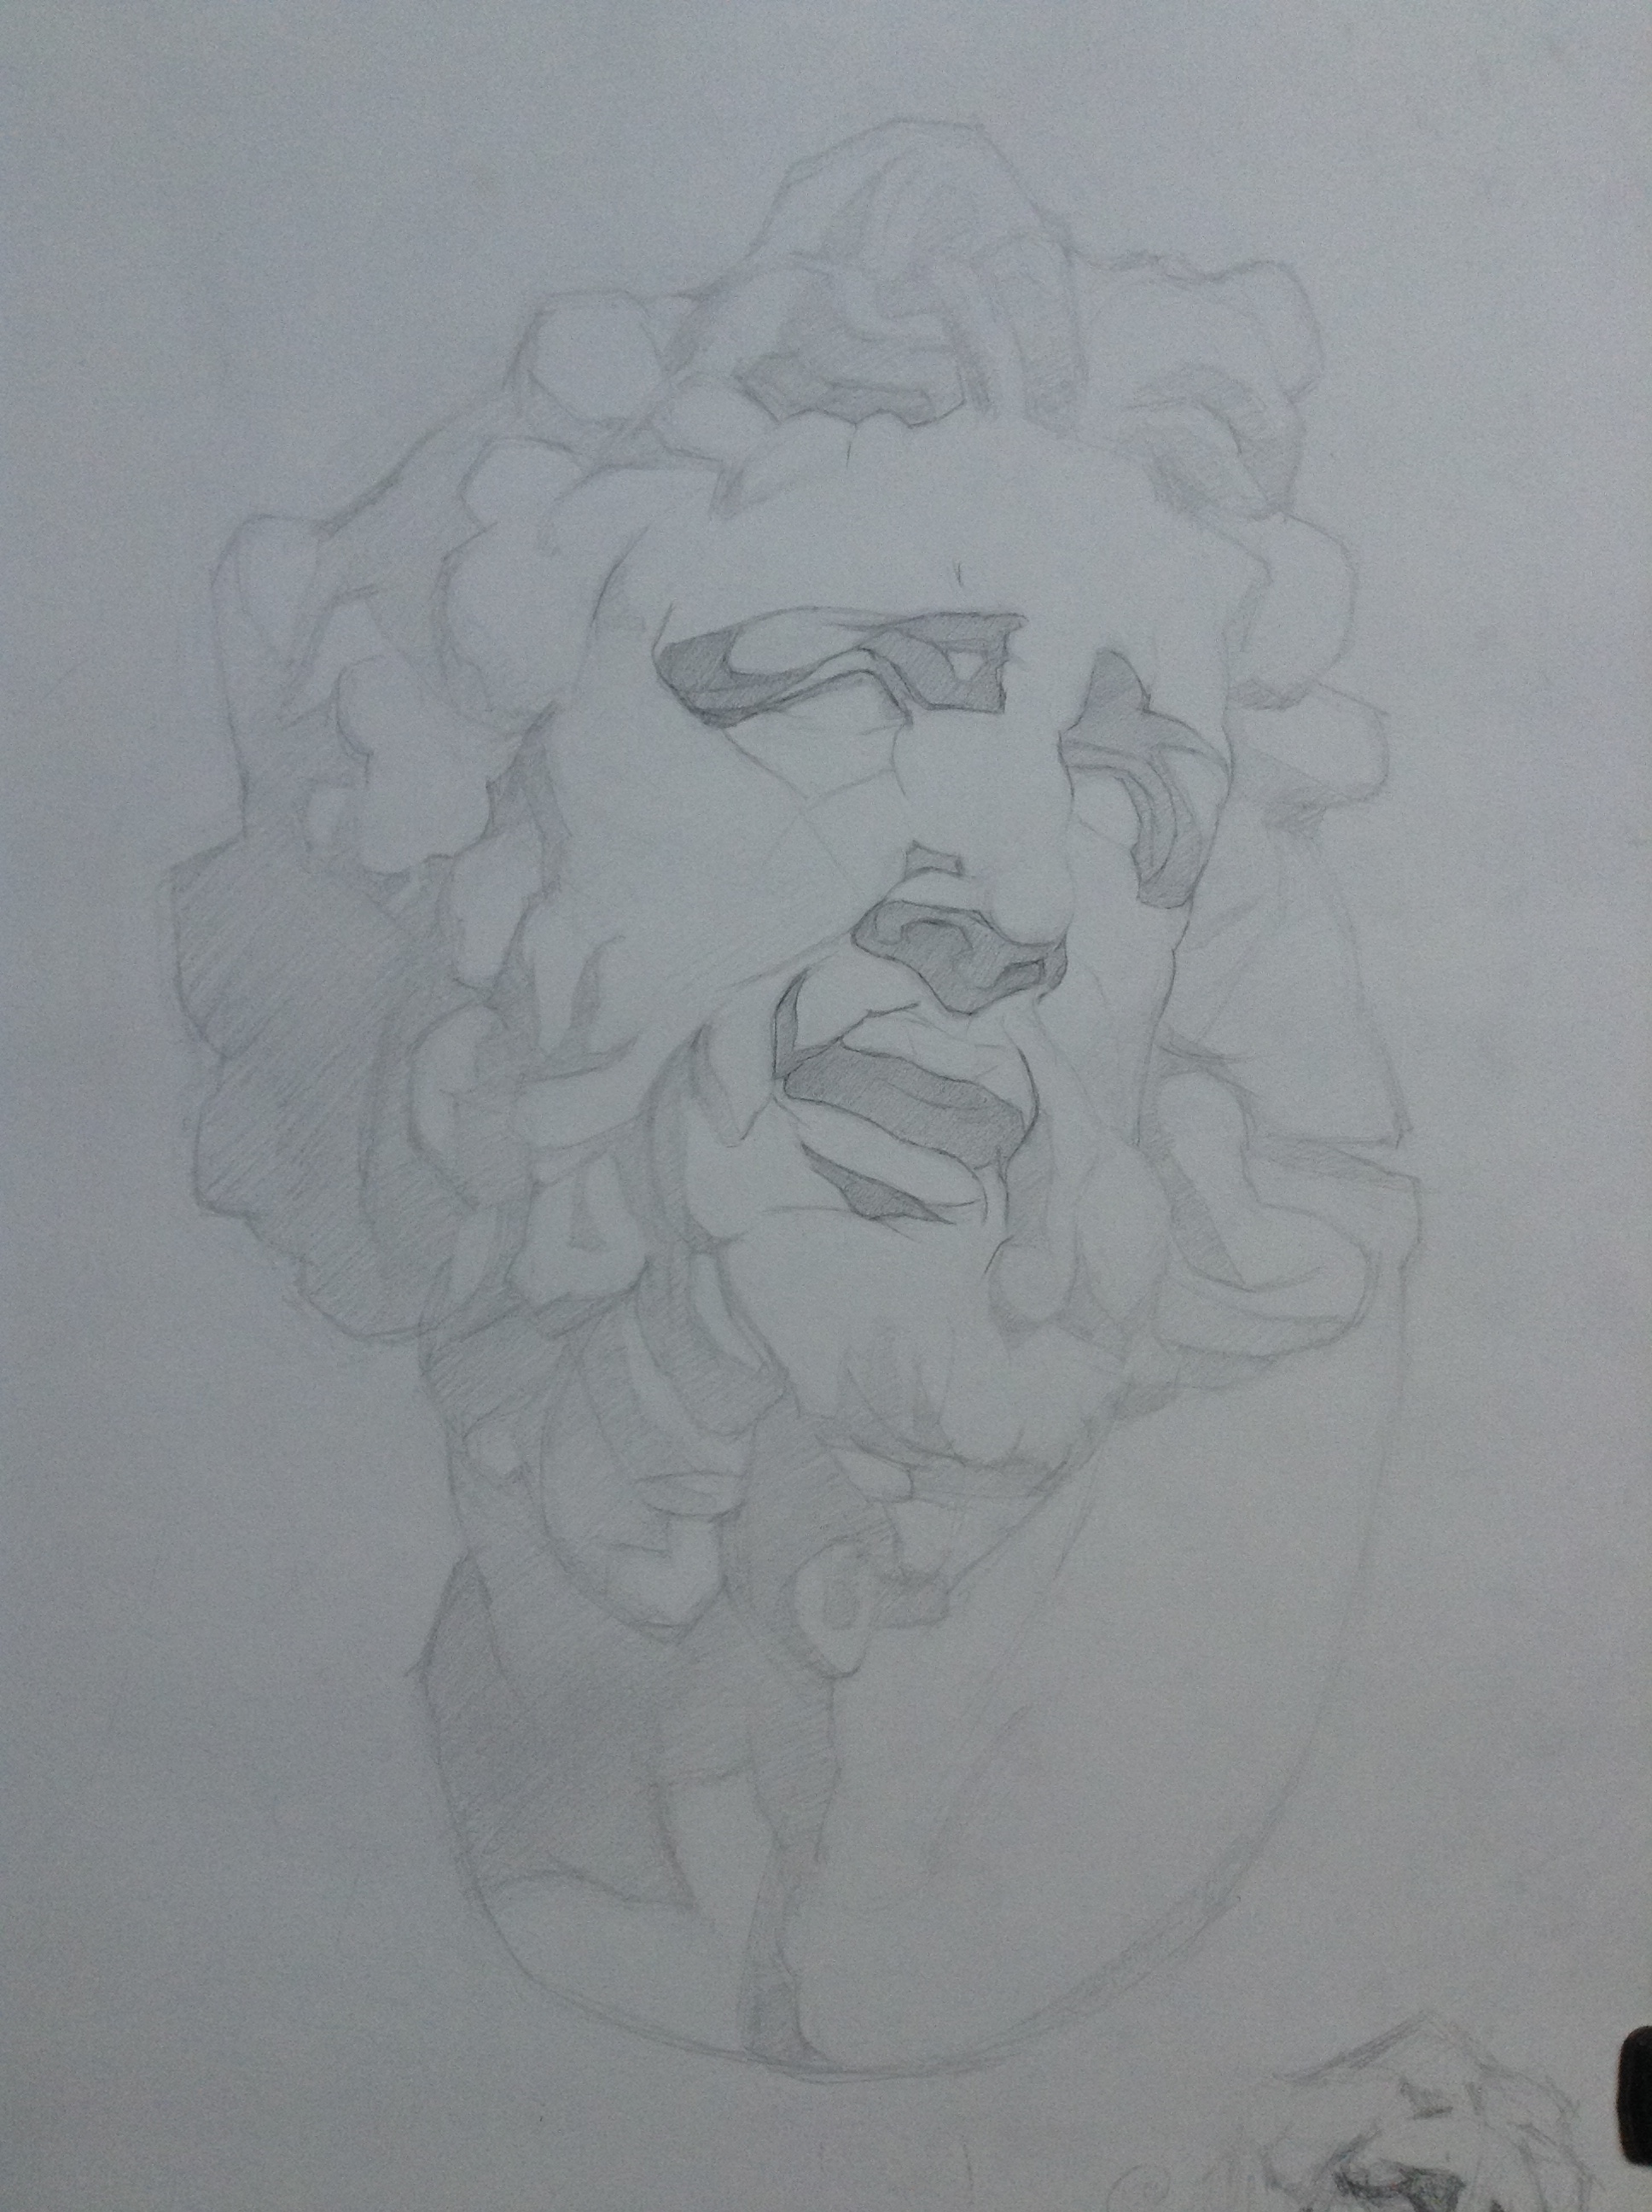
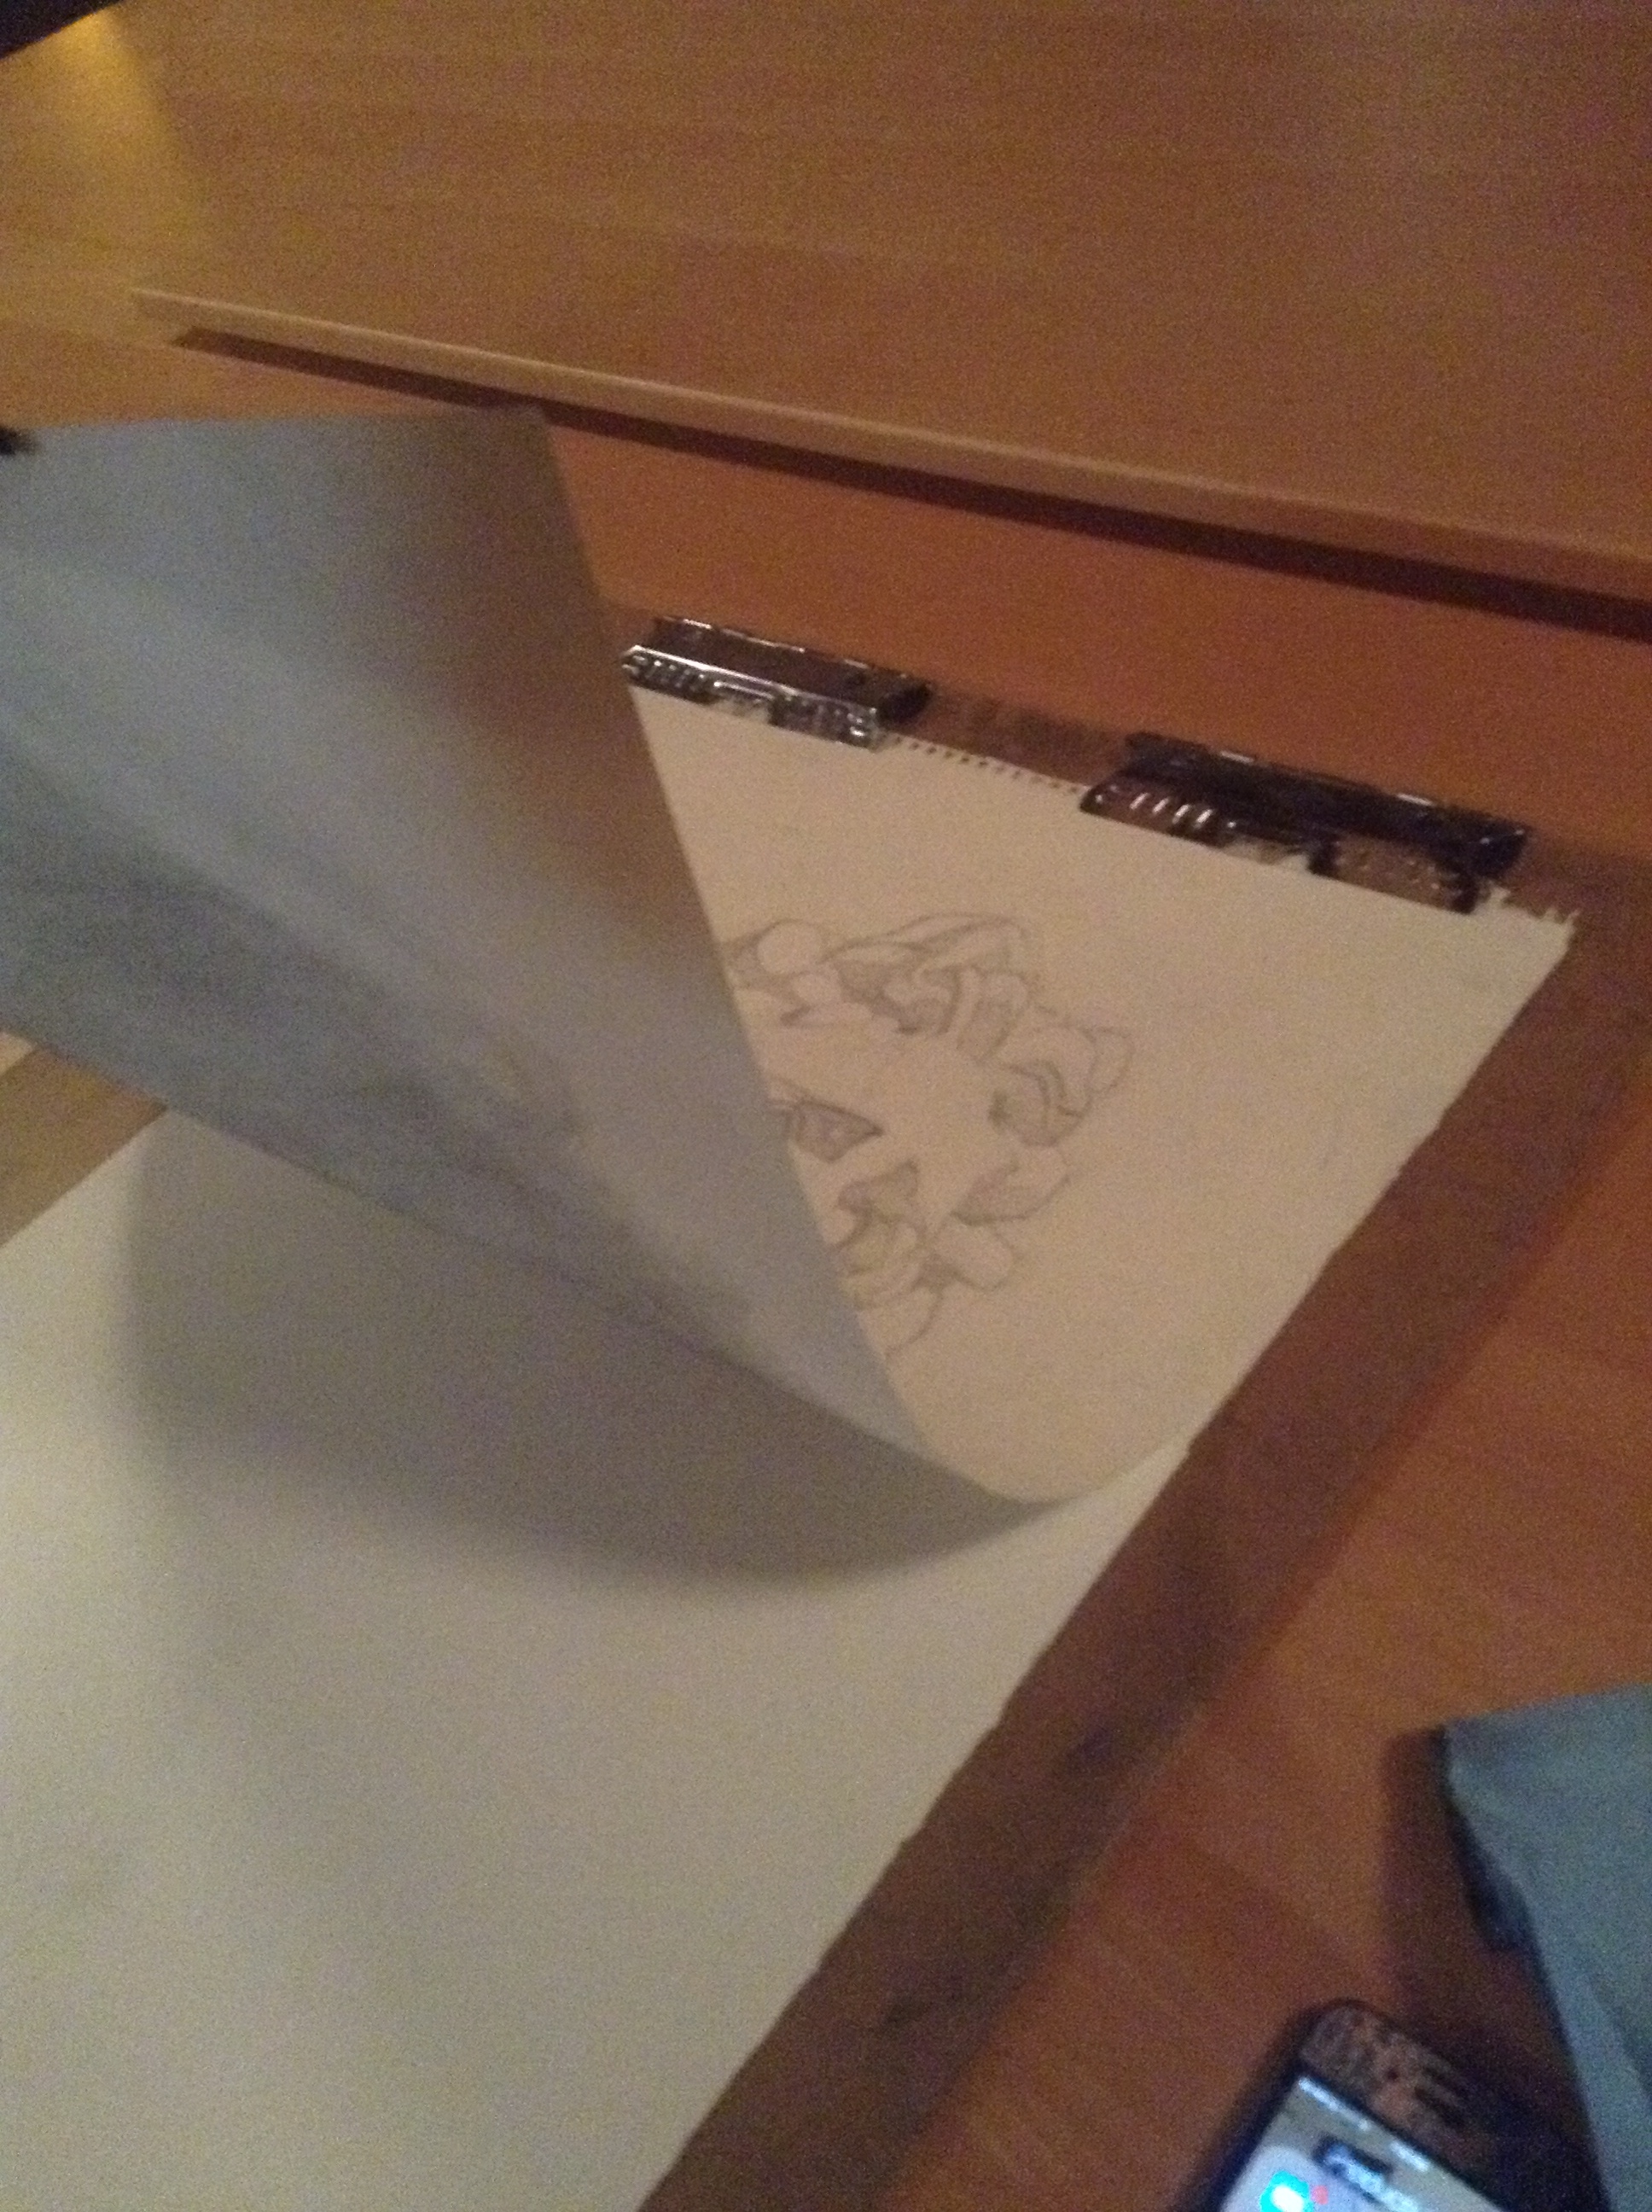
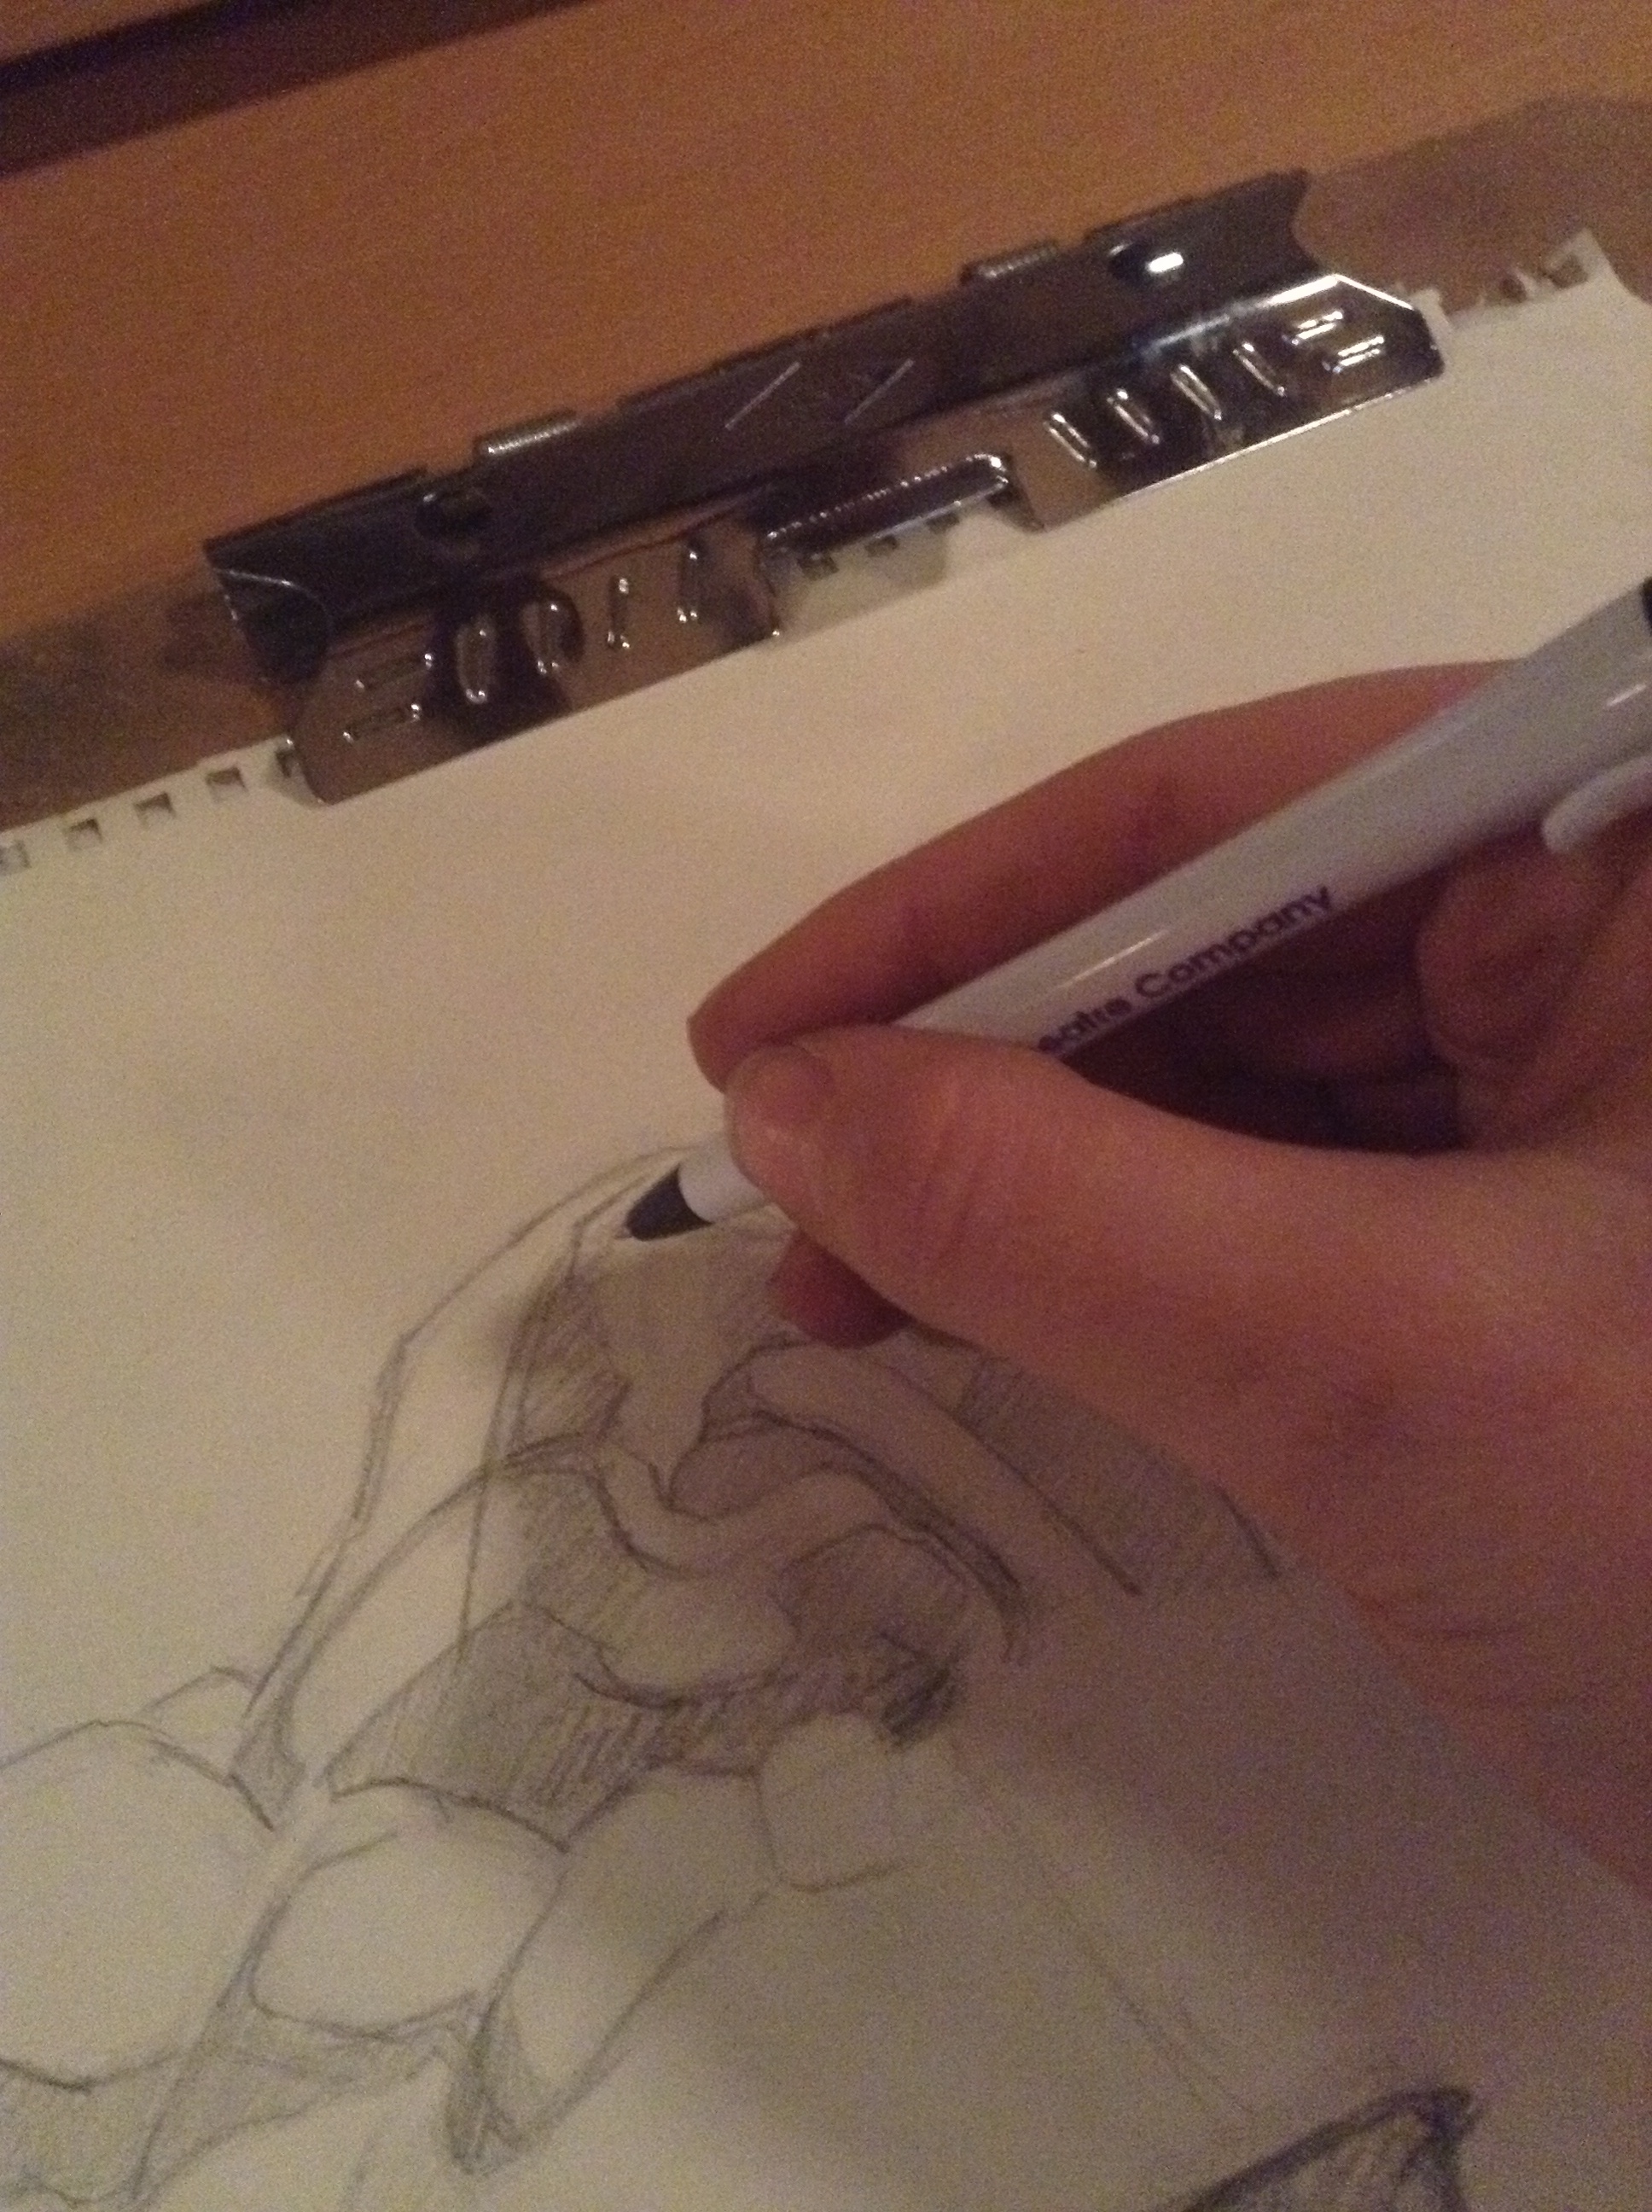
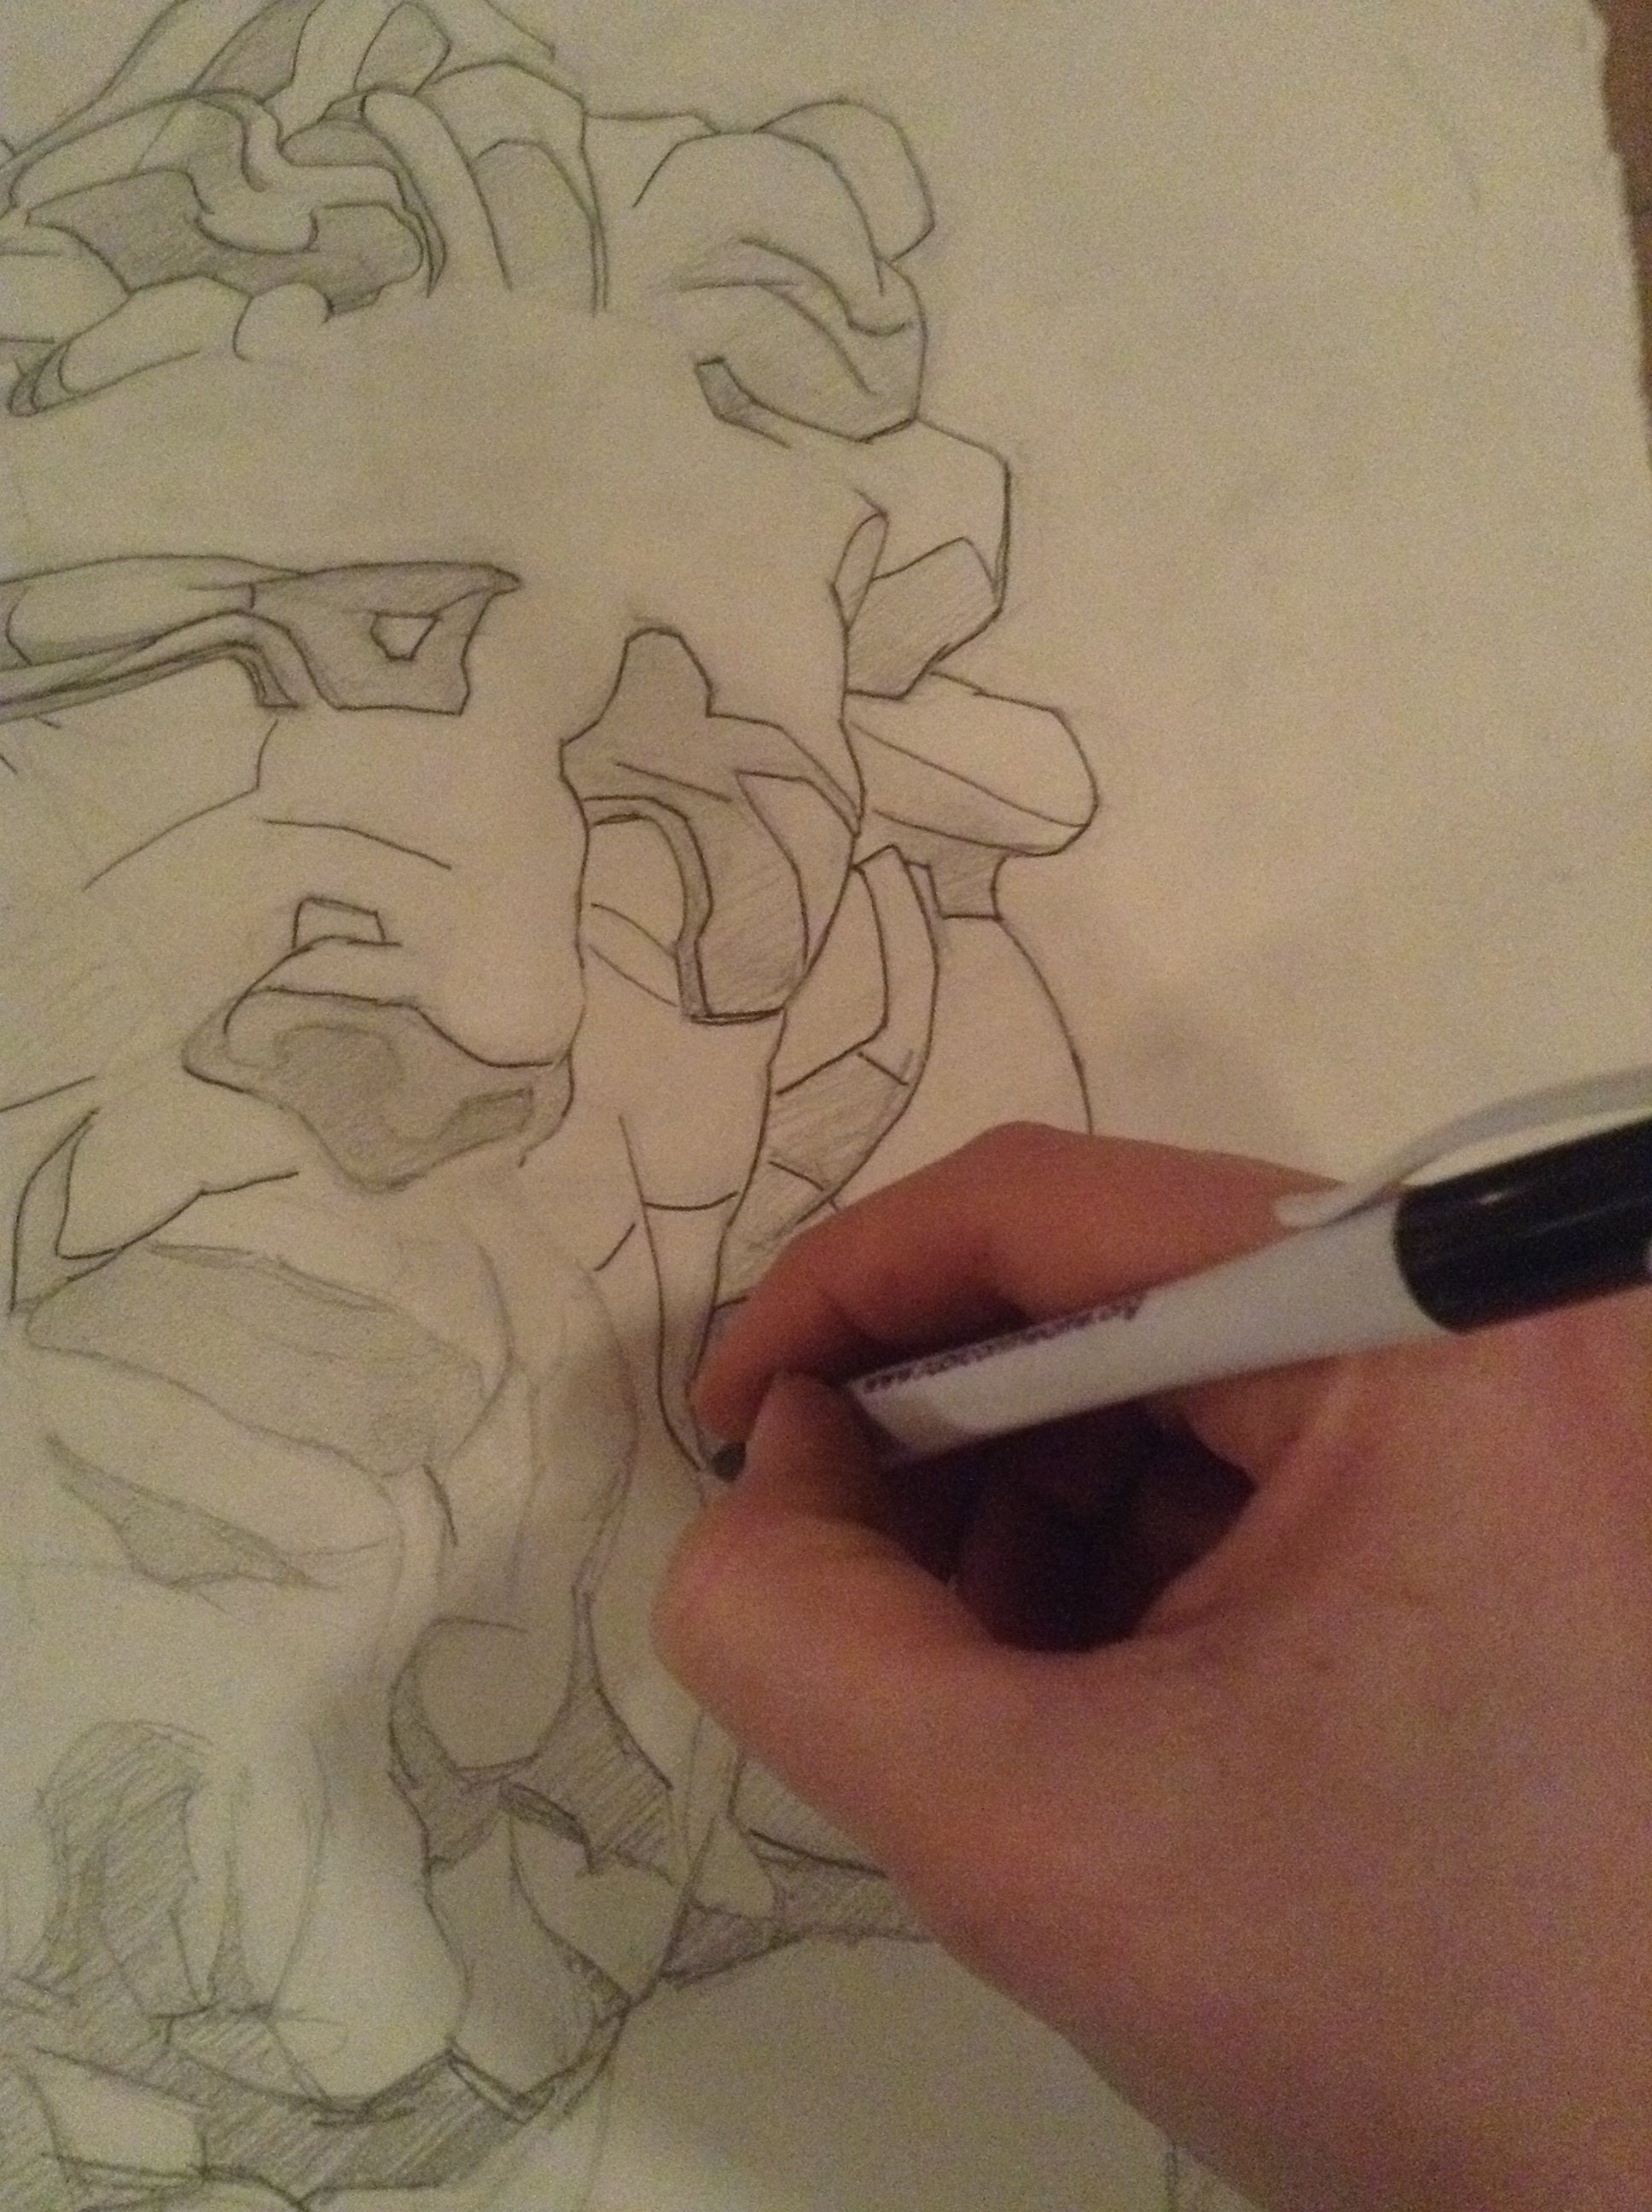
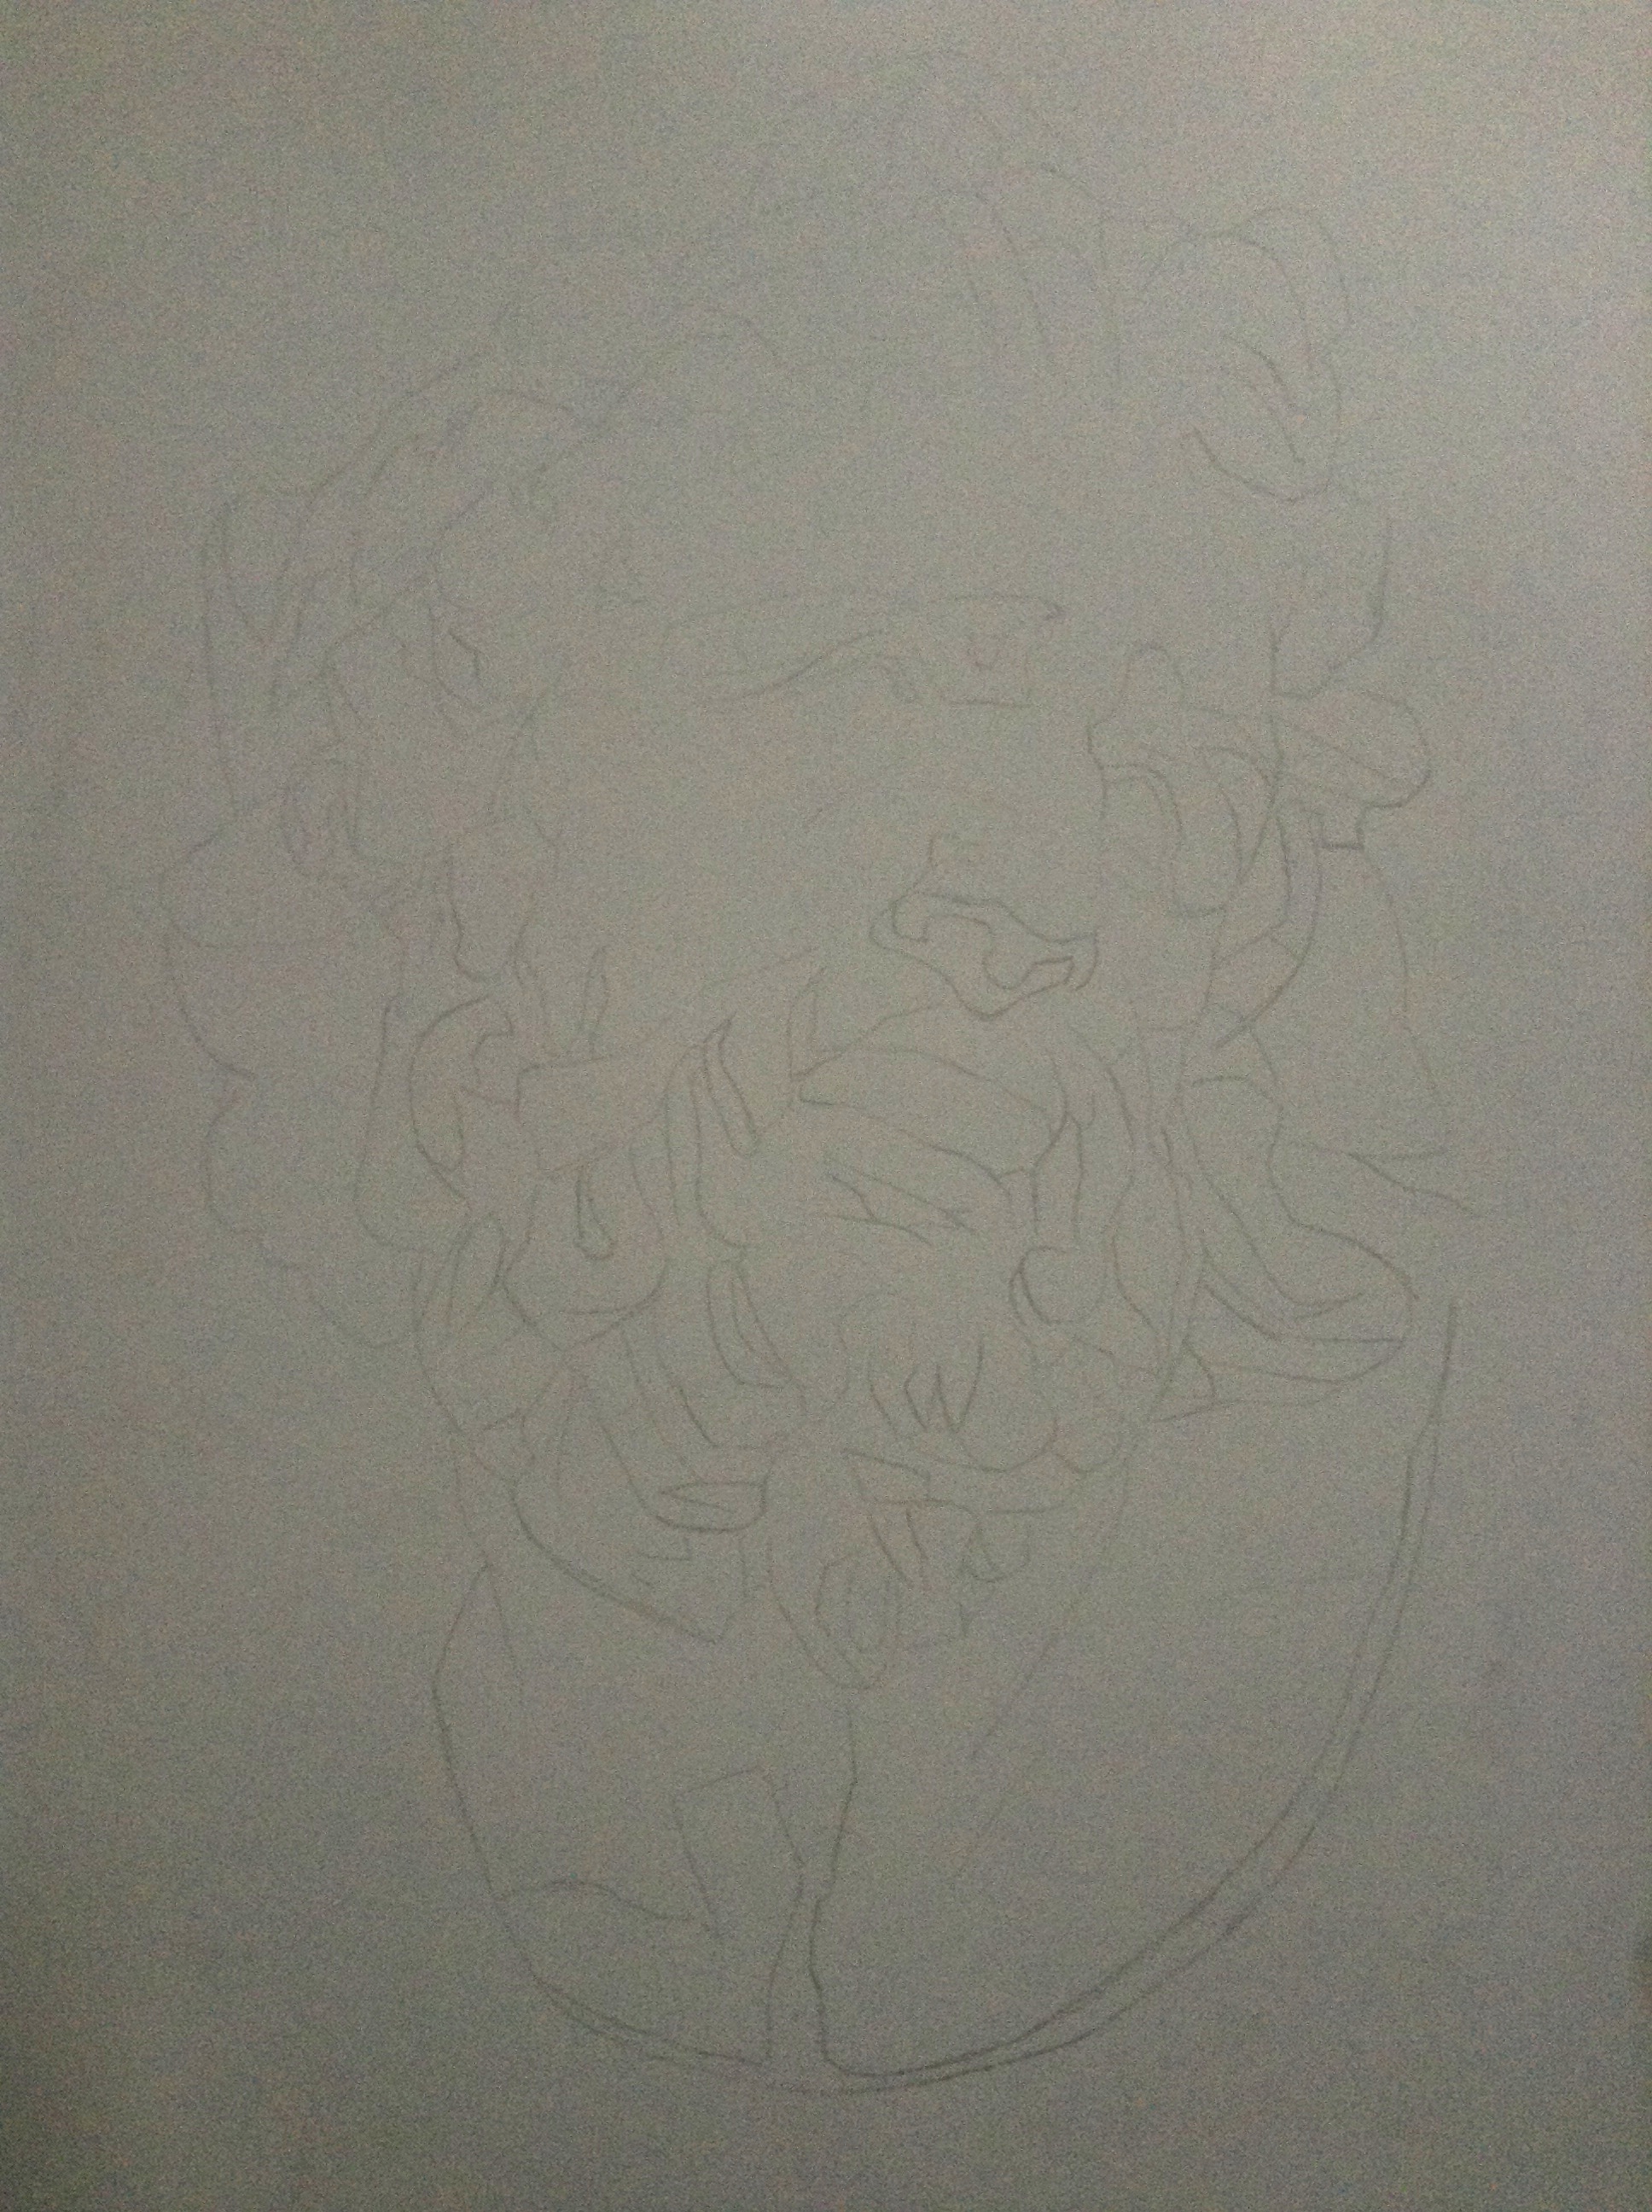
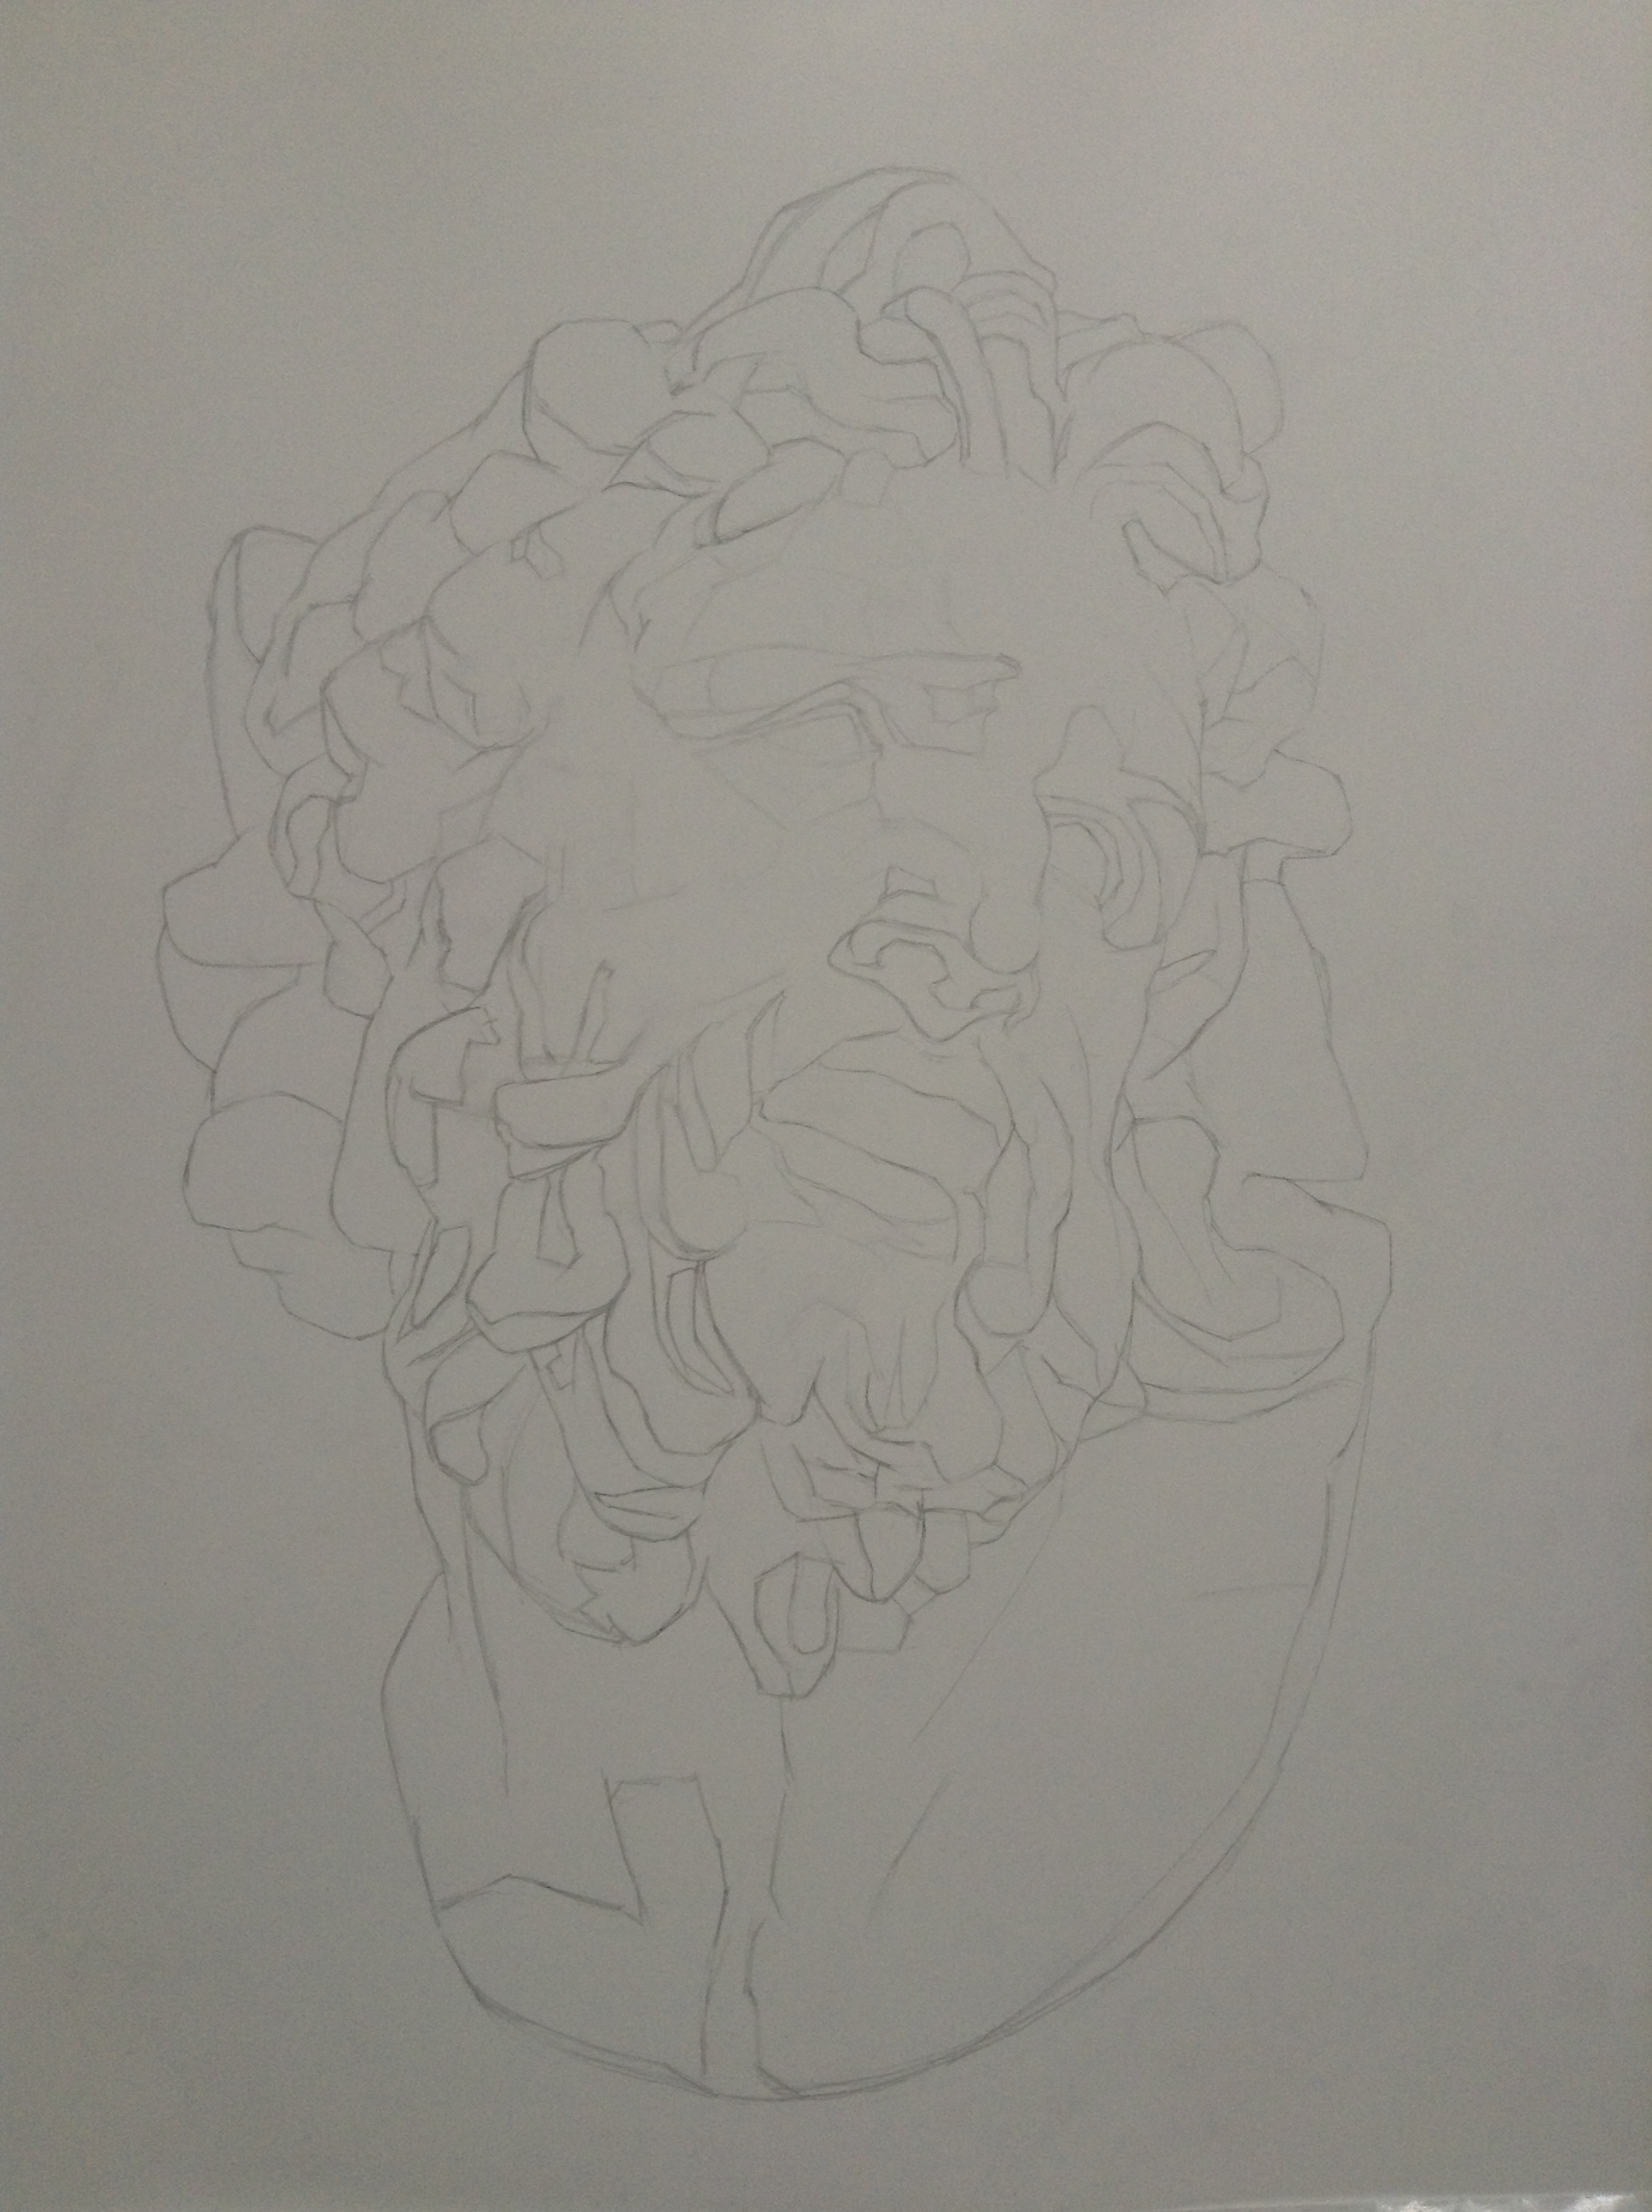
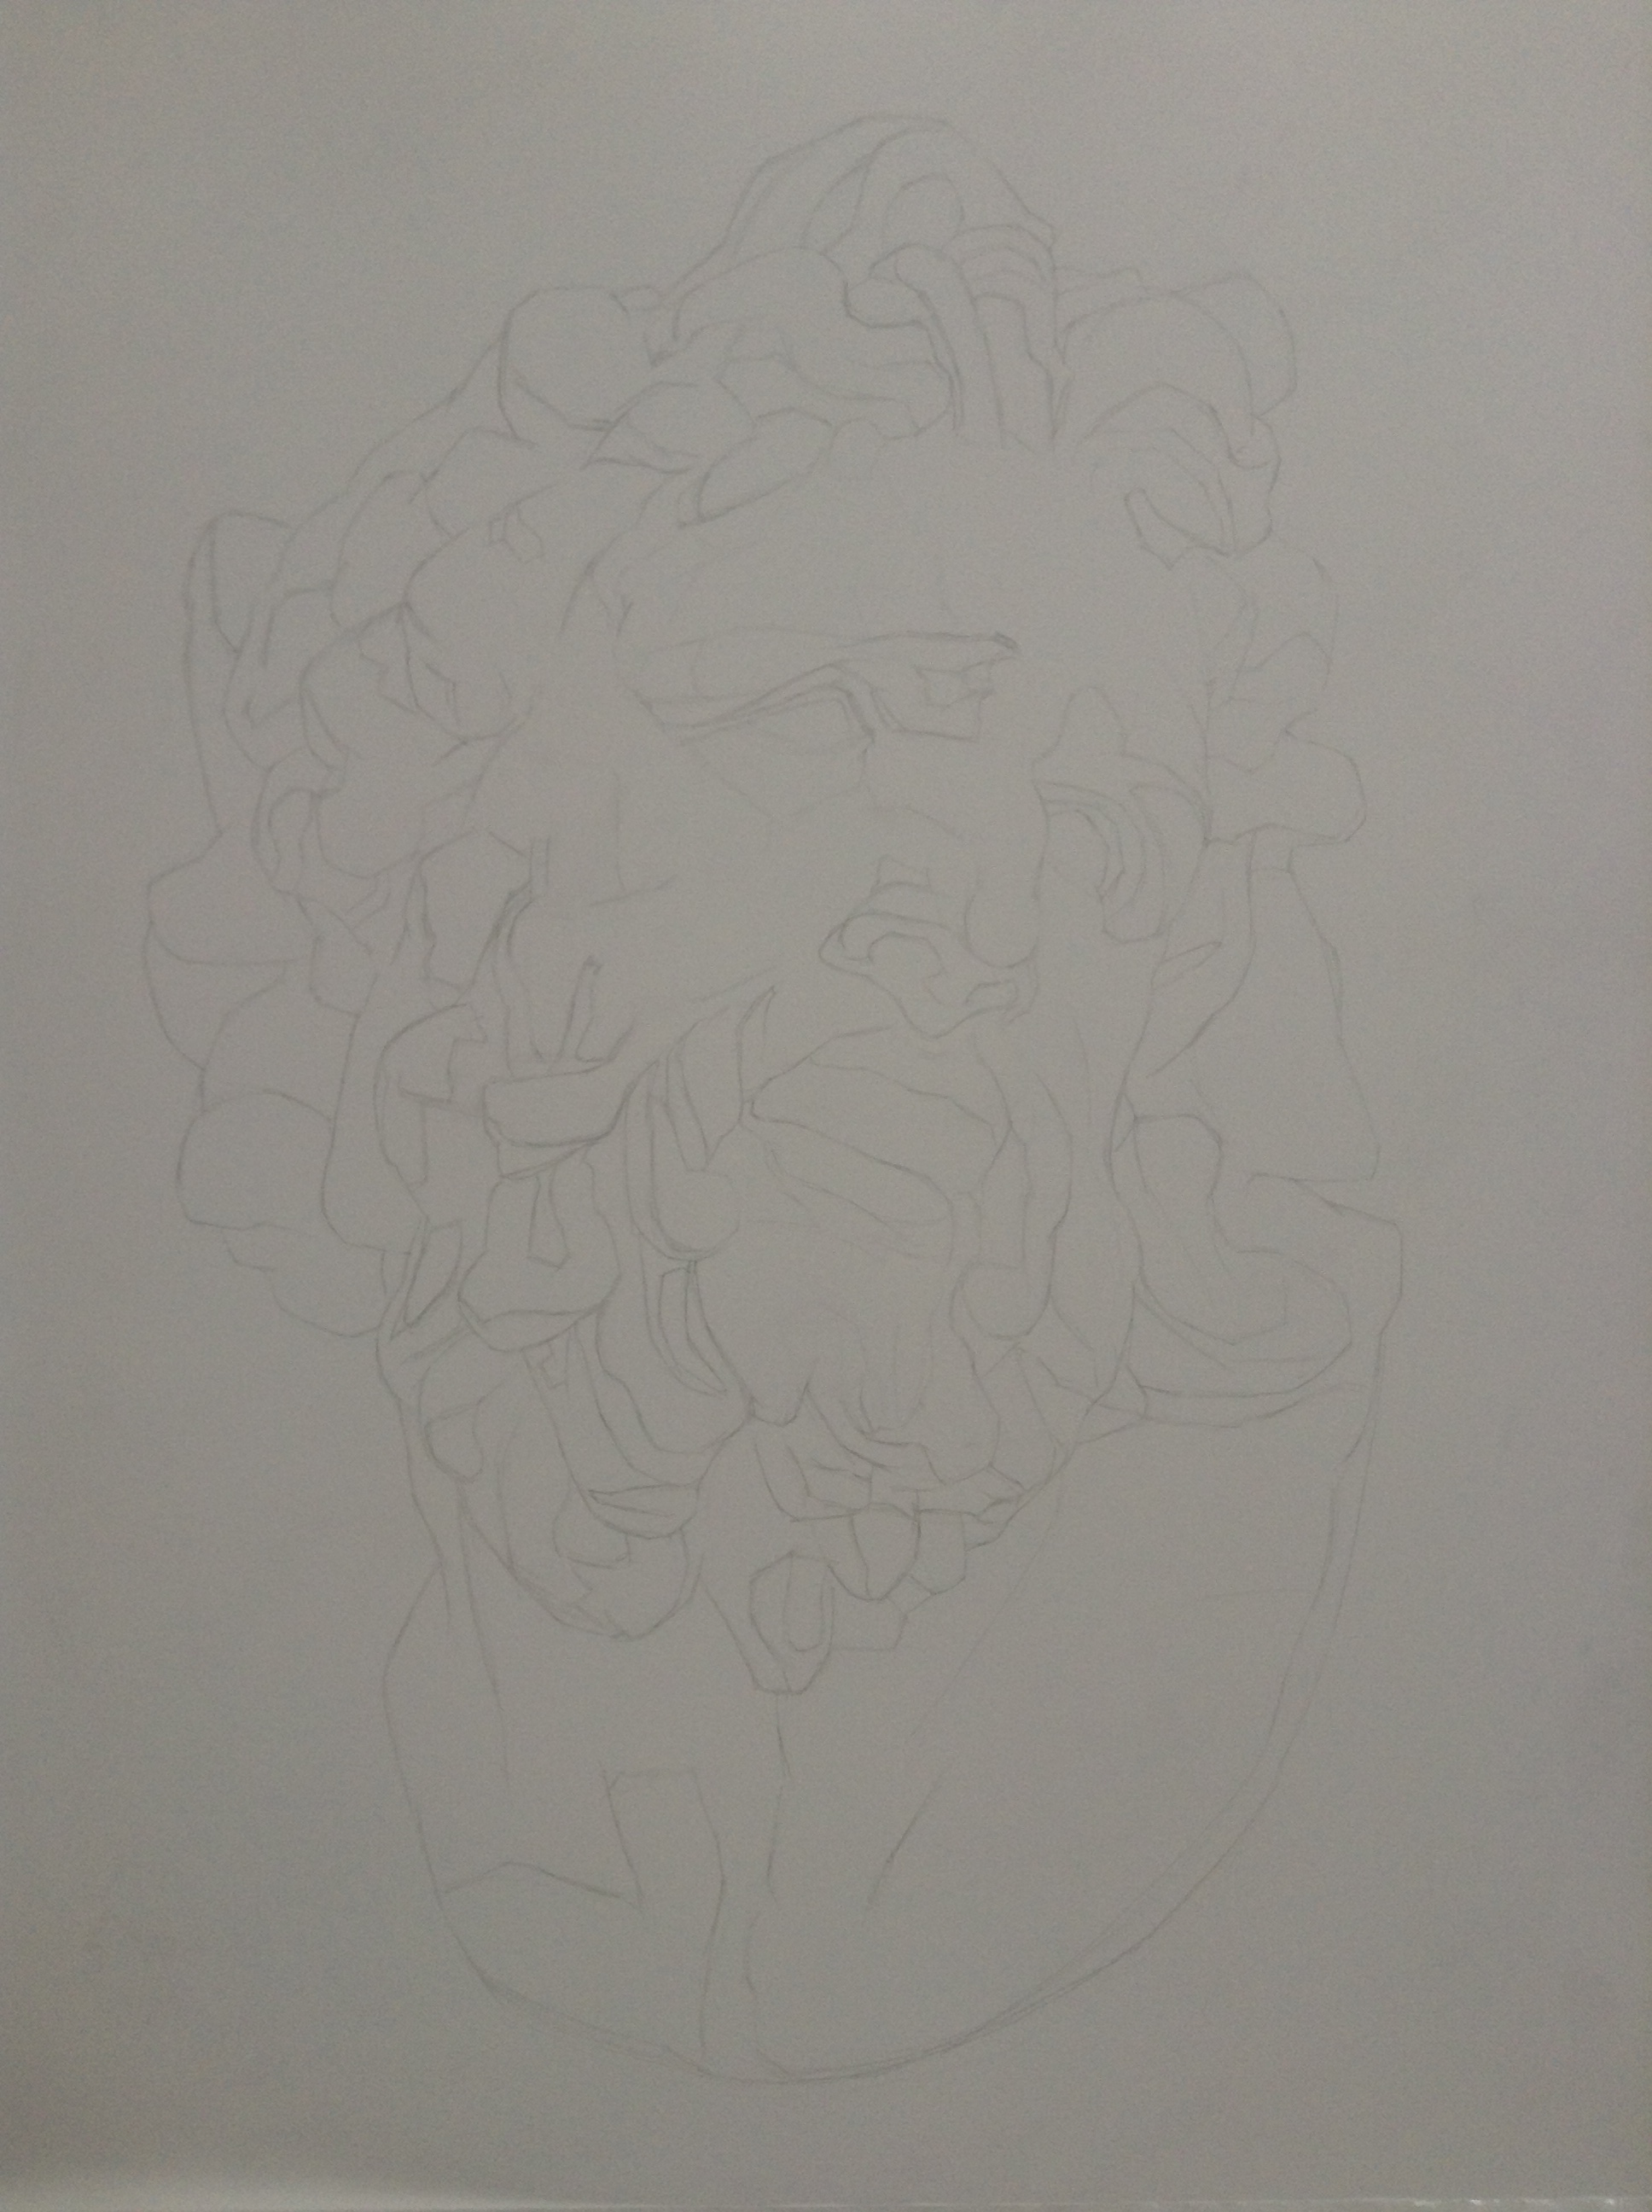
Below is a series of photos over the course of Thursday and Friday. There were a few major corrections--the eyes came down, the cheek pushed out on our right, LOTS of hair/beard changes--but the main thing I was trying to do was make the lines cleaner and more descriptive of the form. In my mind it's like this: the drawing is actually the sculpture and I imagine tracing my pencil over the form, and then landing on the edge of the shadow.
After an entire pass over the cast, if I think it needs to be more specific I'll roll over it with the eraser and do it again. Also, I'm not worried about ruining the paper because since I'm using basic drawing paper with the intent of transferring to better paper when the block-in is nailed down.
Here's the progression up to the point of transferring, mostly in H and 2H pencils:


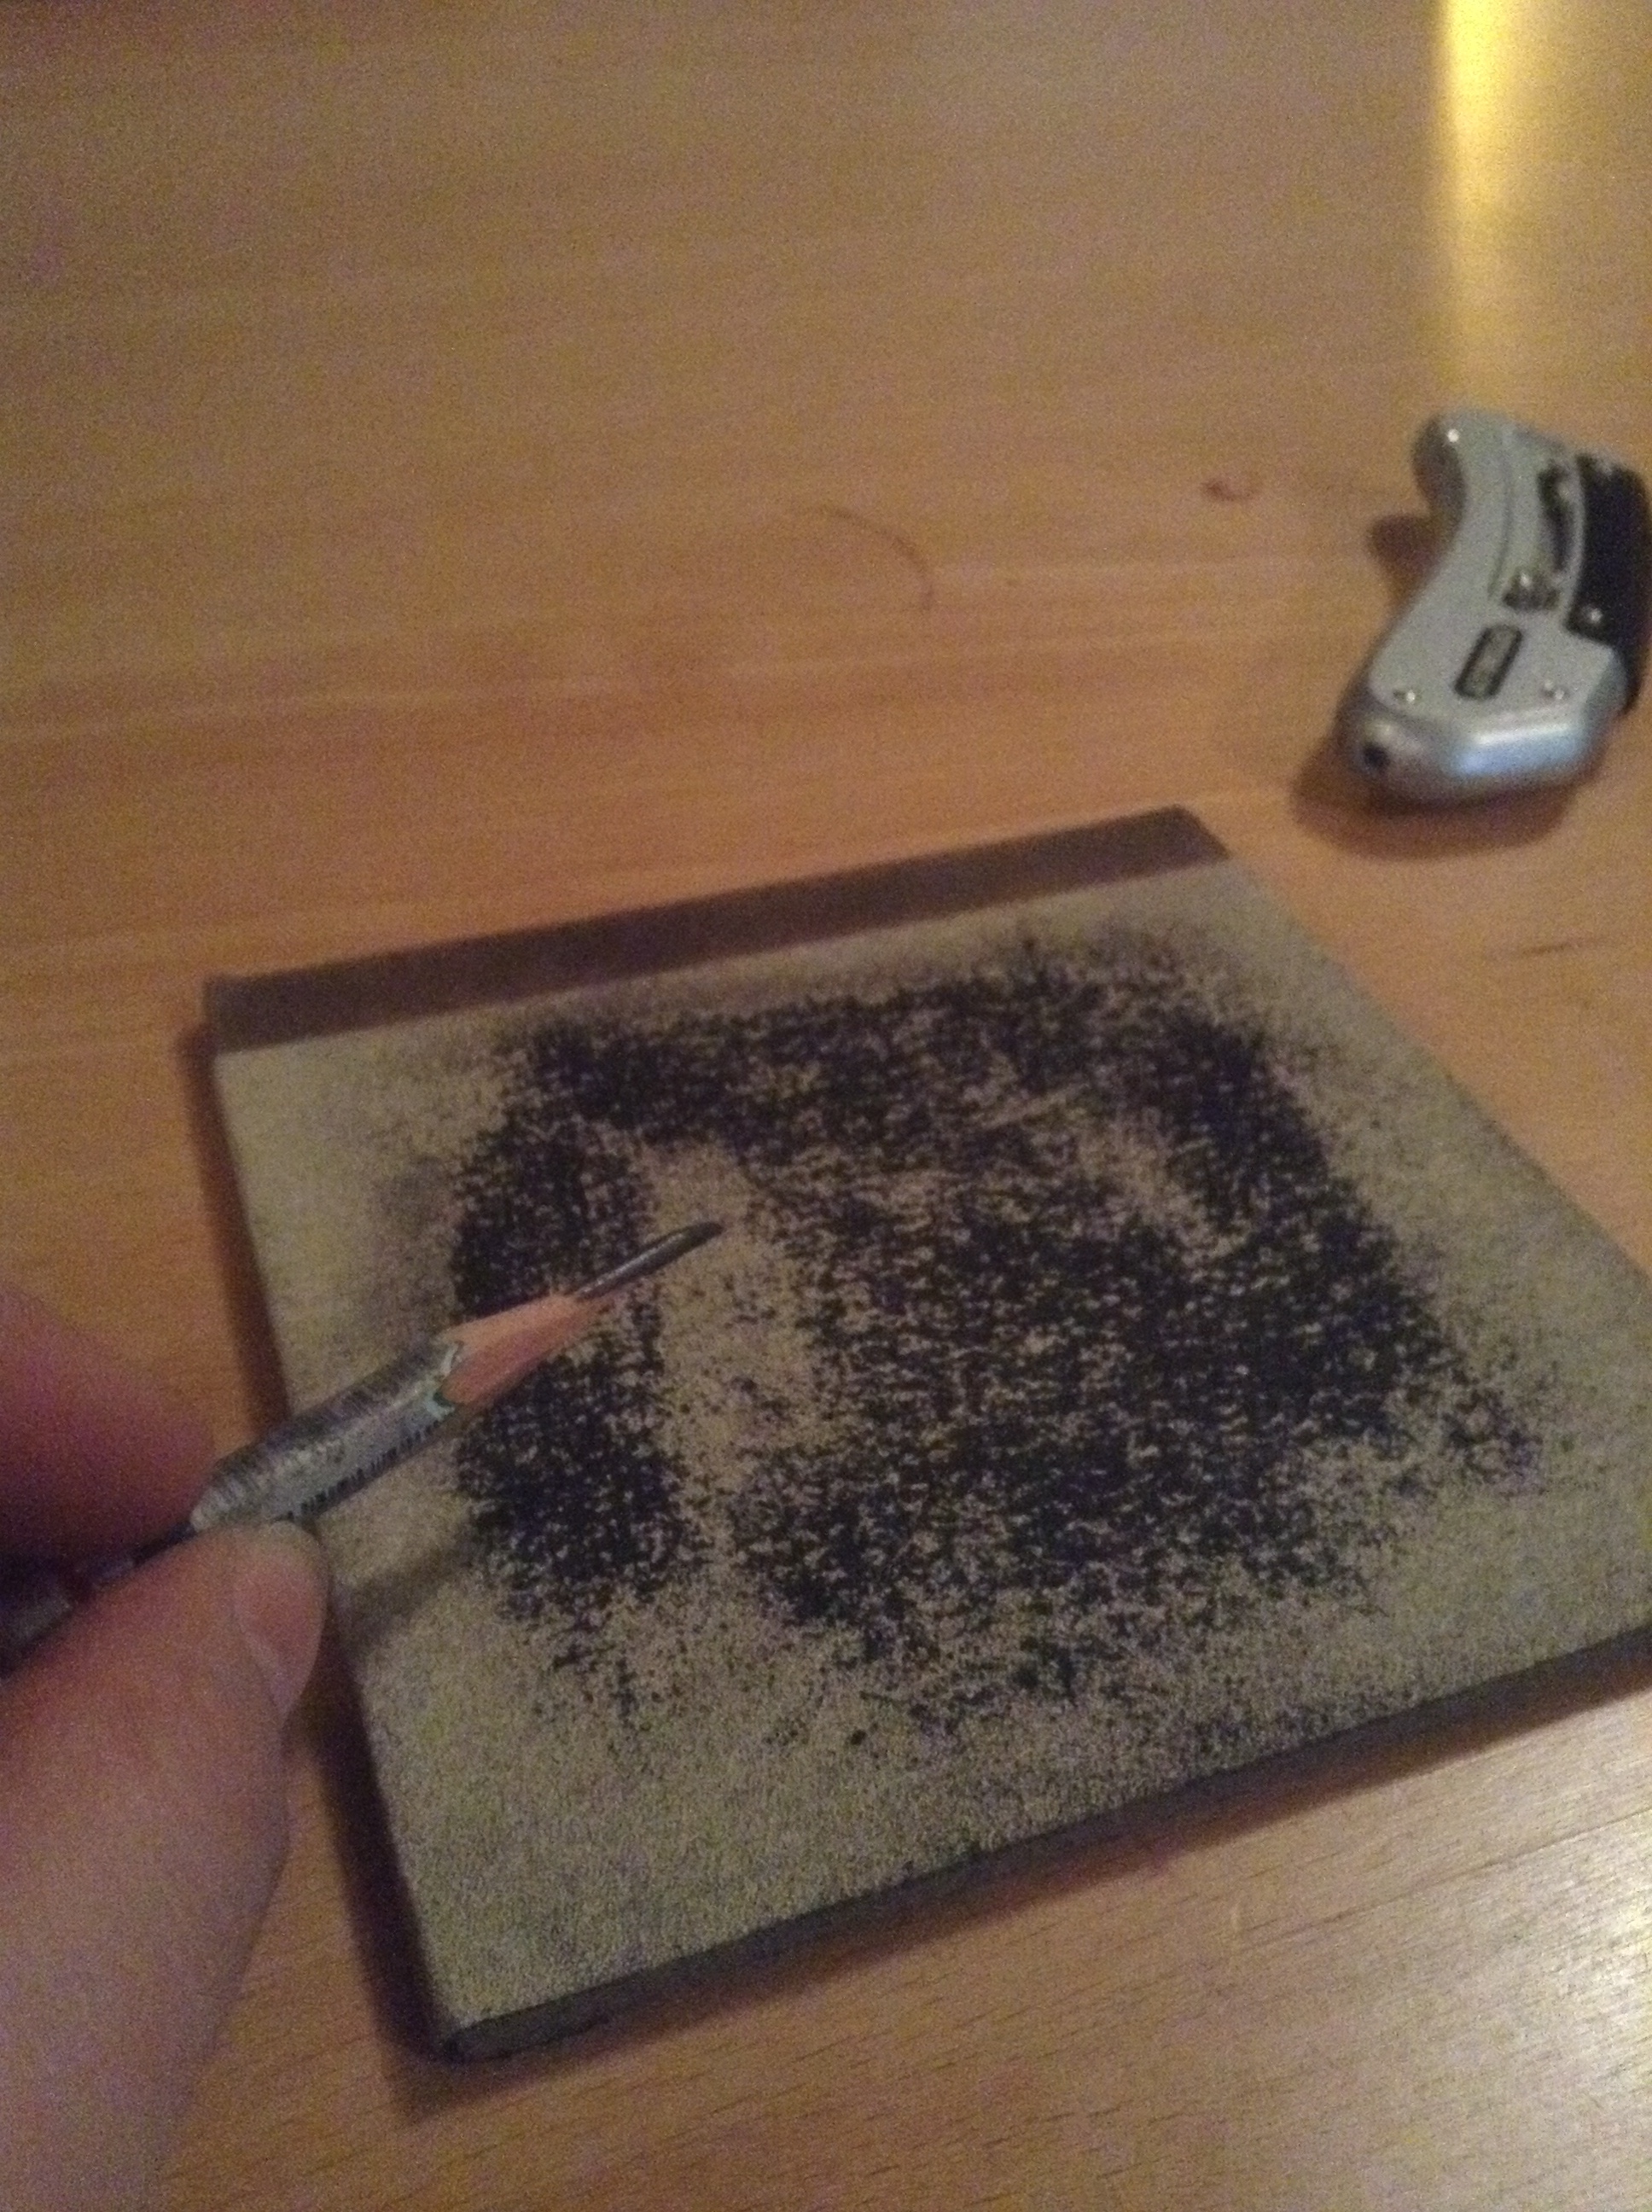
The Transfer
After getting the block-in pretty specific and (hopefully) correct, it's transfer time! I used:
- Arches hot-pressed 140lb watercolor paper
- Graphite Powder
- Paper Towel
- Masking Tape
- Ball-Point Pen


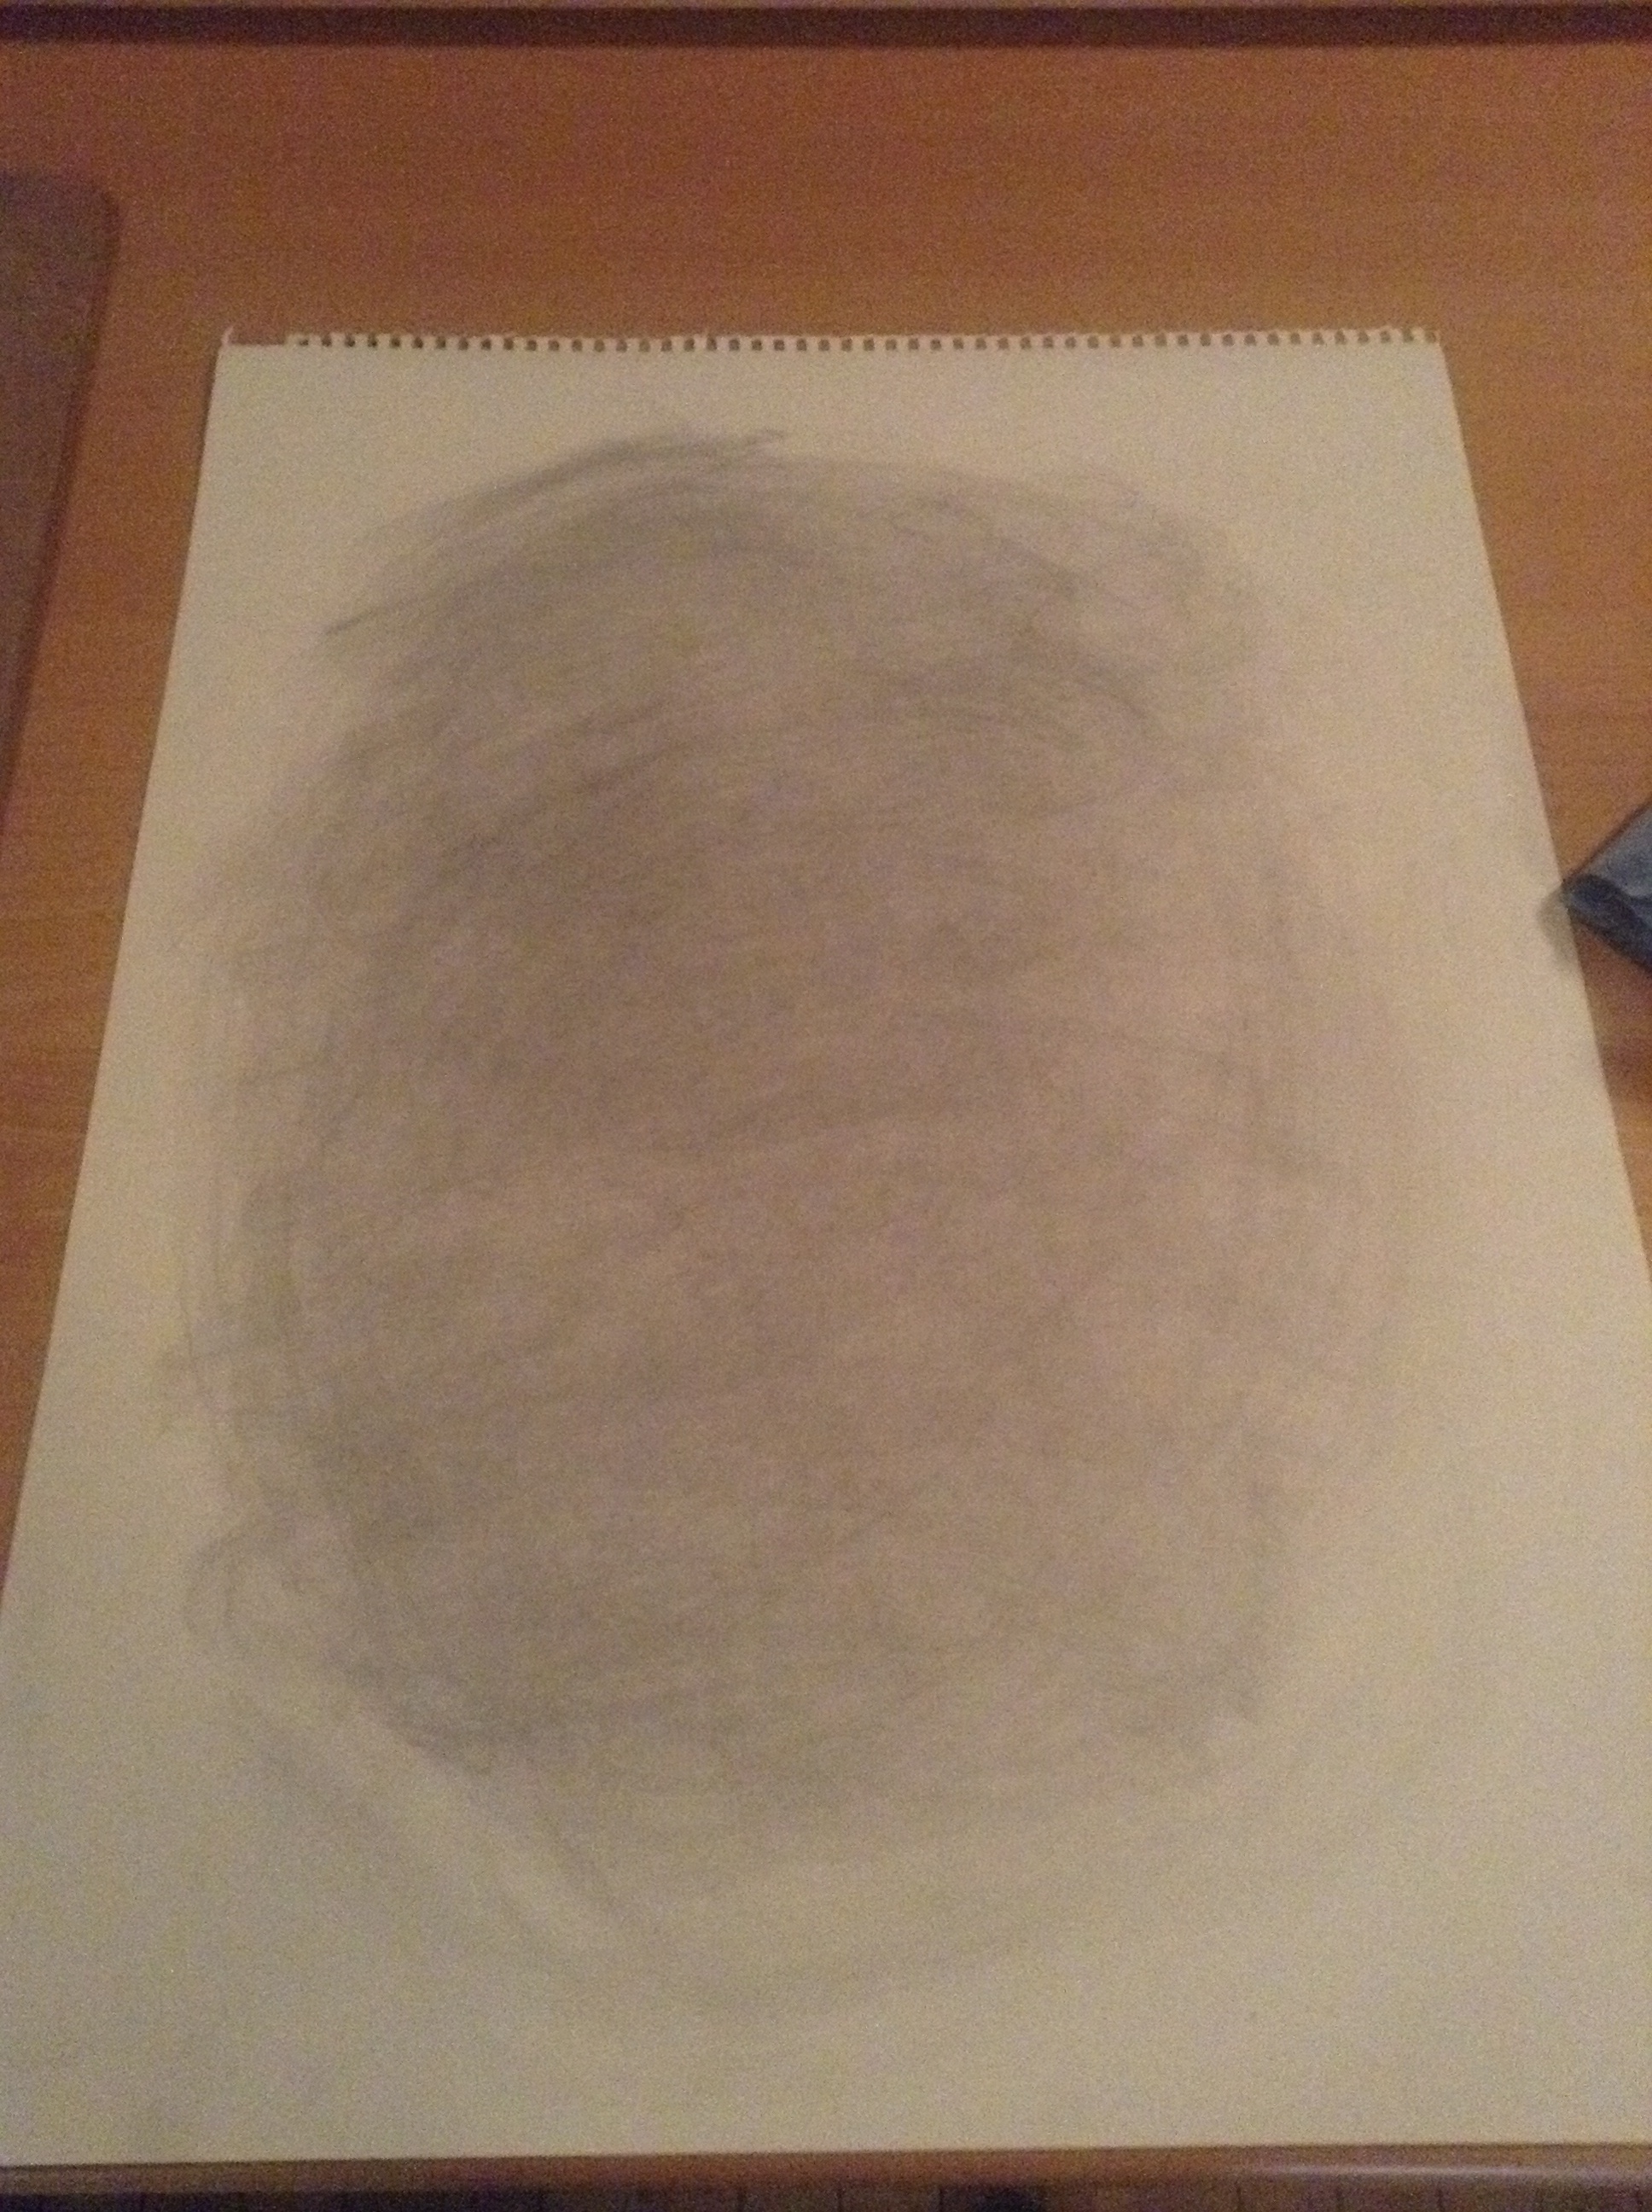

The Final Block-In
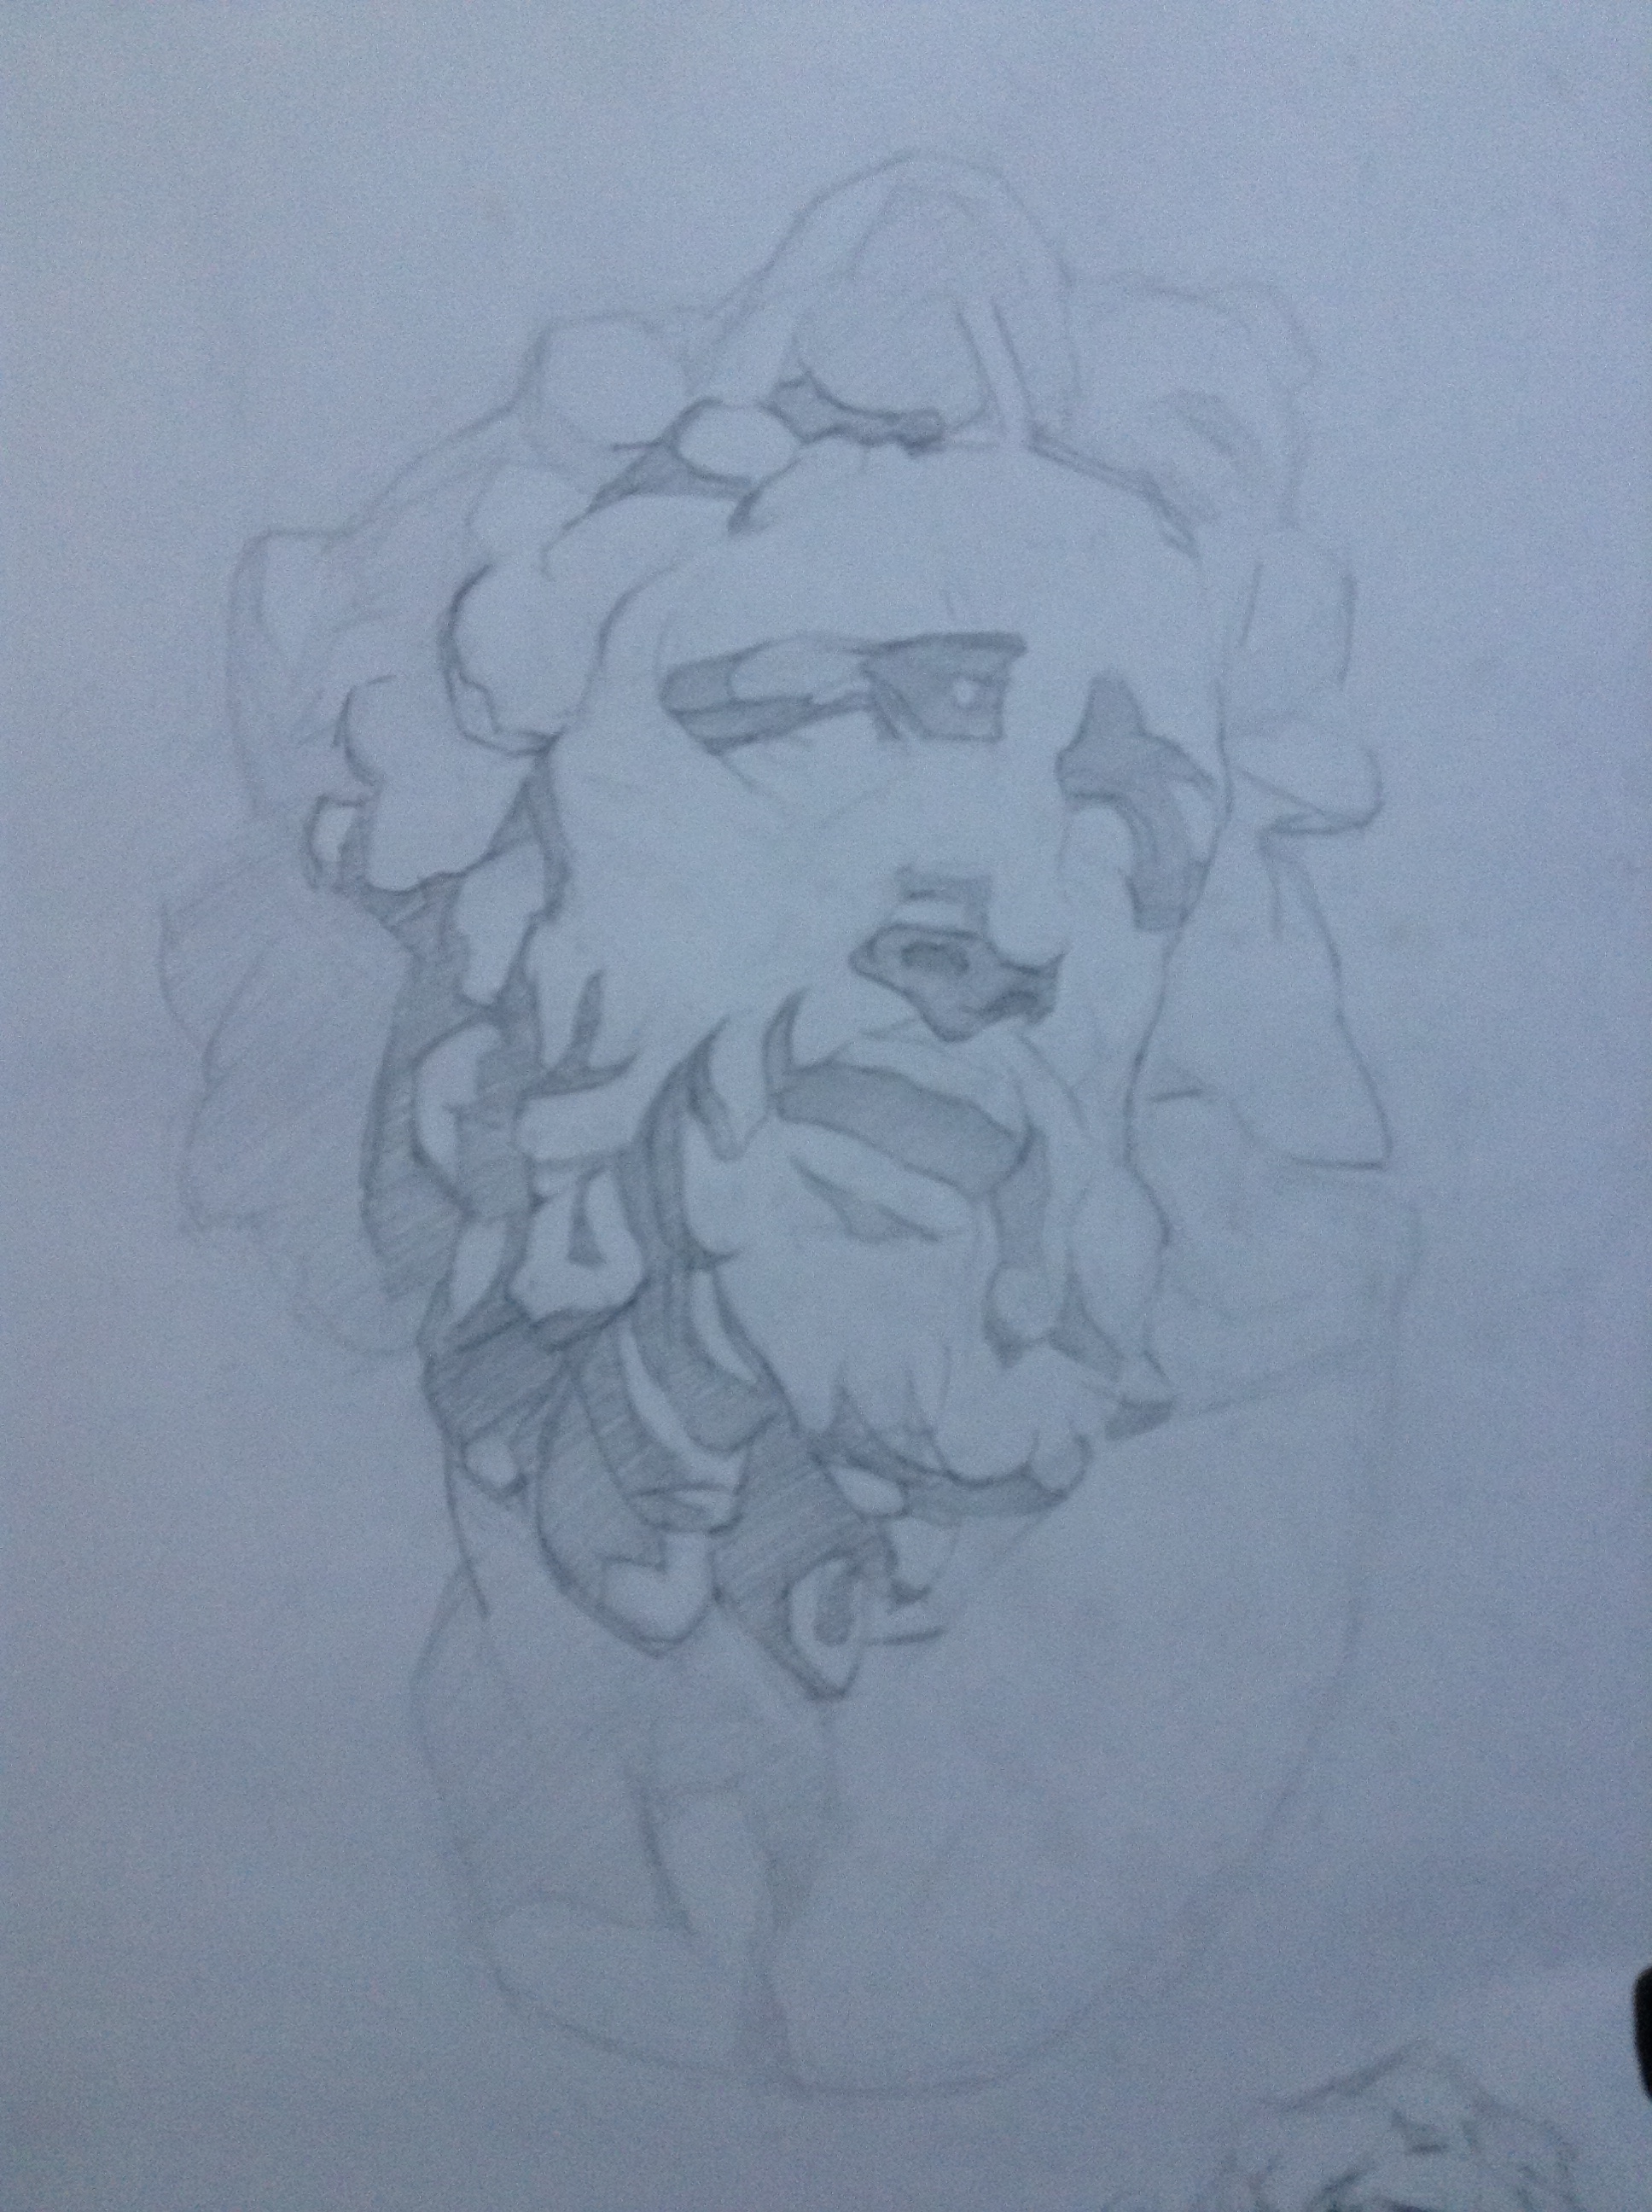
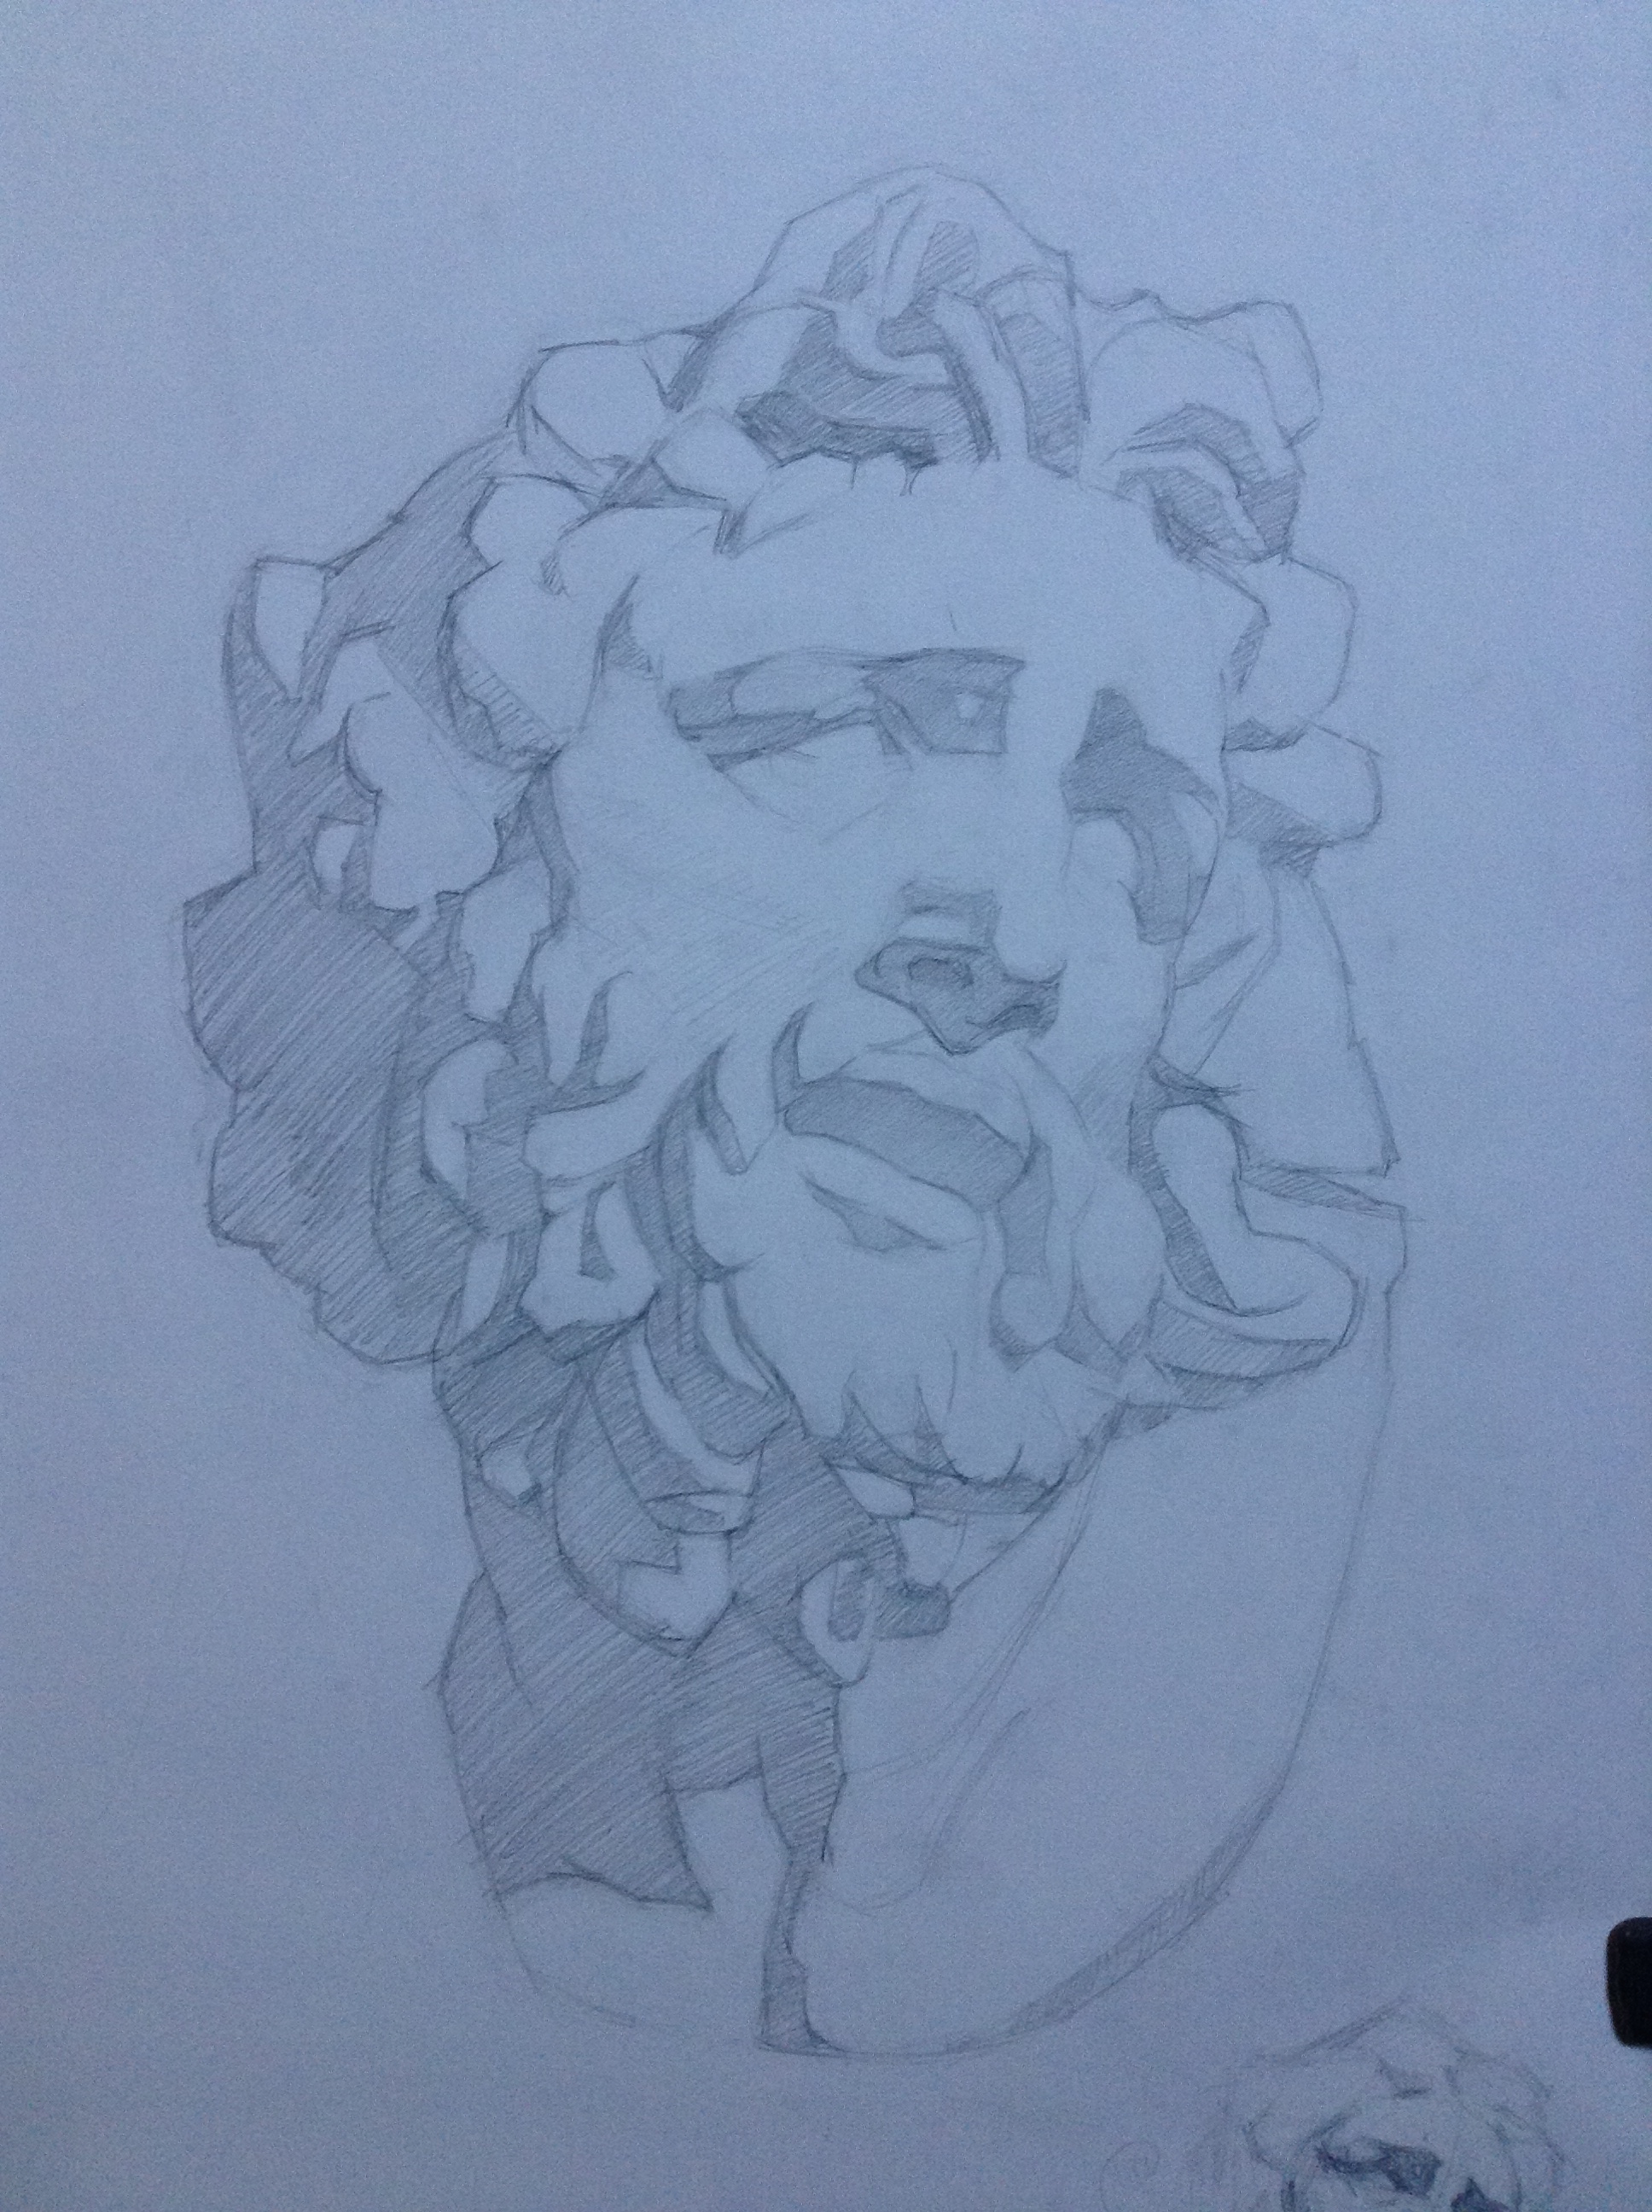
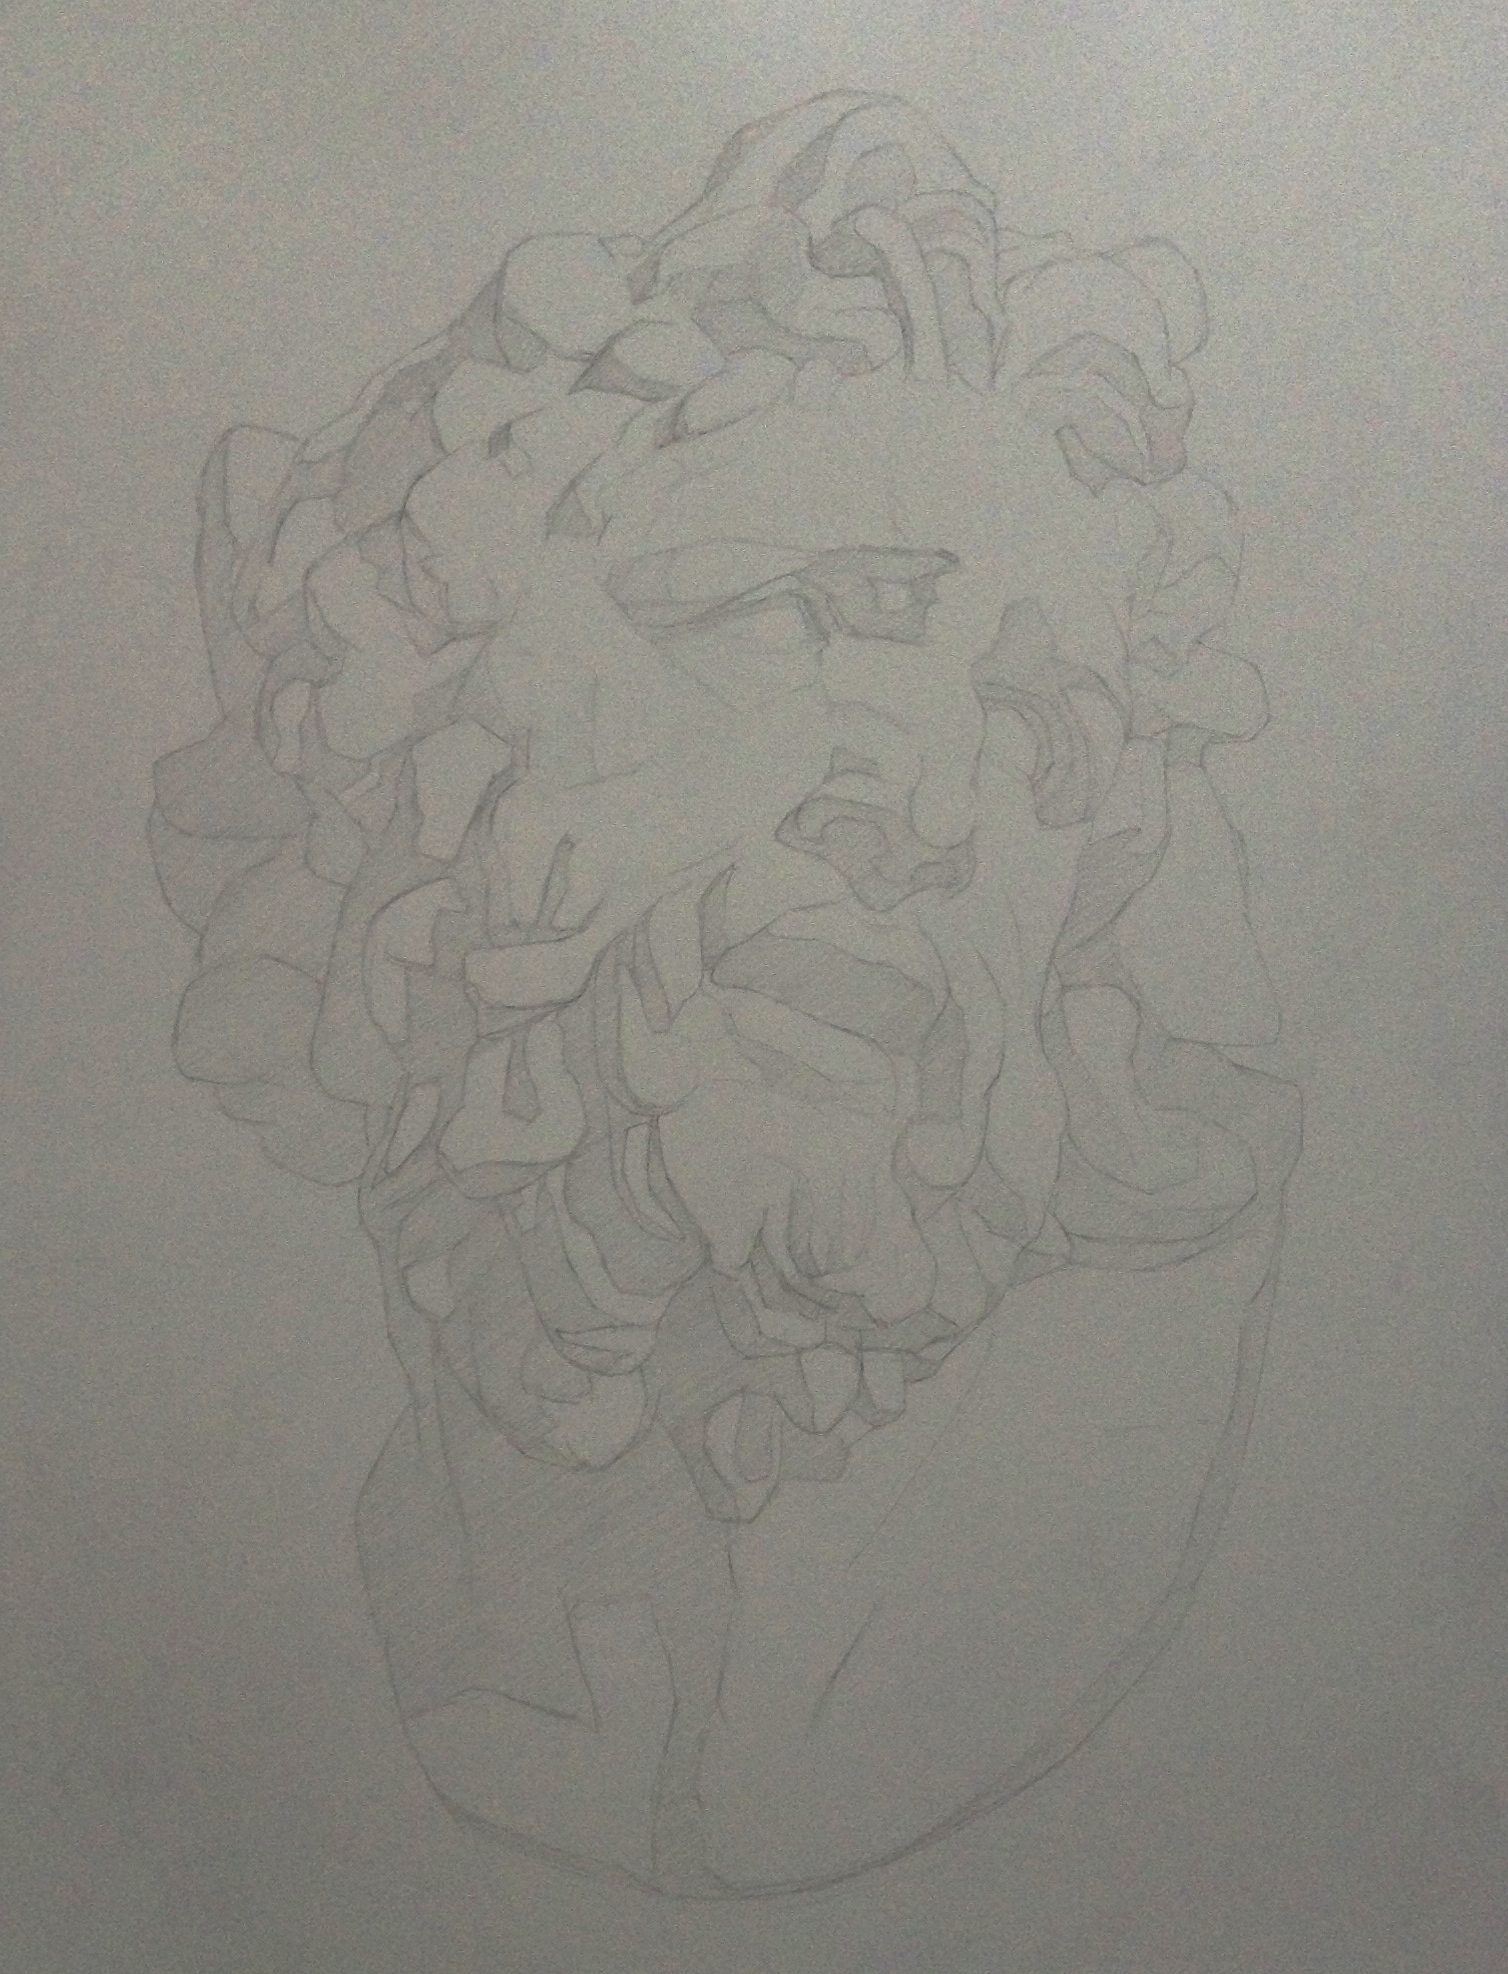
Now it's time to take one last pass (or two. or three.) gently and lightly over the lines to make any final corrections. At this point it is very important to clarify the difference between "light" and "shadow."

Light: *Any surface on the cast that is directly hit by the main light source. If the angle the light hits as is very extreme, the area may appear dark, but is still considered light. The "pencil test" may be used in questionable areas. See picture. *
Shadow: *The area on the cast that is not hit directly by the main light source. *

The Pencil Test: This is done by holding a pencil on the cast and seeing if a shadow from the main light source appears. If a shadow is cast, it is considered "light." The place where the shadow from the pencil disappears, is considered "shadow."
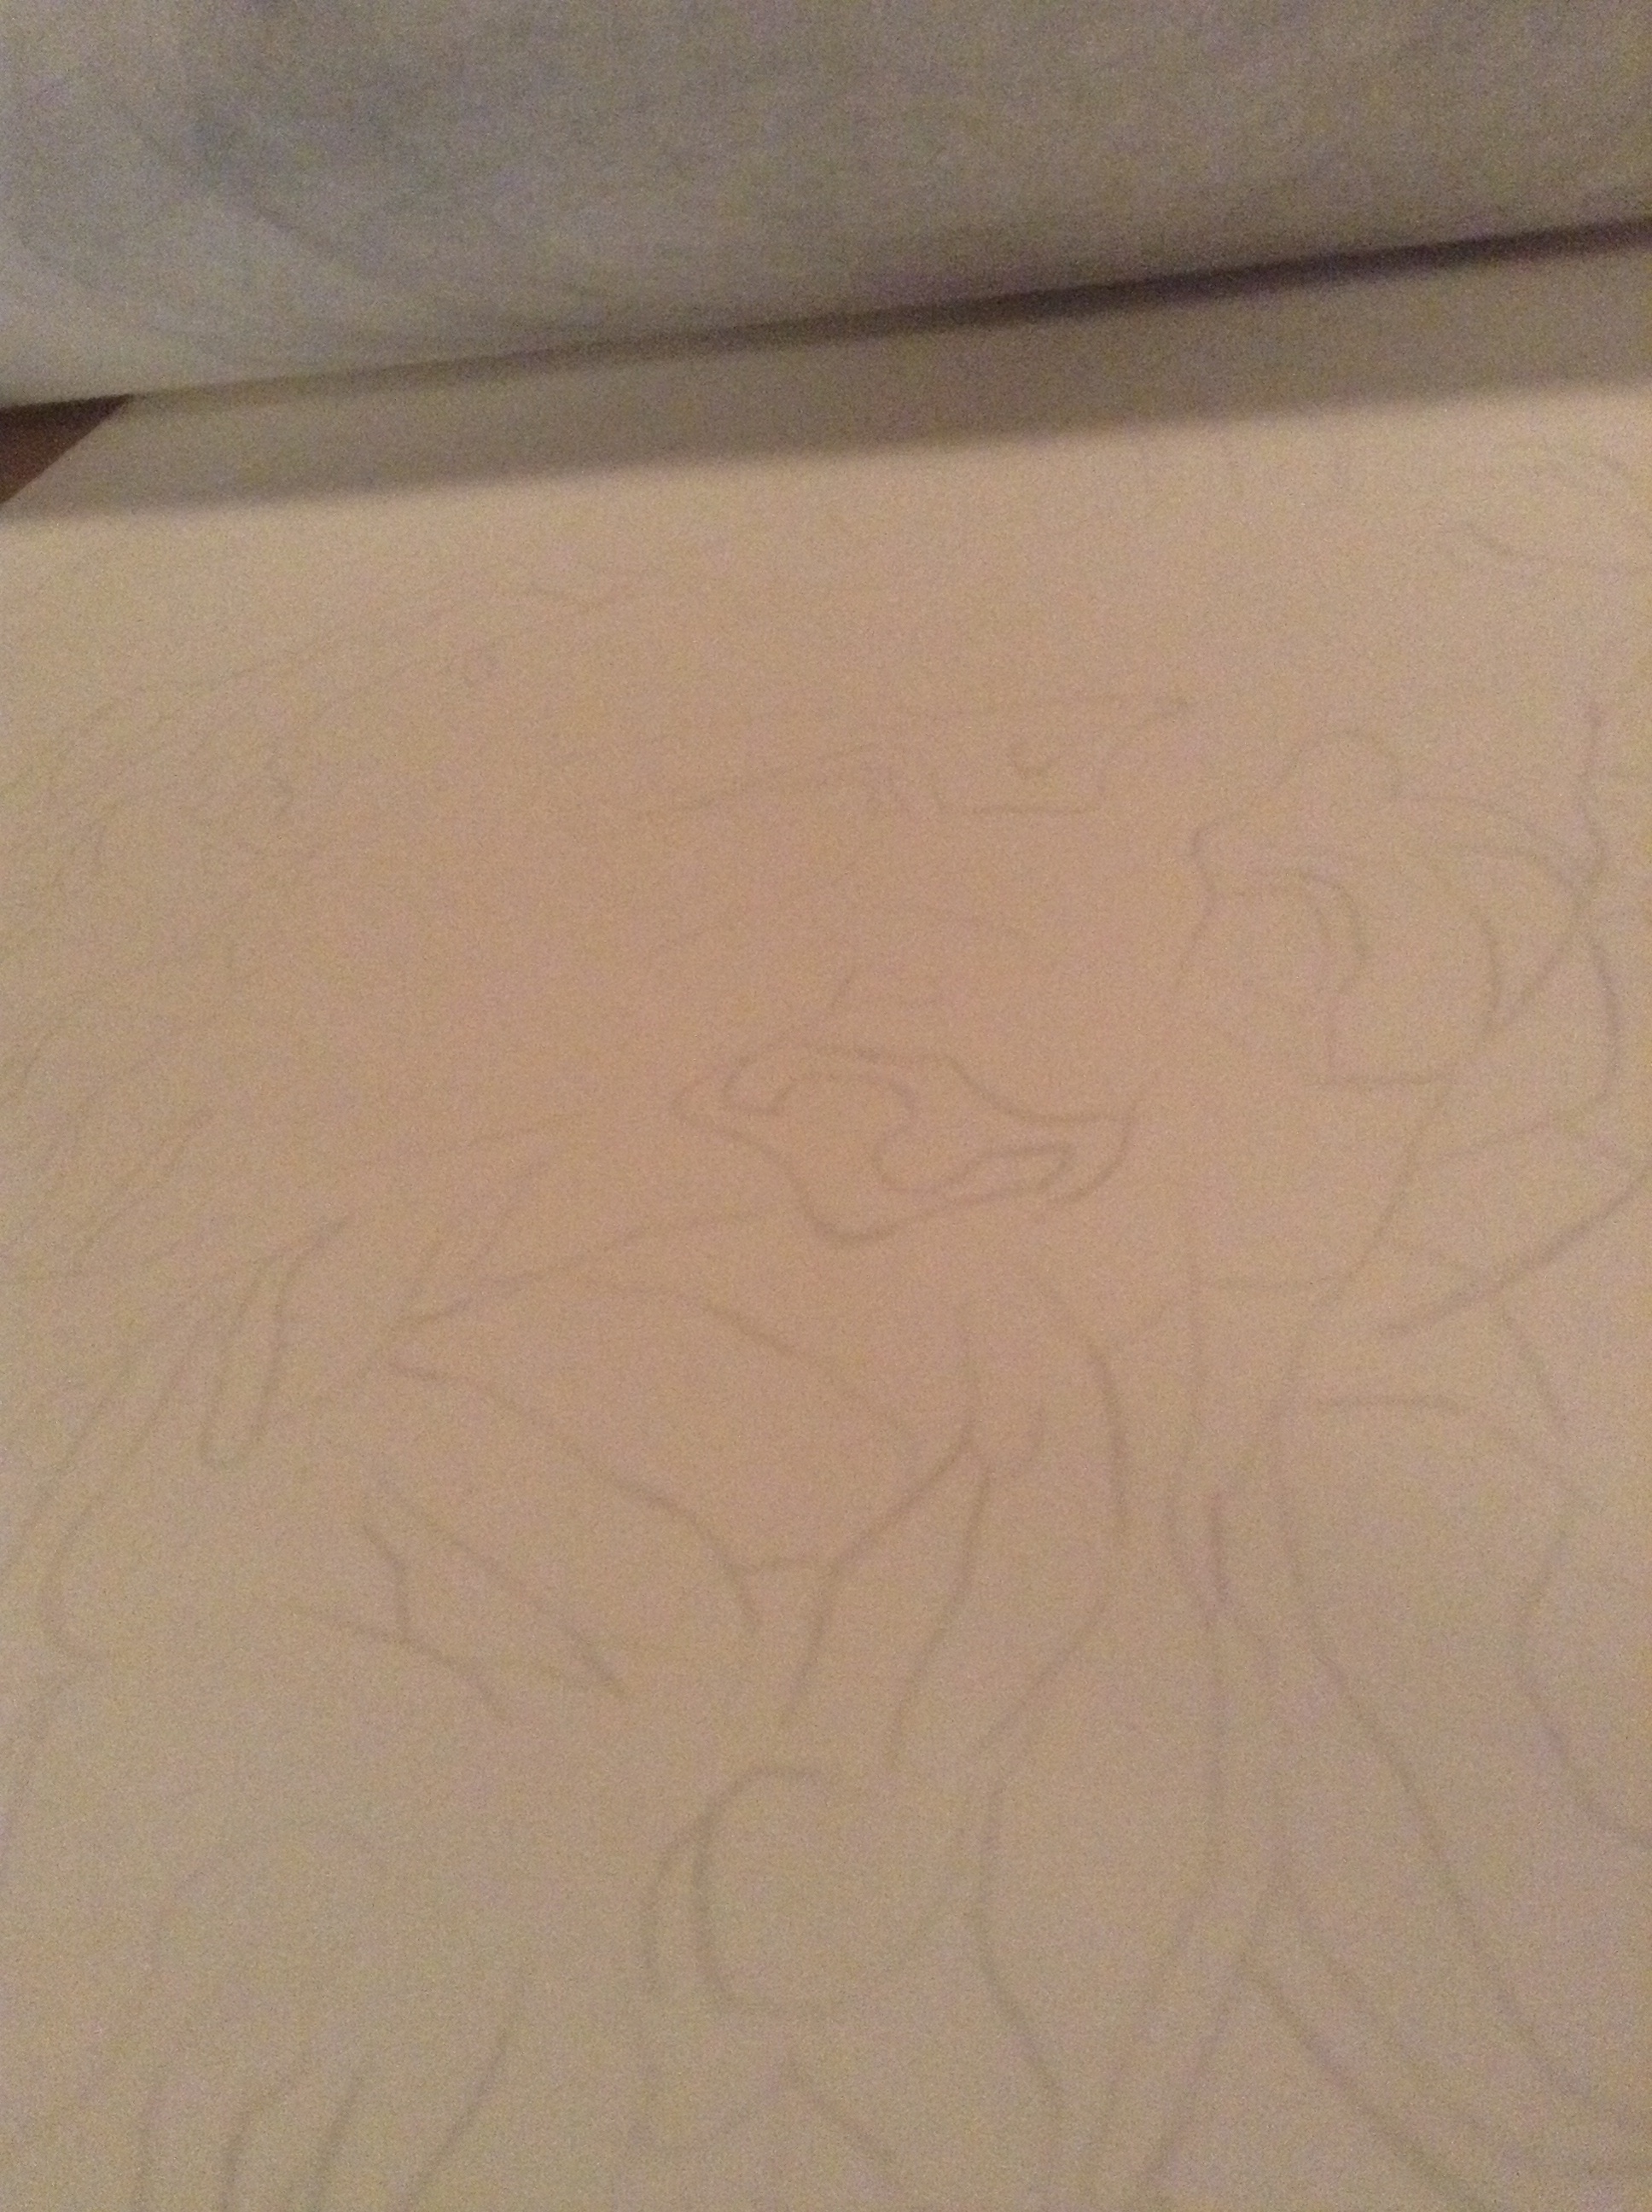
These distinctions are important for the block-in since they determine where the form begins to turn. Here are the last couple progress pics. At this point, the lines are extremely light, so I apologize for the poor image quality.
And there is Mr. Laocoön! ("lay-AH-coo-ahn"... I only point it out because it's so fun to say.) He's not sure how he feels about this level of commitment. I mean... if we move on to the modeling, those block-in lines aren't moving! But it has to happen at some point, so tomorrow begins the grand adventure of finding form... modeling.

I'll let you know how it goes, unless it's really crappy, and then we can all just pretend this never happened :)